When a user logs into the platform, the Quick Menu is displayed at the top right of the interface.

The name of the selected project appears on the left of the Quick Menu. Clicking on the project name or the small arrow next to it opens a window with a list of projects that can be selected. Clicking the name of a project in this window will select that project.

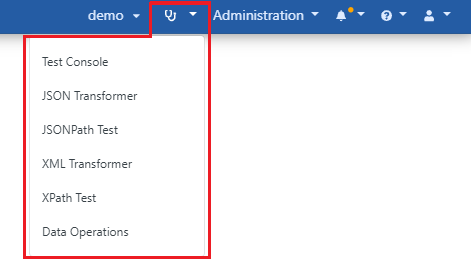
The icon to the right of the project name opens the Test Tools menu. At any point in their work, users can quickly send requests to an API, test the accuracy of XPath, JSONPath expressions, or check the output of conversion codes using this menu.
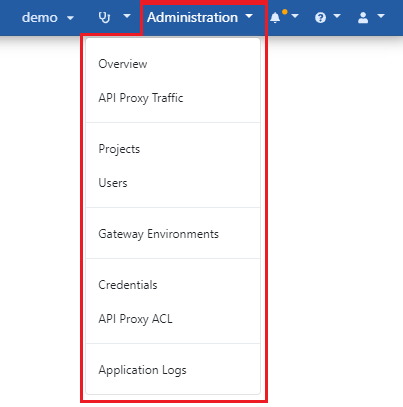
Opens a menu that contains a subset of administrative operations. If any of these items is selected, the Administration Menu opens in the main menu area.
If the logged in user is not Admin, the Administration item will not appear.
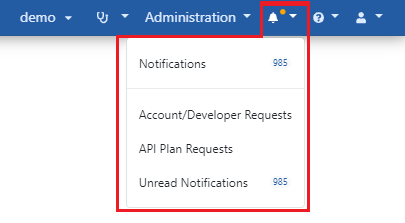
Notifications are created on Apinizer as a result of 3 different situations;
- notifications showing actions' results,
- Account/Developer creation requests,
- API Product subscription requests.
All notifications can be viewed from the icon in the Quick Menu of the application, or notification management can be done by clicking on the relevant notification category.
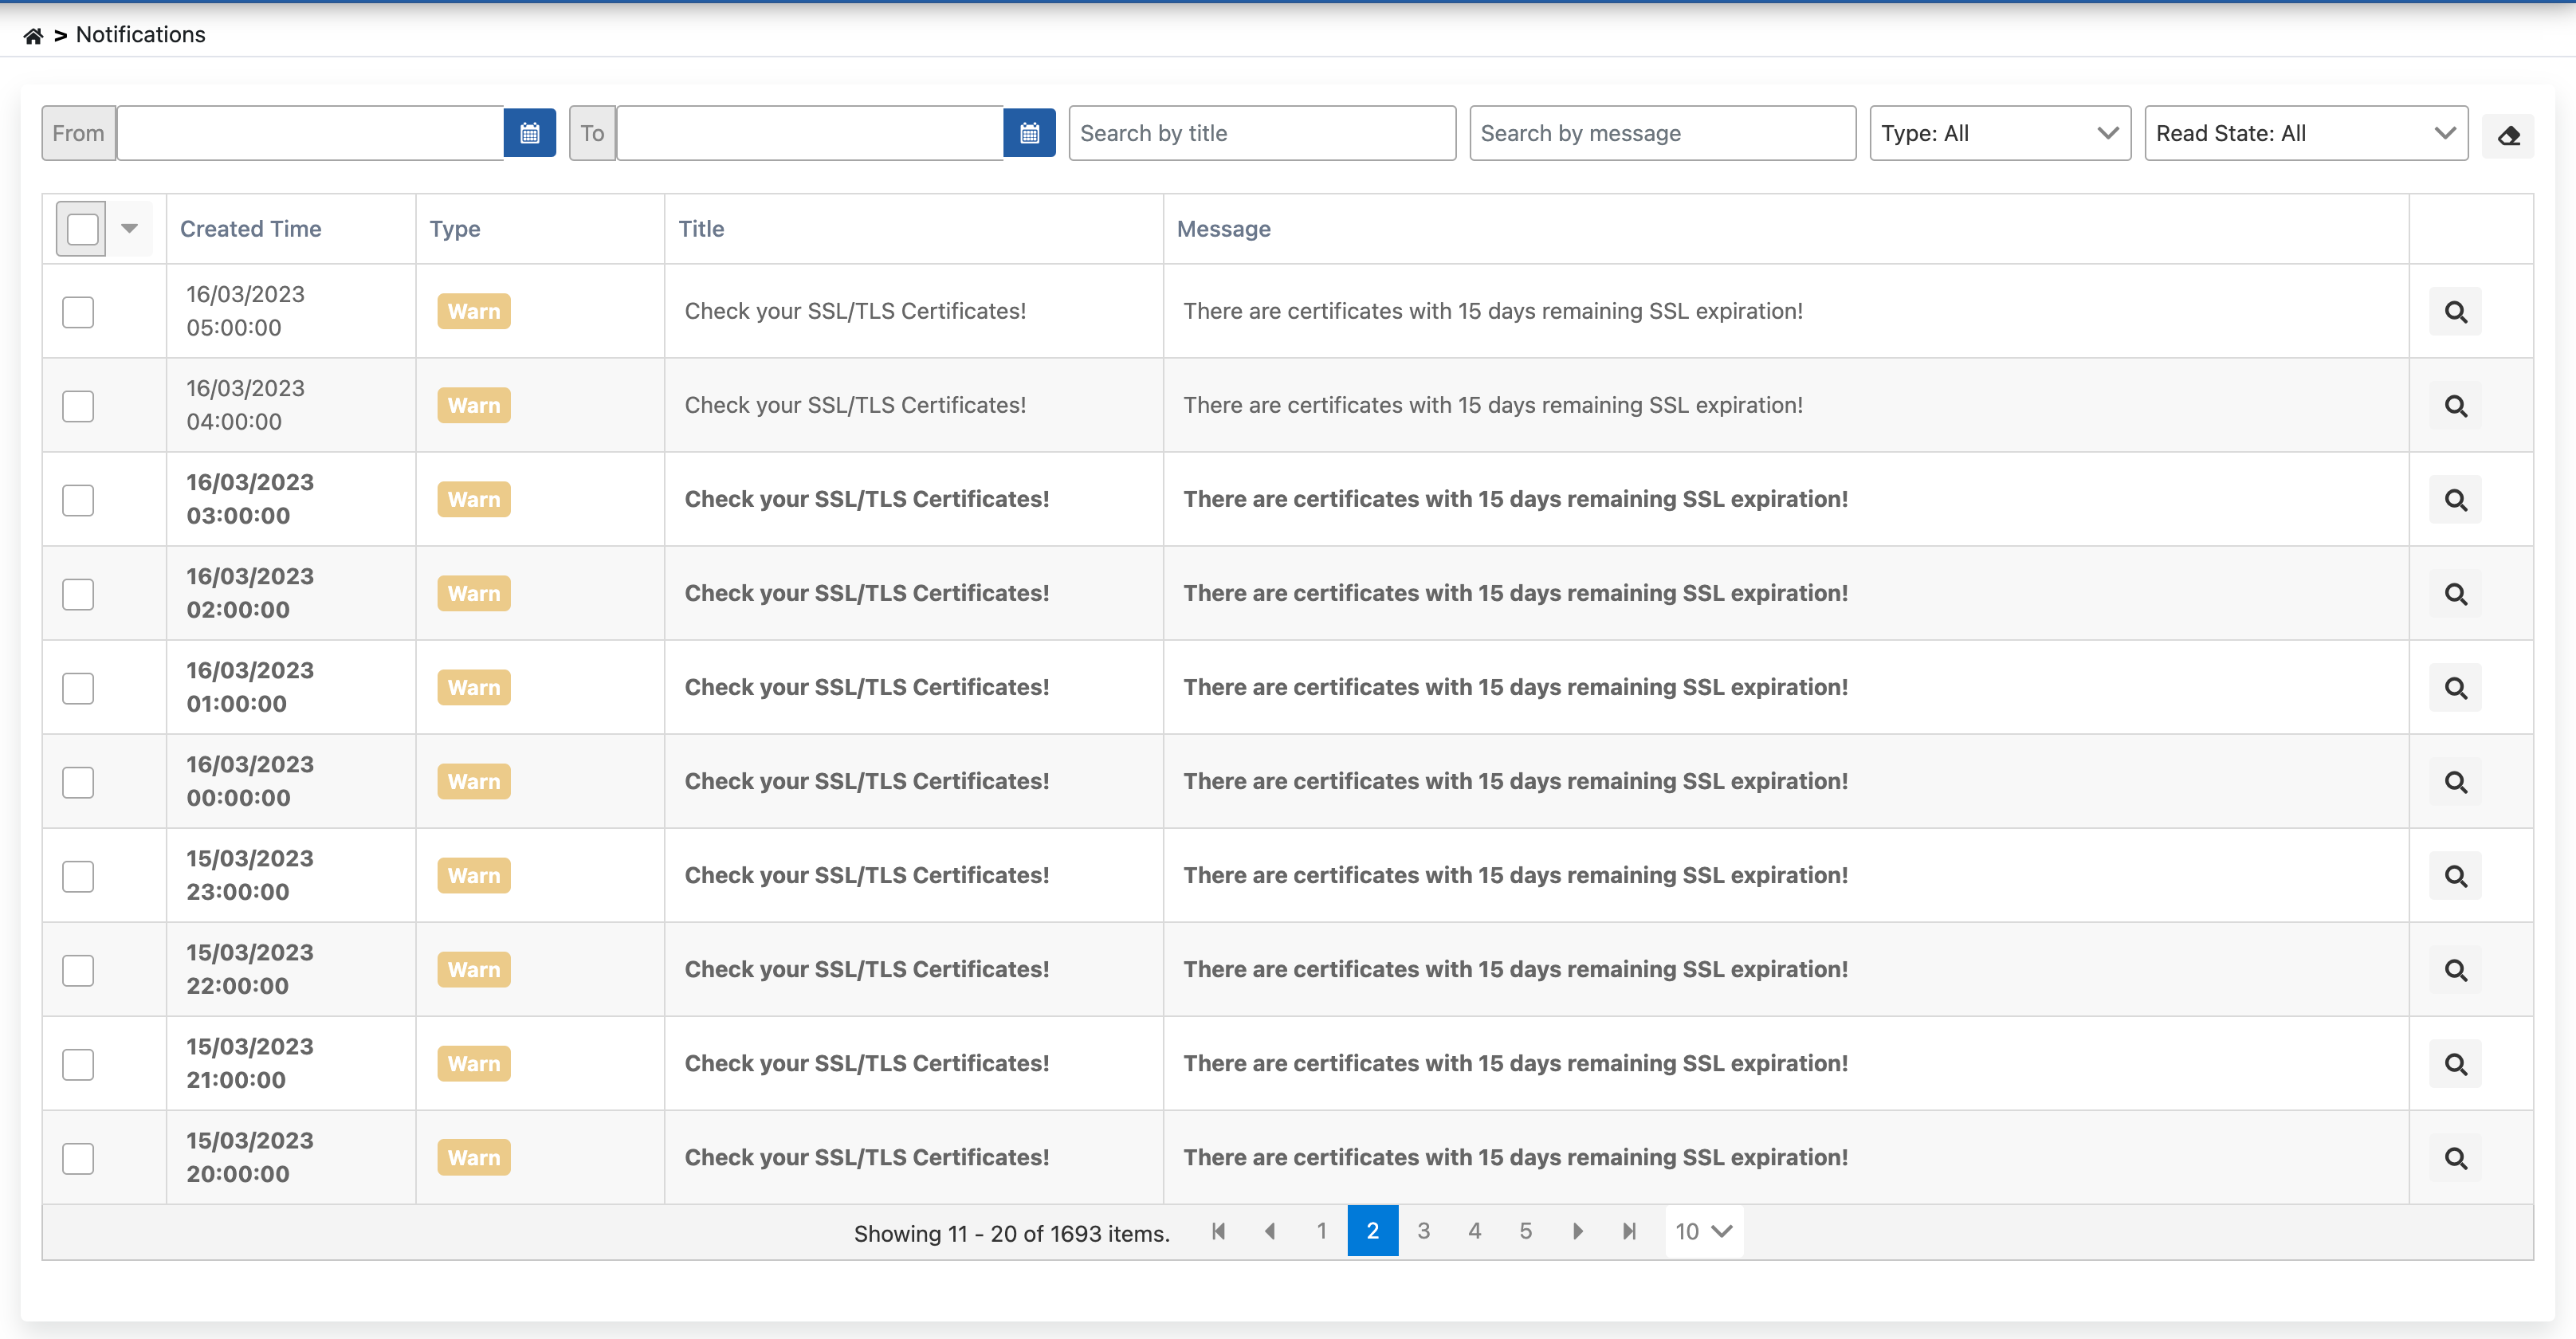
Only those produced as a result of the executed action are managed from the Notifications page. To go to this page, the Notifications or Unread Notifications link should be clicked.
The image listing the notifications is given below:
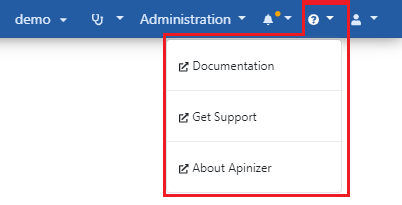
To the right of the administration menu is the Help menu. From this menu, the user can access Apinizer Documentation (https://docs.apinizer.com) or Apinizer Support Portal (https://support.apinizer.com/support/home). The About Apinizer page contains information about the versions of supported technologies.
At the far right of the quick menu is the Logout link, where the active user can log out, in addition to items where she/he can update her/his profile, password or interface language.
