Support Packages
Contents
Overview
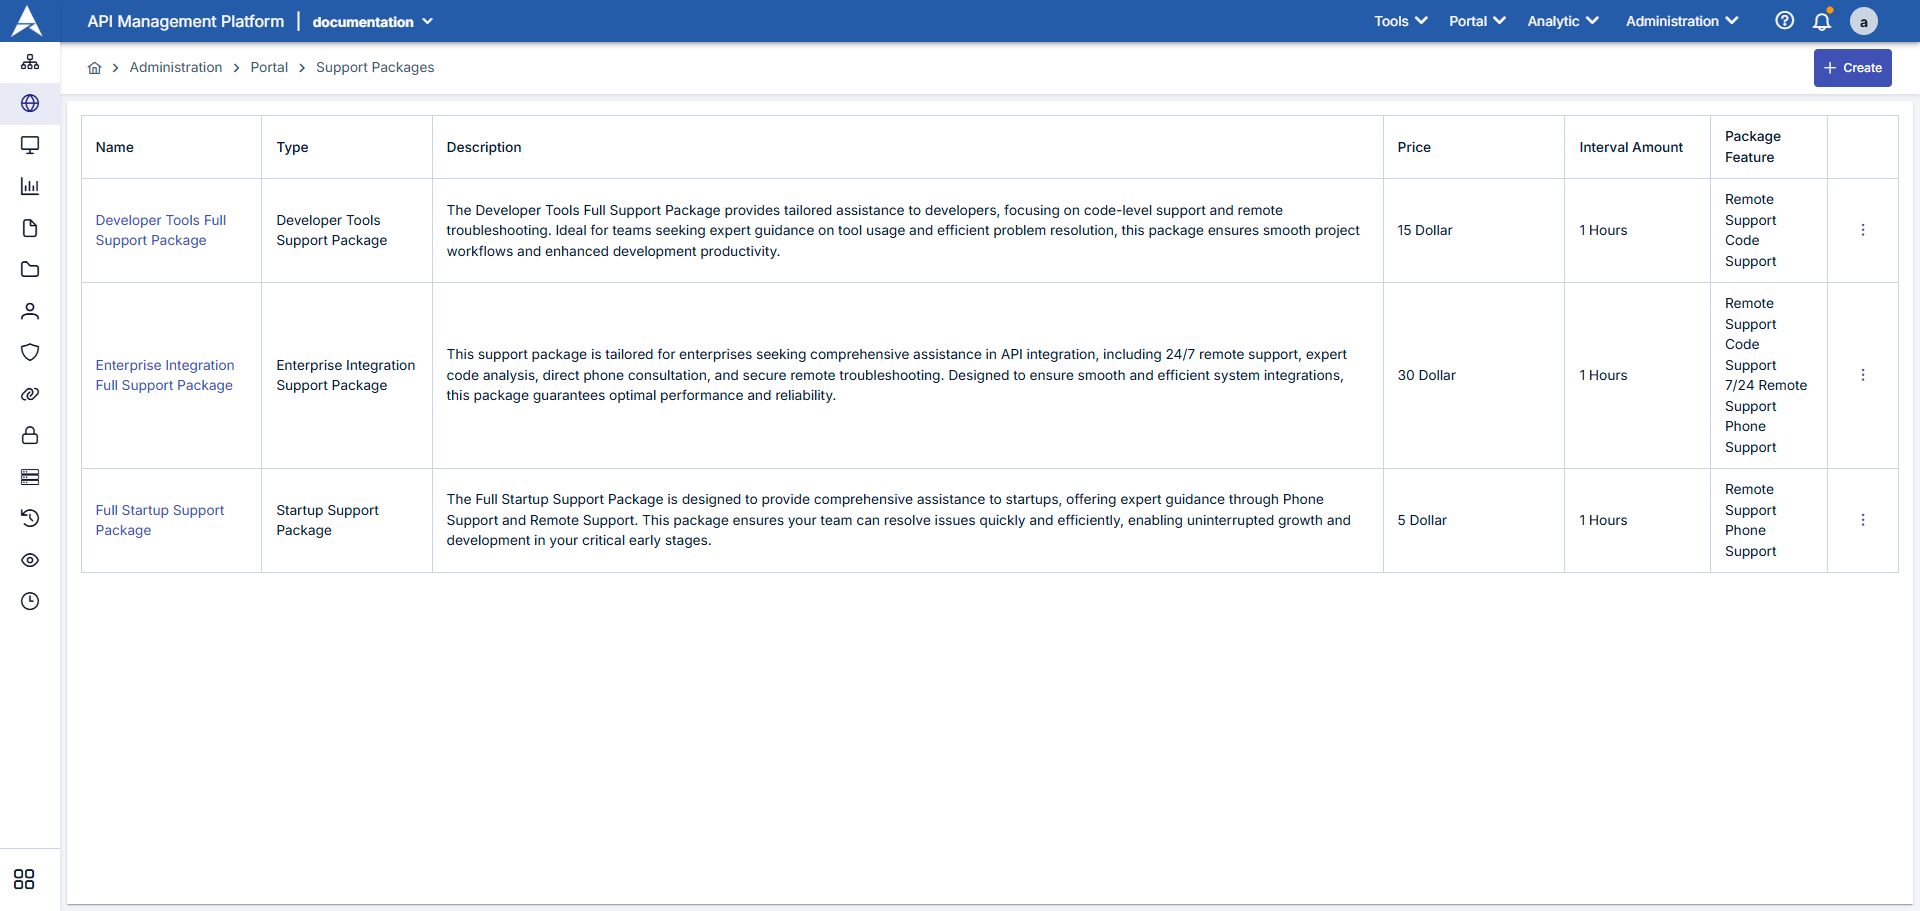
The Support Packages screen is the management panel where you can create and manage the support packages you will offer to portal users. Support packages include criteria such as SLA levels, communication channels, response times, and features provided. These packages are listed on the portal side, and users can request packages according to their needs.
Administration > Portal > Support Packages page is the section where support services offered to API users are defined. On this page:
- You can create different support levels
- You can set pricing and scope
- You can edit or delete existing packages
Sample support packages are described below.
| # | Section | Açıklama |
|---|---|---|
| 1 | Package List | Displays all defined support packages by name, package type, status, and release date. |
| 2 | New Package Button | The New Support Package button opens the form for creating a new package. |
| 3 | Filters | You can narrow down the list using criteria such as package name, status (Active/Passive), and package type. |
| 4 | Action Menu | You can use the icons on each line to organize, copy, or delete the package. |
Creating a New Support Package
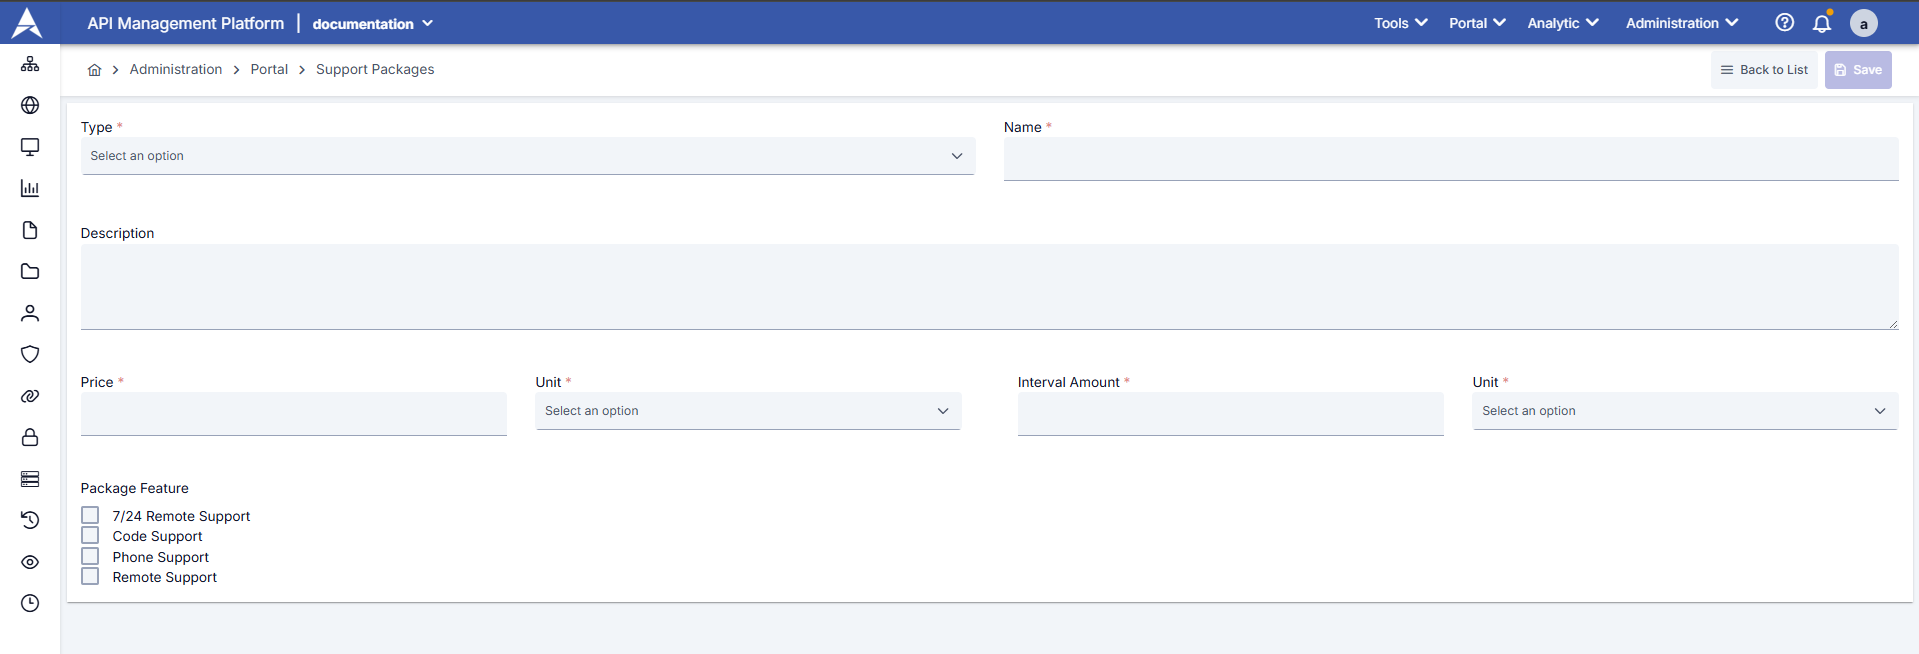
To create a new support package, click the “+ Create” button and fill in the following information:
| Step | İşlev/Açıklama |
|---|---|
Step 1: Go to the List Screen | Open the Portal Management heading from the left menu. Click the Support Packages option. Verify that the current packages are listed. |
| Step 2: Open the Creation Form | Click the New Support Package button in the upper right. |
| Step 3: Enter Basic Information | Name: Enter the name that will appear for the package on the portal (e.g., “Premium Support”). Description: Enter a brief description that helps users understand the package scope. Support Package Type: Select one of the predefined package types (e.g., Bronze, Silver, Gold). SLA Level: Specify the expected response time or SLA metric. Available Channels: Select support channels such as phone, email, ticket, etc. |
| Step 4: Add Package Features | In the “Features” section, select the features you defined on the Support Package Feature screen (e.g., 24/7 support, dedicated customer representative). Fill in the description for each feature that will appear on the portal. |
| Step 5: Pricing and online information | If the package is paid, enter the price field and currency. |
| Step 6: Save | Click the Save button. |
| Field | Description / Action |
|---|---|
Type | Required Determines the category of the support package. Select an appropriate type from the dropdown menu. To create or edit a Support Package Support Packages, visit the Support Packages page. |
Name | The name of the Mandatory Support package. This is the name users will see when selecting a package.
|
Description | A detailed description of the support package. The package's contents, services offered, and benefits are specified in this section.
|
Price | The price of the support package. |
Unit | The price unit. Selected from a dropdown menu.
|
Package Feature | Services to be included in the support package are marked:
Multiple features can be selected. Selected features are displayed to users in the package details. To create or edit a Support Packages, visit the Support Packages page. |
Portal for View and Data Flow
In the portal application, users list support packages. Packages that are Active in Manager are listed in the portal; Passive ones are not visible. When a user selects a package, the package's features and the type it belongs to are displayed on the details page. When the user clicks the Request Support Package or similar button, they fill out the request form; the request is sent to the Support Package Request screen in Manager.

| Package | Description | İşlev |
|---|---|---|
Current Package | The user's currently active or pending packages are listed as cards. The card displays the package name, type, period, fee, request/repair dates, and feature list. |
|
Available Support Package | Other packages that are Active in Manager are presented in a table. Each row shows the package type, name, period, price, and features. |
|
Expired Support Package | Packages that have been used in the past but have expired are archived here. The user can view the history and create a new request if necessary. |