In this scenario, using Select on DB-2-API in Apinizer Platform will be explained.
Click for more information about creating DB-2-API.
1. Creating DB-2-API
It is desired to create an API where worker records are managed.
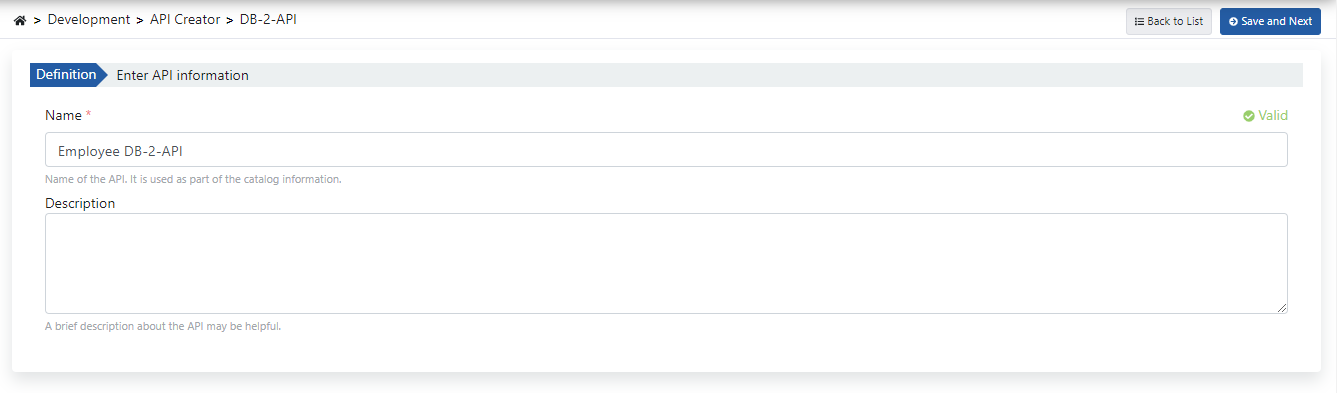
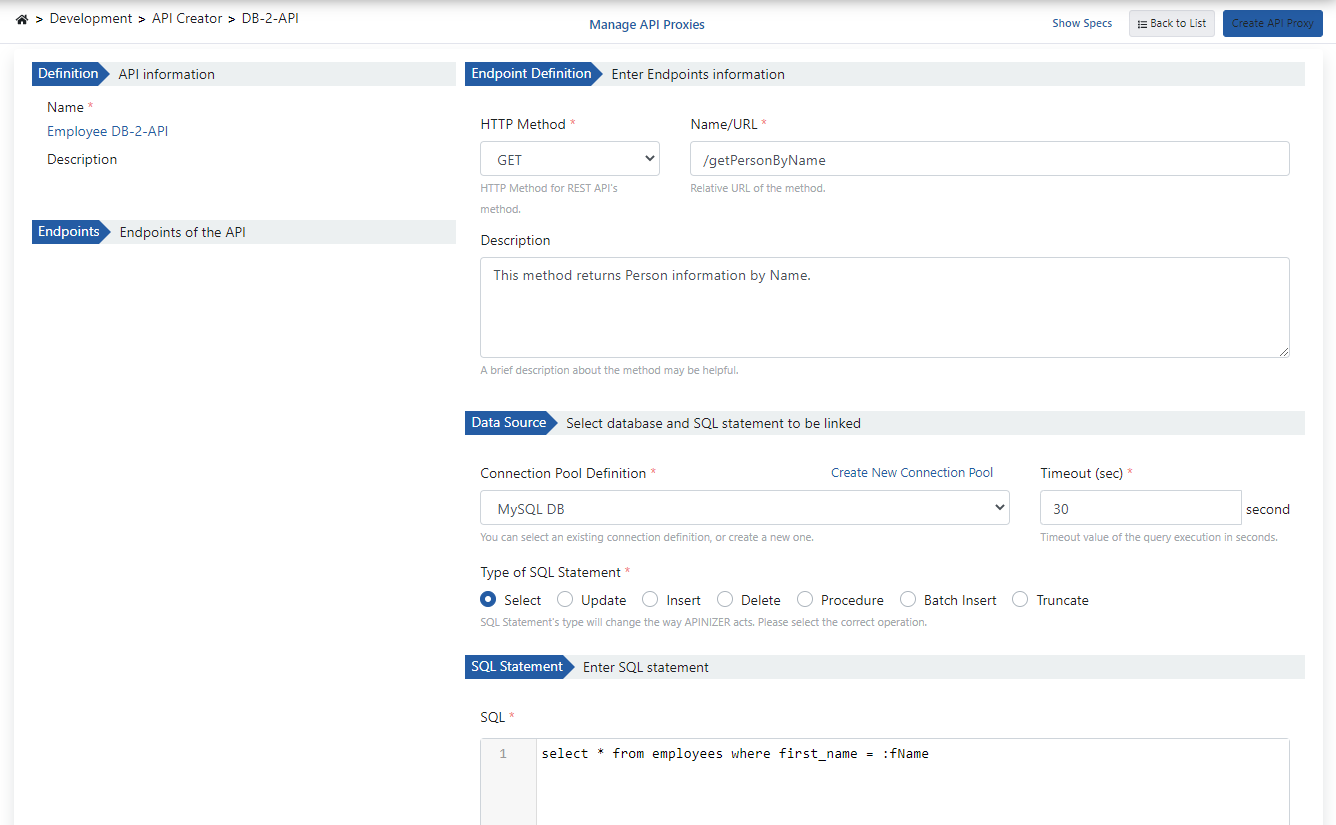
The name and description fields of the DB-2-API are filled in and the Save and Next button is clicked.
The picture below shows the DB-2-API settings:
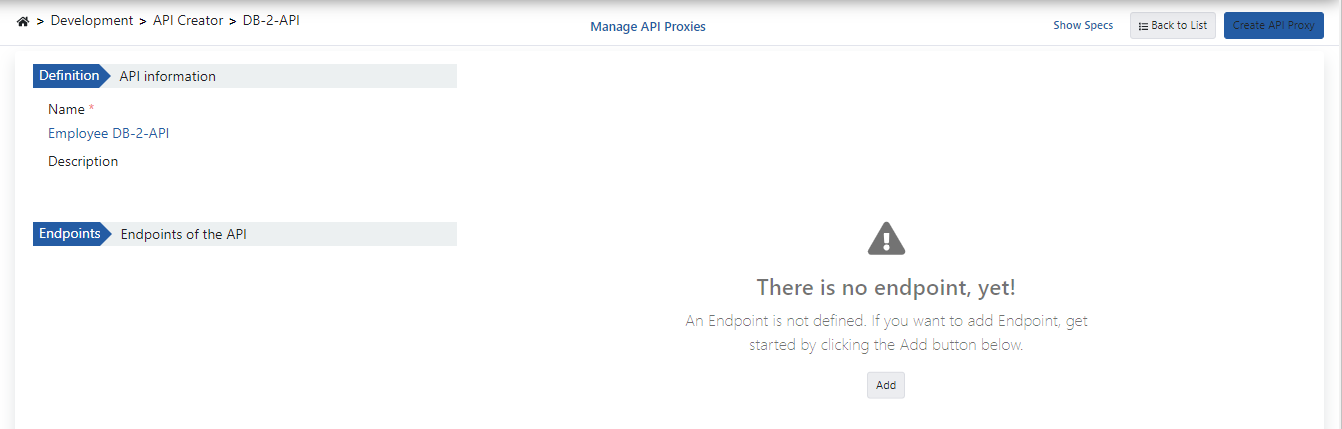
When DB-2-API is created, API and endpoint information are displayed on the left panel, and endpoint definition information is on the right.
2. Creating Endpoints
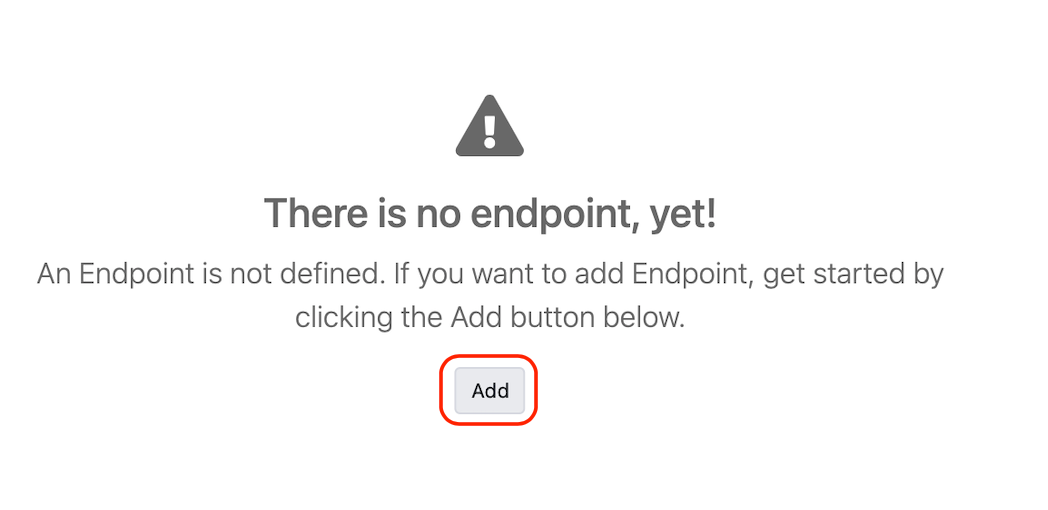
By clicking the Add button, the method/endpoint creation panel opens.
The picture below shows the endpoint creation settings:
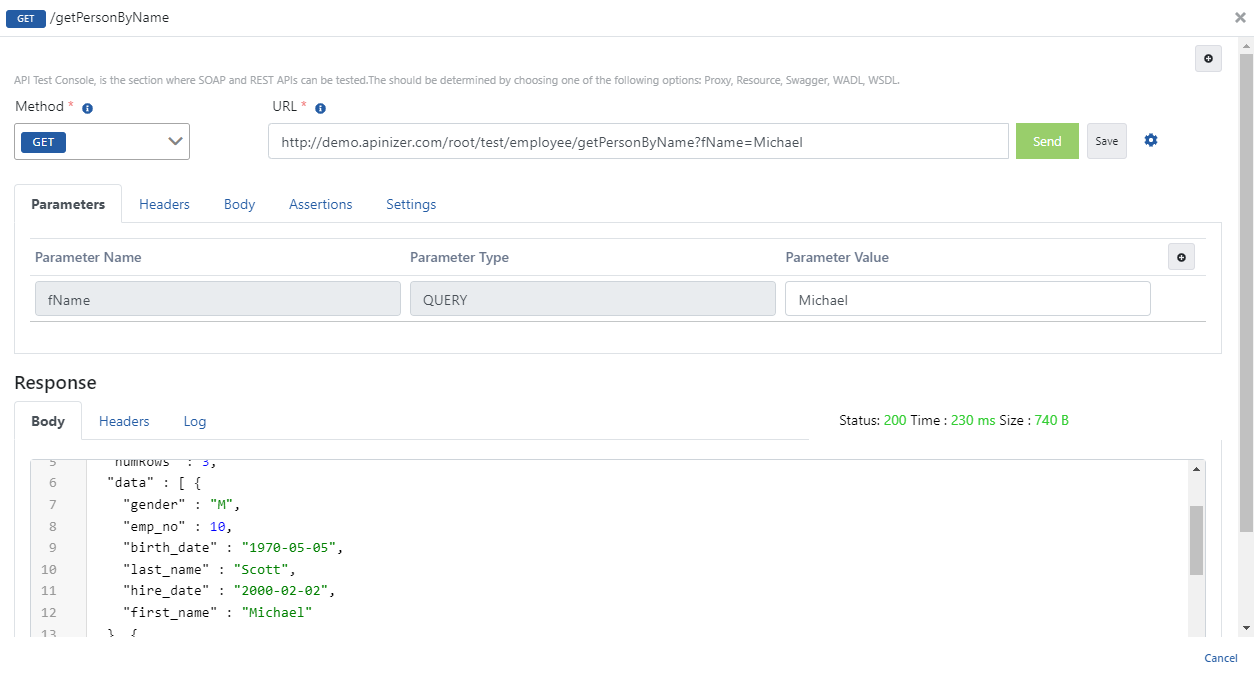
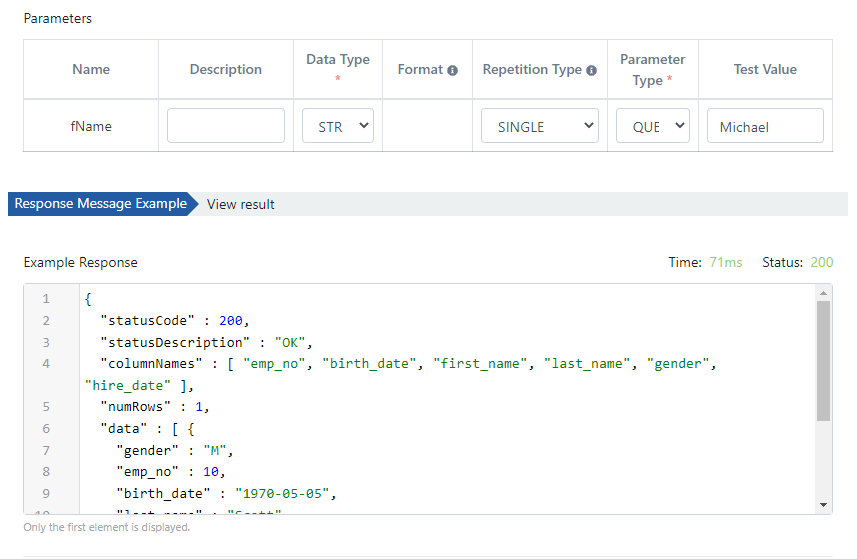
The picture below shows the template returned as a result of the test:
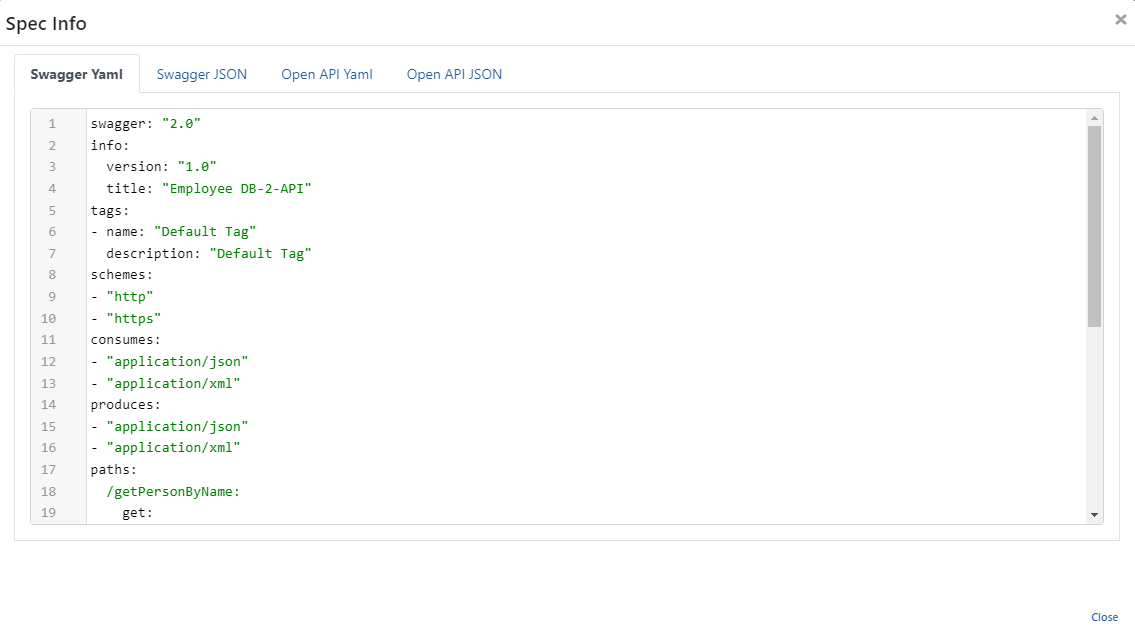
3. Viewing API Definition Documents
In order to access the API definition files of Employee Db-2-API, the Show Specs link is clicked.

The picture below shows the Spec Information dialog:
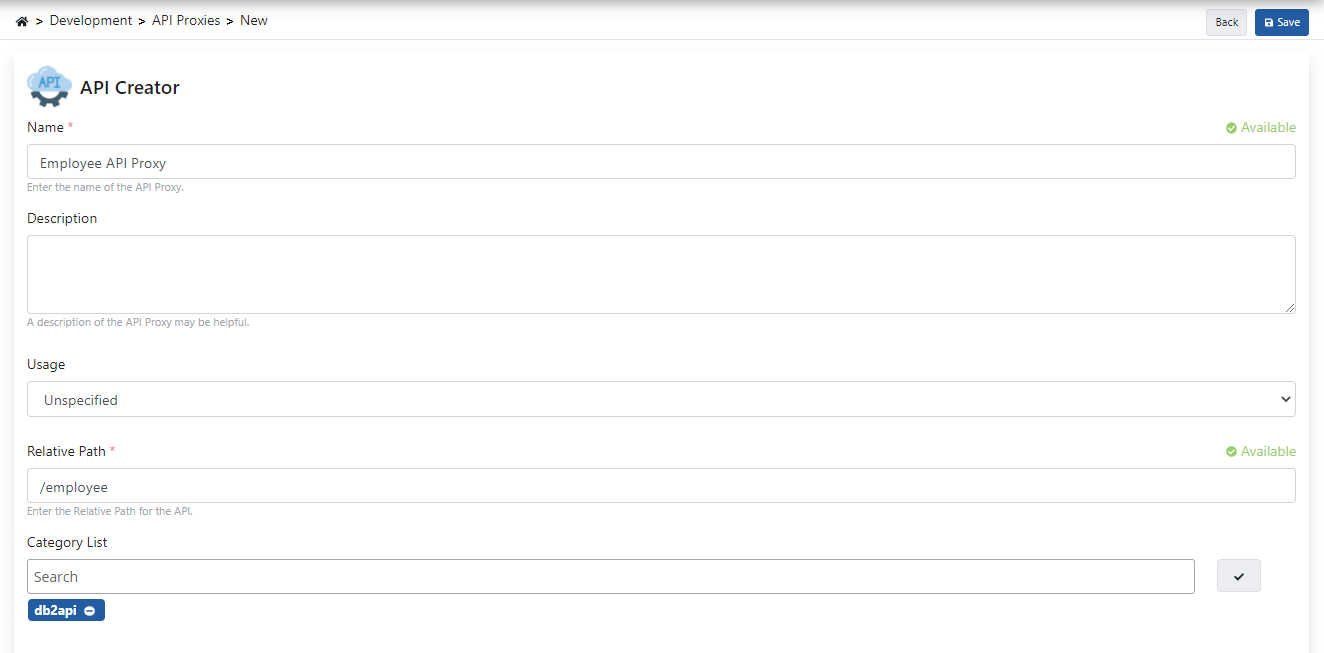
4. Creating API Proxy
API Proxy can be created instantly by clicking the Create API Proxy button on the DB-2-API screen.

While creating the API Proxy, fill in the input fields in the image below and click the Save button.
4.1 Go Live API Proxy
Employee API Proxy can be quickly deployed on the defined environment and opened for consumption by clients.
The management of this process can be done through the dialog opened with the Deploy button on the API Proxy screen.

5. Testing
The following customized response is returned when added to the /get endpoint with the condition defined and run.