Accounts/Developers
Contents
Overview
Administration > Portal > Accounts/Developers page is the section where registered user and developer accounts on the portal are displayed and managed.
You can create a new user, update existing users' information, change account statuses to Active or Inactive, or delete the account entirely from this page.
You can search and filter based on the following information on this page:
Email
Full Name
Organization
Status (Enabled / Disabled)
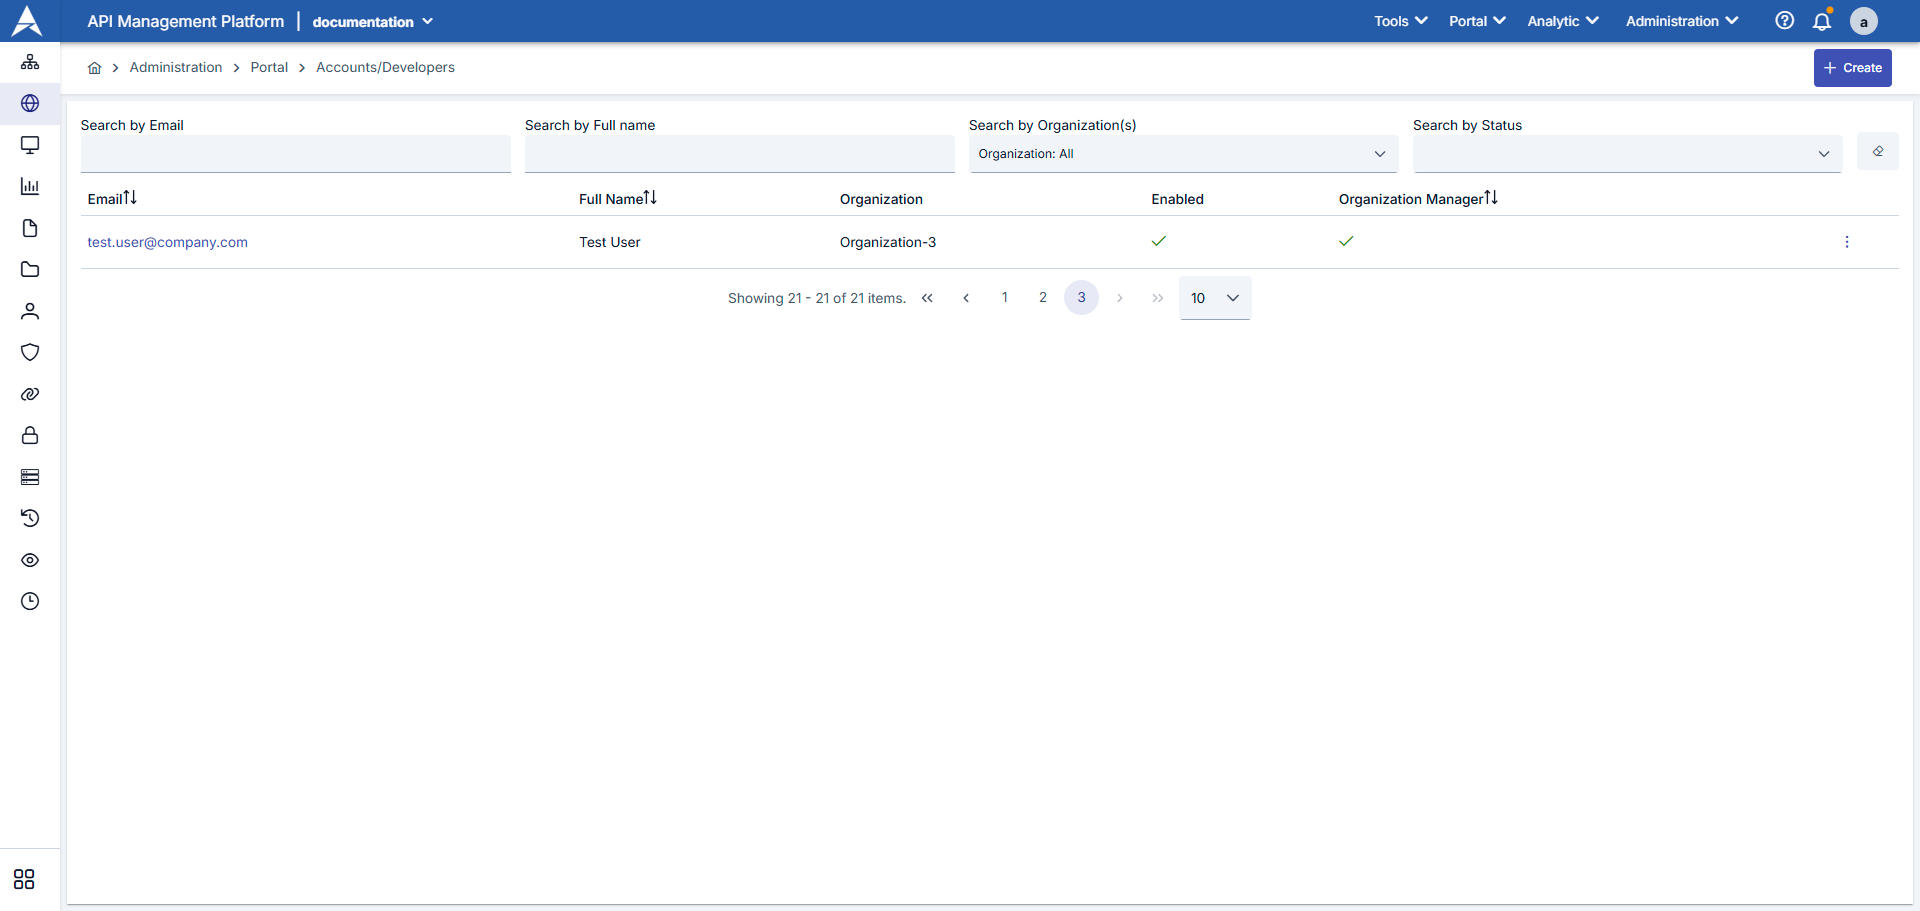
To create a new user, click the “+ New” button.
To update an existing user's information, go to the Edit option via the menu (three dots) on the relevant row.
Since the necessary permissions for both operations are held by the System Administrator role, users with this permission can create new users, update existing user information, and delete user accounts. A detailed explanation of these settings is provided below.
| Field Name | Description | Detailed Information |
|---|---|---|
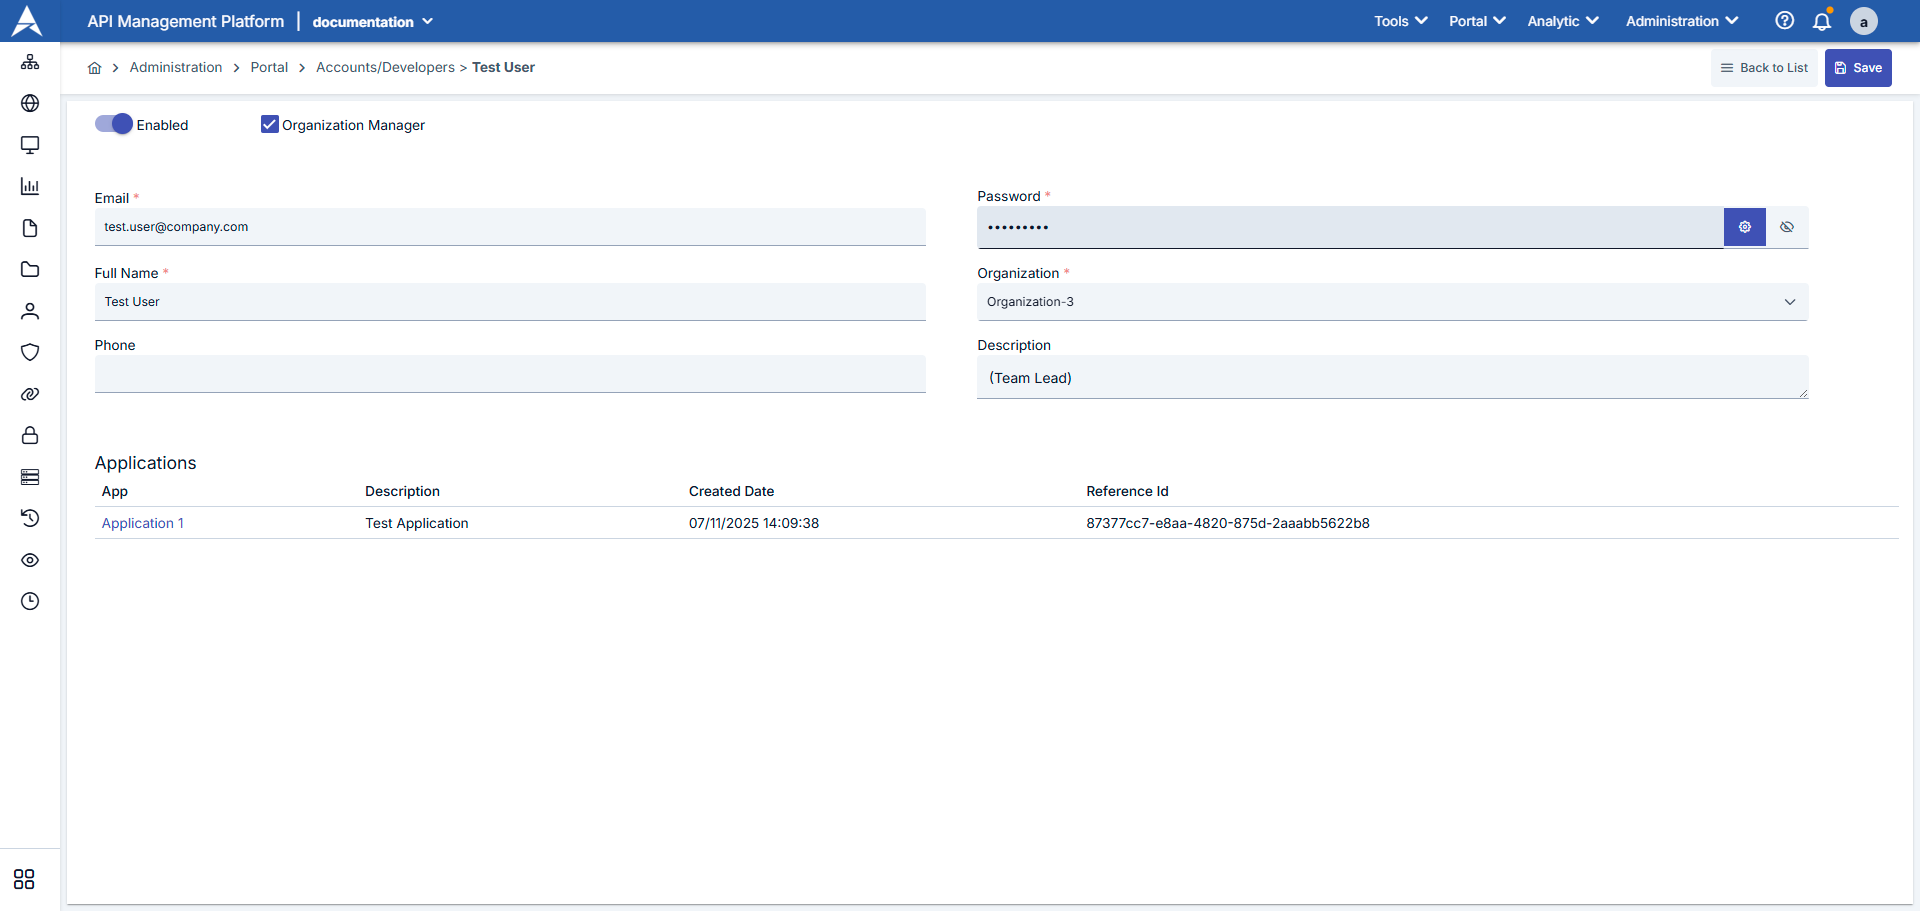
| Enabled | The user's account status can be set to active/inactive. | If it is set to passive mode, the user will receive the warning “Your account has been disabled. You can contact the Portal Manager” when attempting to log in. If it is left active, the user can log into the system. |
| Organization Manager | Grants administrative privileges for the organization to which the user belongs. | When activated, the user gains the authority to manage other users, applications, and settings within the organization. |
| This is the email address the user will use to log in to the system. | It must be unique. This address is where notification, confirmation, and password reset emails are sent. Example: test.user@company.com | |
| Full Name | The user's first and last name. | Displayed in profile and contact information. Example: Test User |
| Phone | This is the user's contact phone number. | This is an optional field. It is left blank in the image. |
| Password | This is the password the user will use to log in to the portal. | The system can automatically generate a strong password, or the user can enter one manually. It can be reset via email using the “Forgot my password” option. |
| Organization | The user's affiliated organization is selected. | This selection determines the products the user can access. Example: Organization-3 |
| Description | Role or task information can be added to the user. | Example: (Team Lead). This field is used to specify roles such as “Team Lead” or “DevOps Engineer.” |
All applications and details belonging to that person are listed. The fields are explained in the table below:
| Field Name | Description | Deatiled Information |
|---|---|---|
| App | The name of the application accessed or created by the user. | The application represents the API connections registered to Product on the portal. Example: Application 1 |
| Description | Short description of the application. | Example: Test Application |
| Created Date | The date and time the application was created in the system. | Example: 07/11/2025 14:09:38 |
| Reference Id | It is the identification number that uniquely identifies the application within the system. | Example: 87377cc7-e8aa-4820-875d-2aaabb5622b8 |
API Portal Interface Appearance
After registering on the Apinizer portal and having their account approved, users can manage their profile information. However, they can only update all information except their email address. Profile updates allow users to ensure the accuracy and currency of their personal information.
You can view and edit user information.
On the Portal, users can easily view their account information and edit it when necessary. To perform this task, follow these steps:
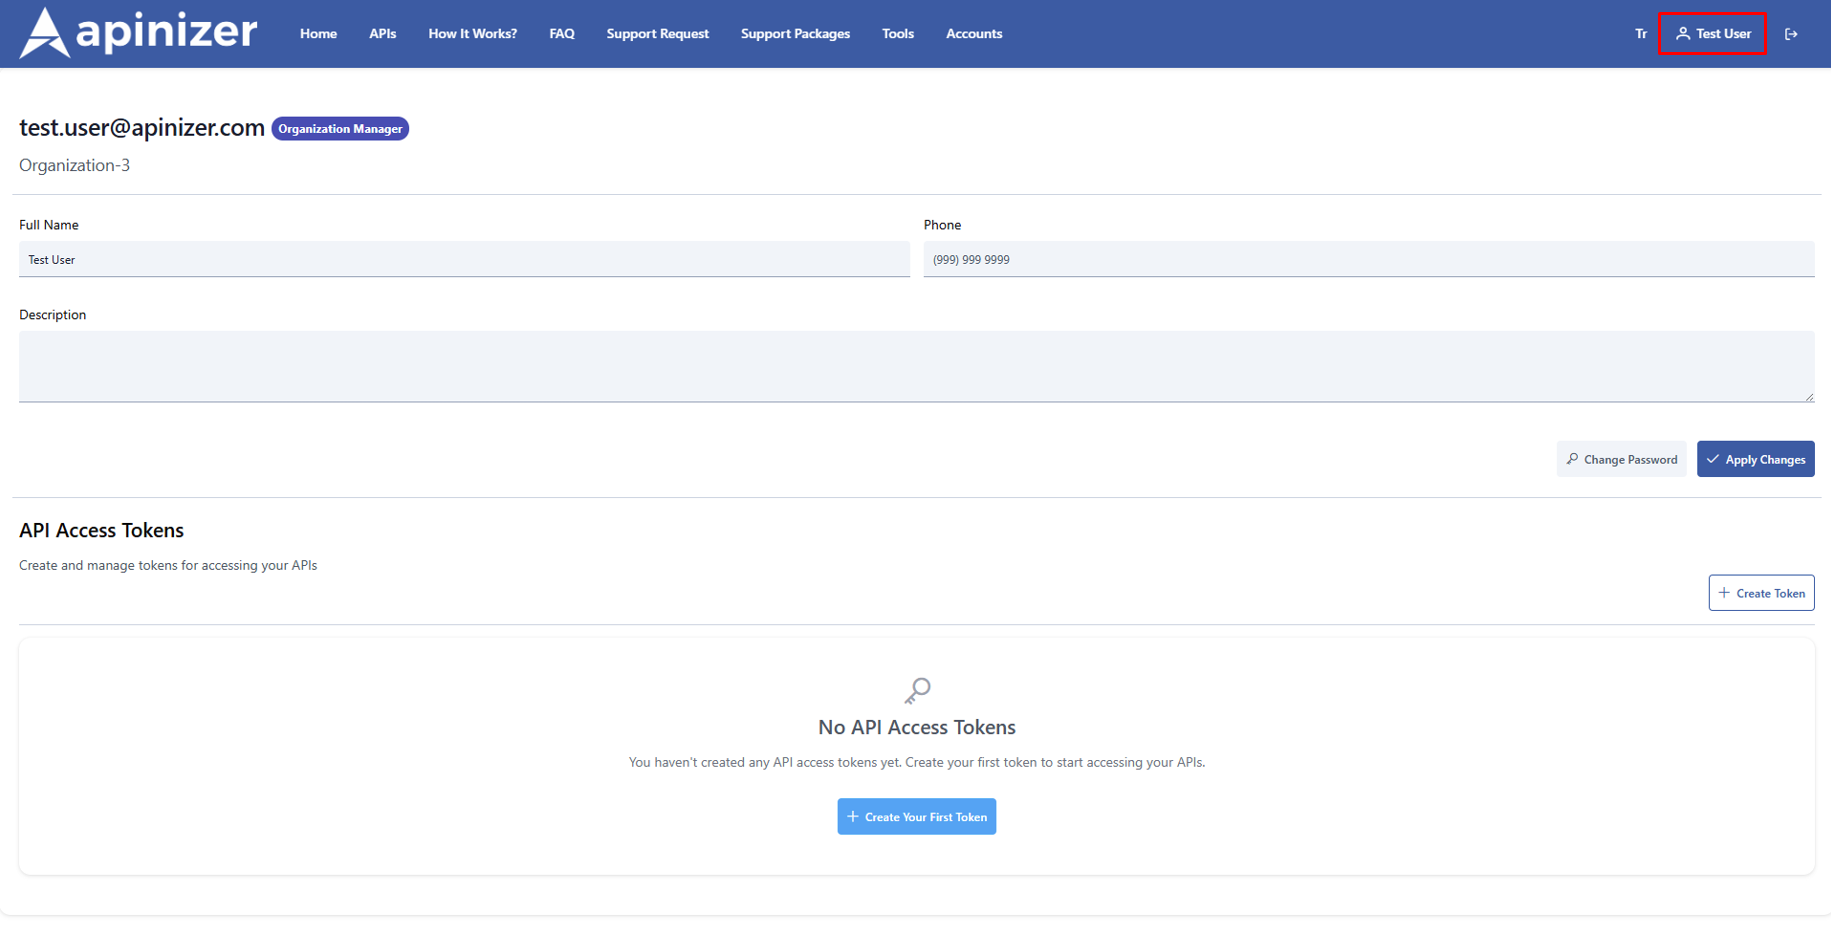
Viewing Account Information:
Email Address: The user's email address is listed at the top of their profile page. Additionally, if you are an organization administrator, an “Organization Administrator” label appears next to the email address.
Full Name: The user's first and last name are displayed on the profile screen and can be edited.
Phone Number: The phone number can also be viewed and updated in the same way.
Description: The user can add personal information or descriptions related to the organization to the profile description section.
Password Change:
The user clicks the “Change Password” button to change their password, enters their current password, and creates a new one. They must re-enter the new password to confirm it.
You must click the “Apply Changes” button to save the changes you have made.
It is explained visually below.

API Portal and Apinizer Manager user management:
| Process | Portal User | Manager Admin |
|---|---|---|
| Edit profile information | Name, phone number, description | All fields |
| Email change | Mostly limited | Free |
| Password reset | From the profile screen | Reset / lock |
| Account verification | Only sees | Approval / Rejection |
| Organizational management | If authorized | Full control |
| API access token üretme | If authorized | Viewing, revocation |
| Account deletion | Authorized organization manager | Full authority |
Creating and Managing API Access Tokens
Creating and managing API access tokens on the Apinizer portal is quite simple. API tokens enable your application to access Apinizer APIs.
It enables you to generate bearer tokens for machine-to-machine calls on behalf of your API Portal account (CLI, automation, third-party integration).
Each token is recorded with its name and duration information; you can cancel it whenever you want.
| Step | Description |
|---|---|
| 1. Open My Profile → Account Page | Click on the “My Profile” tab in the upper right corner of the portal, then go to the “Account” page. |
| 2. Go to the API Access Tokens Section | On the “Account” page, locate the API Access Tokens section. This section is where you create tokens. |
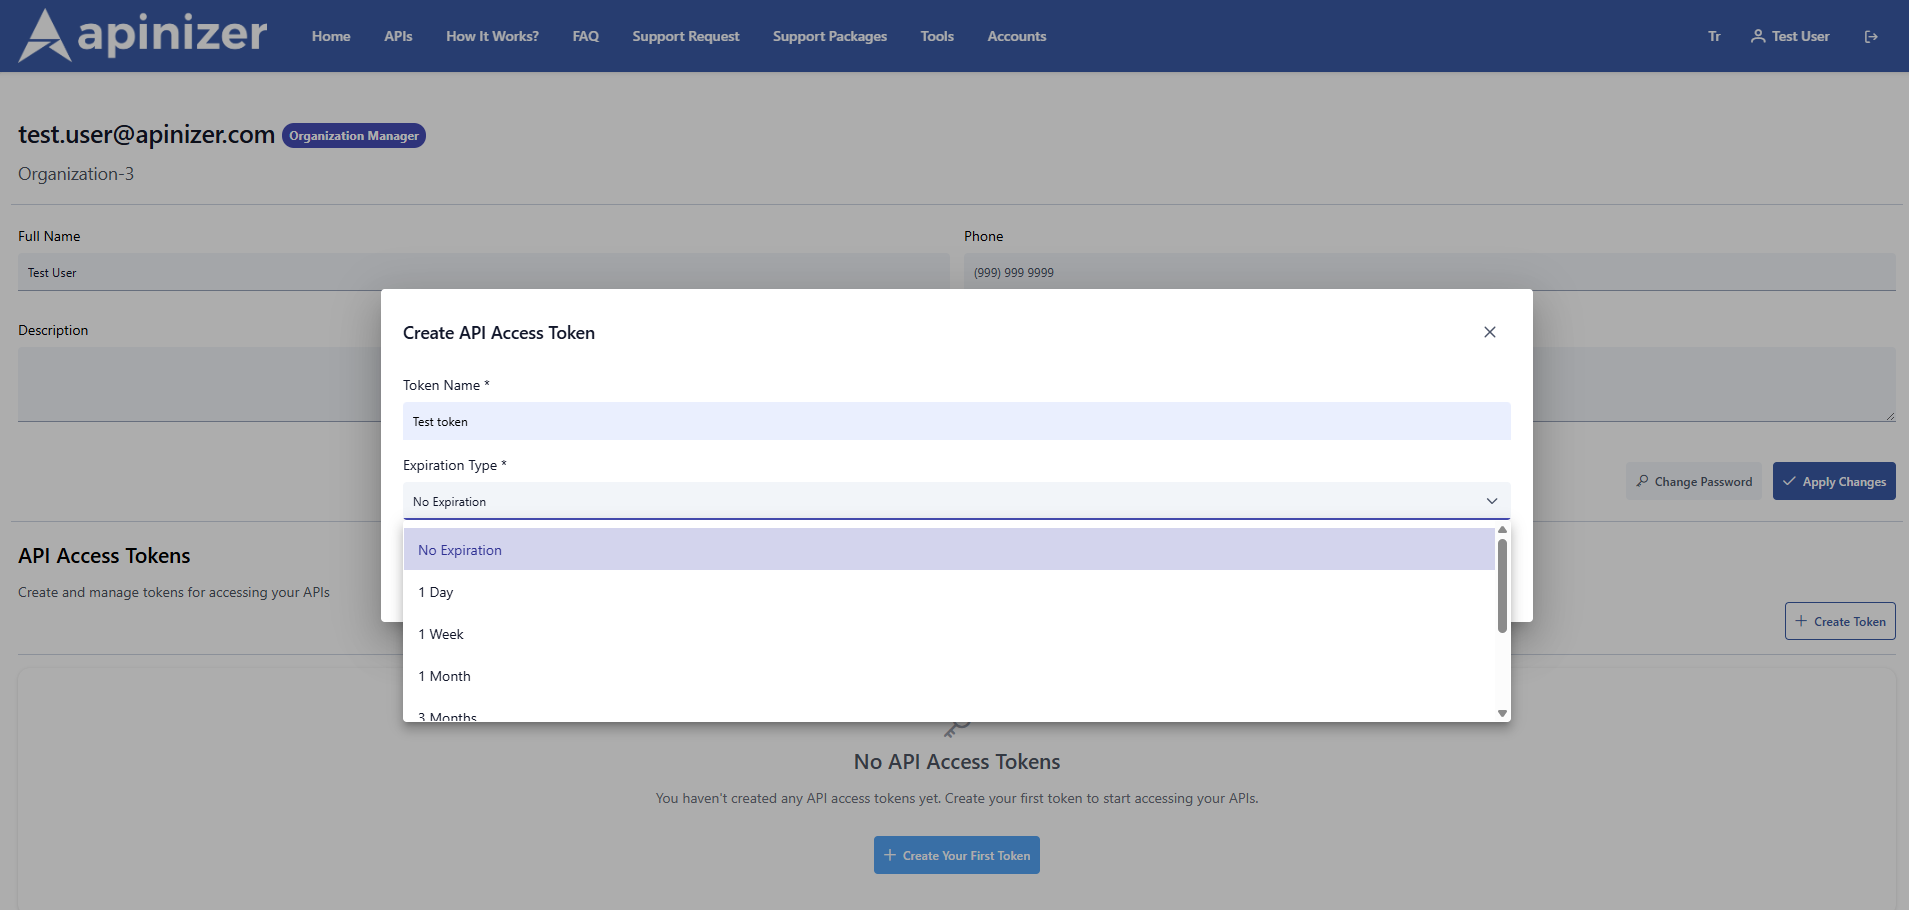
| 3. Click the Create API Access Token button | In the API Access Tokens section, click the “Create API Access Token” button to create a new token. |
| 4. Fill out the form | - Token Name: Enter a name for the token (e.g., claude-writer, ci-build). - Expiration Type: Set the token duration (No expiration, 1 Week, 1 Month, Custom Date, etc.). - If you select Custom, you must select a date from the calendar. |
| 5. Create a Token | When you click the “Create” button, a token is generated and displayed once. Copy this token immediately and store it in a secure location. |
| 6. View the List | The tokens you have created are listed. - Show/Hide Button: You can temporarily show or hide the token value (it is stored on the screen as an asterisk). - Copy Button: You can copy the token to the clipboard. - Revoke Button: You can revoke the token and remove its permissions. |

When the token is revoked, integrations will start receiving a 401 error; generate a new token and update the configuration.
Where Can Tokens Be Used?
An API Access Token is an authentication tool used to securely access the Apinizer API.
The “API Access Tokens” tab on the profile page allows developers to generate personal access keys to authorize machine/machine integrations linked to their own account. These keys are specifically designed for AI assistants or external automations running over MCP (Model Context Protocol) to access Portal/Manager APIs; tokens generated on the service side come in the format mcp_<uuid> and are displayed in plain text only at the time of creation.
This token enables your application or integrations to send or receive data to or from the Apinizer API across different platforms.
By integrating the token you created with platforms such as AI tools that use the API Portal and MCP, you can securely manage data flow between systems.
- For MCP integration, you can visit the API Portal MCP Usage documentation.
Creating an Account from the API Portal Interface
Everyone who wishes to access the Apinizer API Portal, including Apinizer administrators, must register for the API Portal and submit an access request. Administrators will have separate credentials for Apinizer and the API Developer Portal.
Developer registrations can be manually approved by Apinizer administrators or automatically approved by configuring automatic approval settings.
Sign up as a developer
All developers must register via the Apinizer API Portal. An Apinizer administrator can provide you with the correct registration URL.
For the Sign Up button to be active, the “Enable developers to create their own accounts” option must be enabled in the API Developer Portal settings section. If this option is disabled, the Sign Up button will not be active.
To register as a developer, go to the Apinizer API Portal and follow these steps:
| Step | Description | appearance |
|---|---|---|
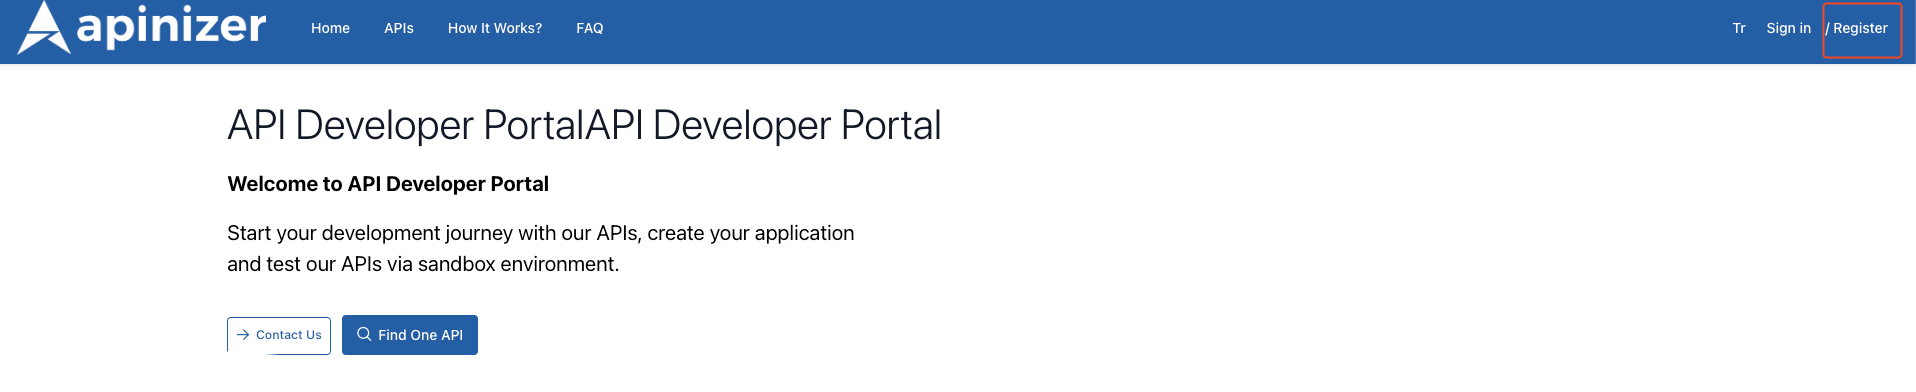
| Step 1 | If you are not yet a member of the Apinizer API Portal, you can sign up by clicking the Sign Up button in the upper right corner. |
|
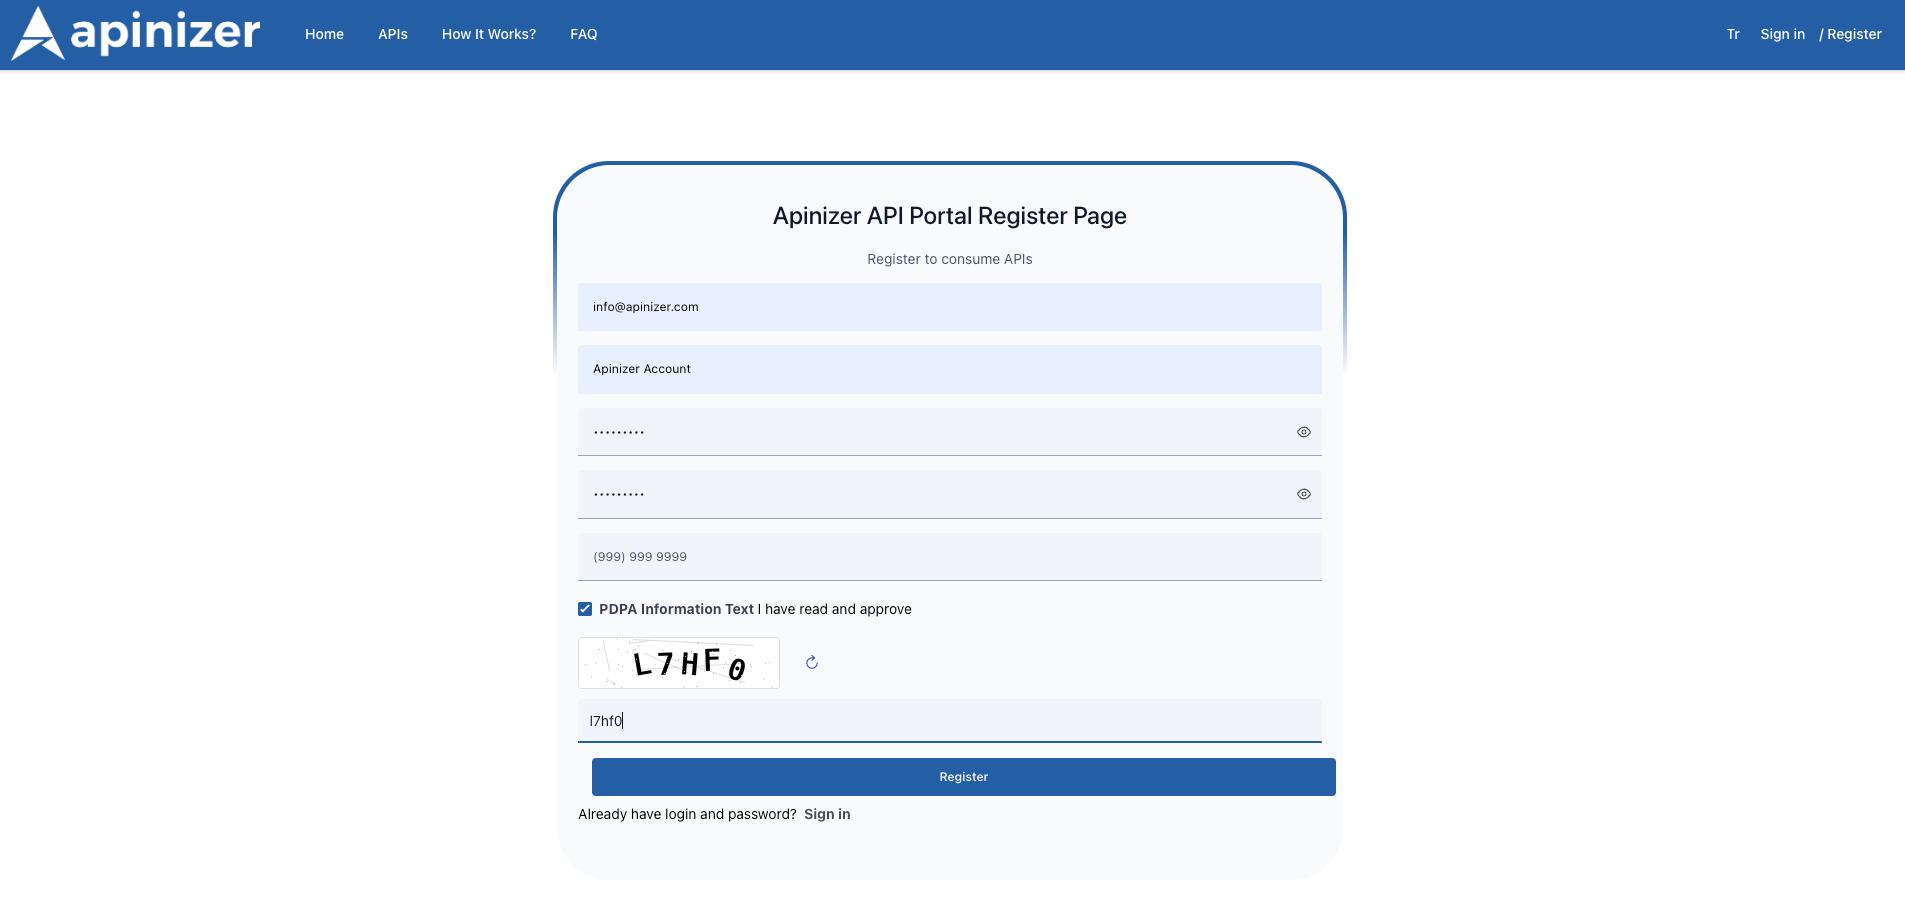
| Step 2 | The relevant fields are filled in as shown in the image below, and the Register button is clicked. If the “Auto Approve Accounts/Developers” button is not enabled, an administrator must manually review and approve the request in the API Manager section. All manually approved developers are notified via email when they gain access to the API Portal. For more information about the manual approval process, you can read the manual approval documentation. |
|
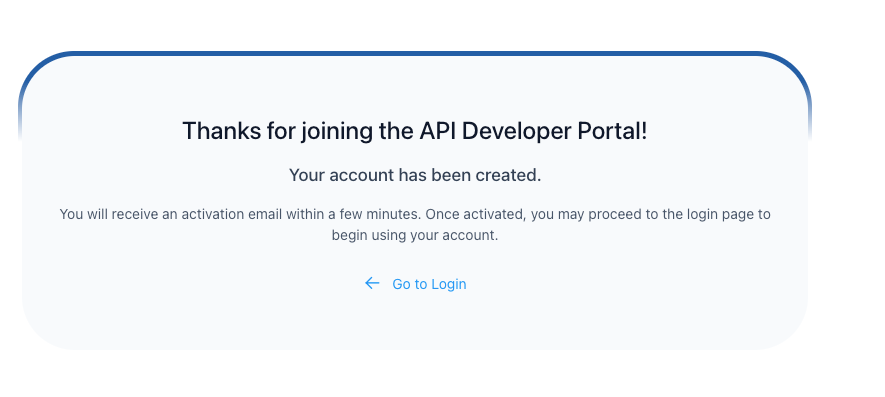
| Step 3 | To successfully complete the registration process, you will need to activate your account by clicking on the confirmation link sent to your email address. If the confirmation process is successful when you click on the link, the following screen will appear. |
|
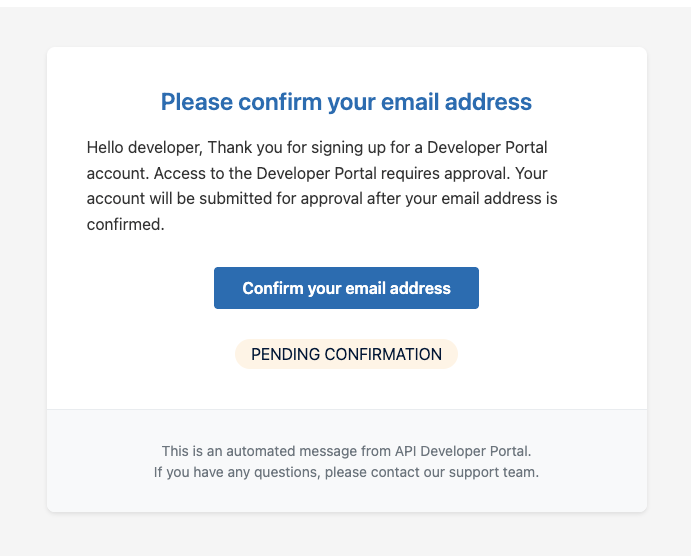
| Step 4 | To successfully complete the registration process, you will need to activate your account by clicking on the confirmation link sent to your email address. If the confirmation process is successful when you click on the link, the following screen will appear. |
|
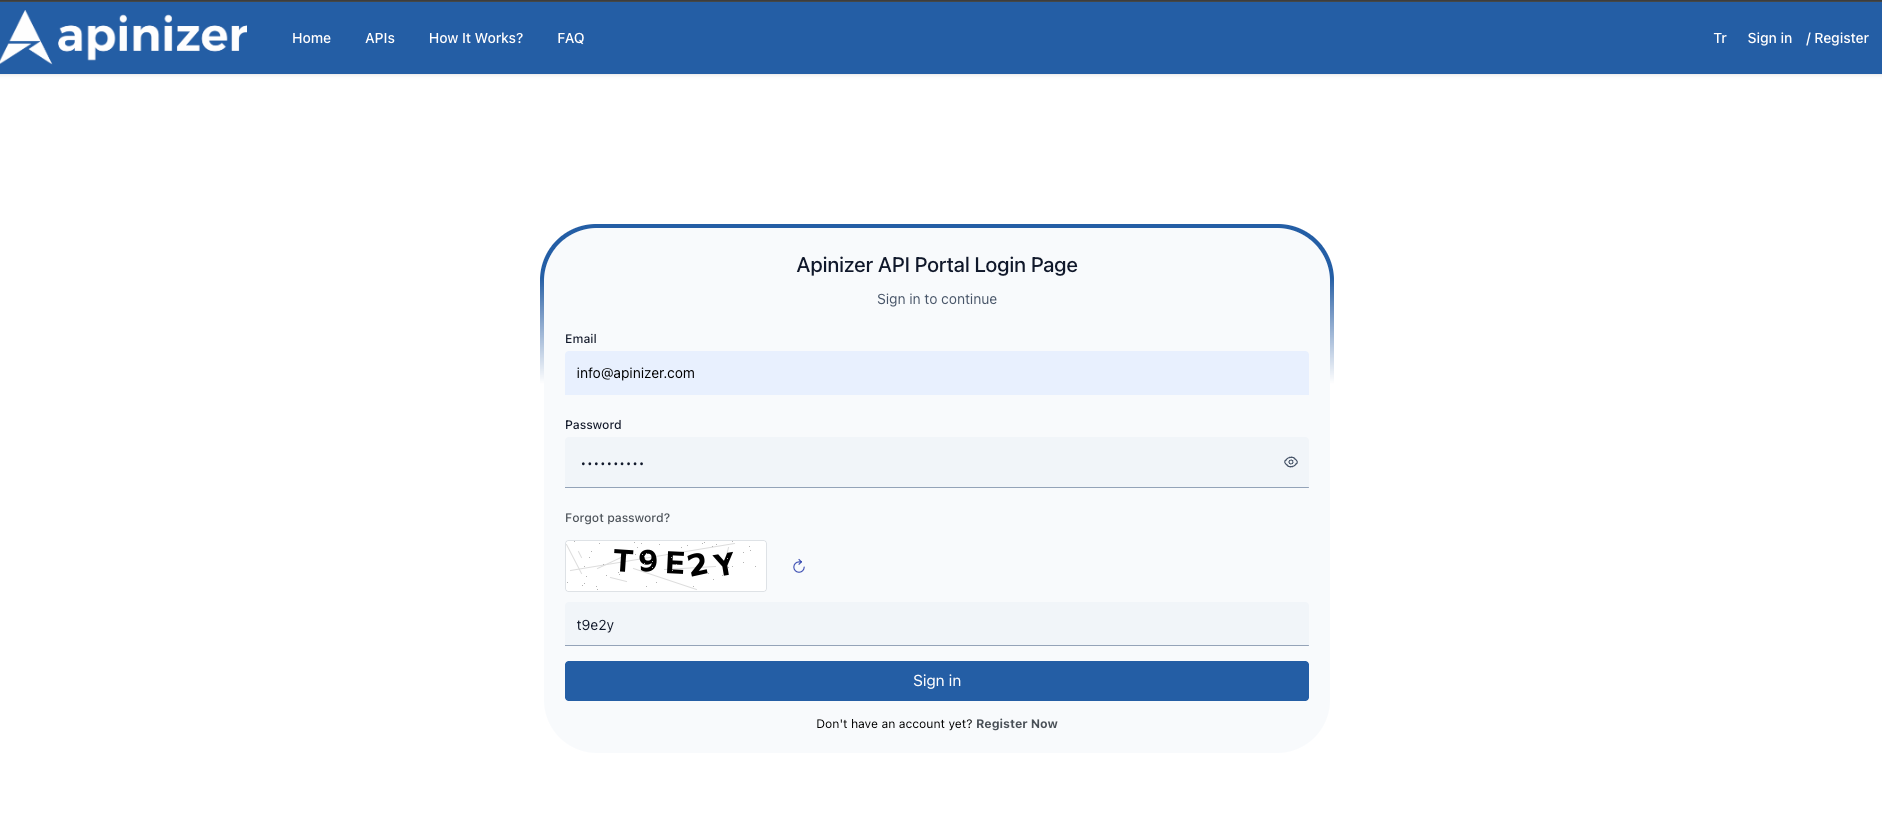
| Step 5 | You can log in to the API Portal with your activated account information. |
|
You can review the general settings to be used on the API Developer Portal in detail.
I forgot my password
If you forgot your password: Click on the “Forgot your password?” option in the Developer Portal. Enter the email address associated with your API Portal account. If an account exists with the specified email address, you will receive an email asking you to change your password.