Creating an API Proxy
With Apinizer, it is very easy to create an API Proxy using an existing API/Web Service as a Backend API, or create an API Proxy without a Backend API and publish it as an API.
In this document, creating an API Proxy using the Swagger 2.x Documentation URL of an API will be used to explain related fields.
The steps followed when creating a sample API Proxy below are the same as those described on the Quick Start page, but there are explanations for the data fields in this section.
1- Development → API Proxies is selected in main menu.
2- Click the +Create button at right top side of the interface.
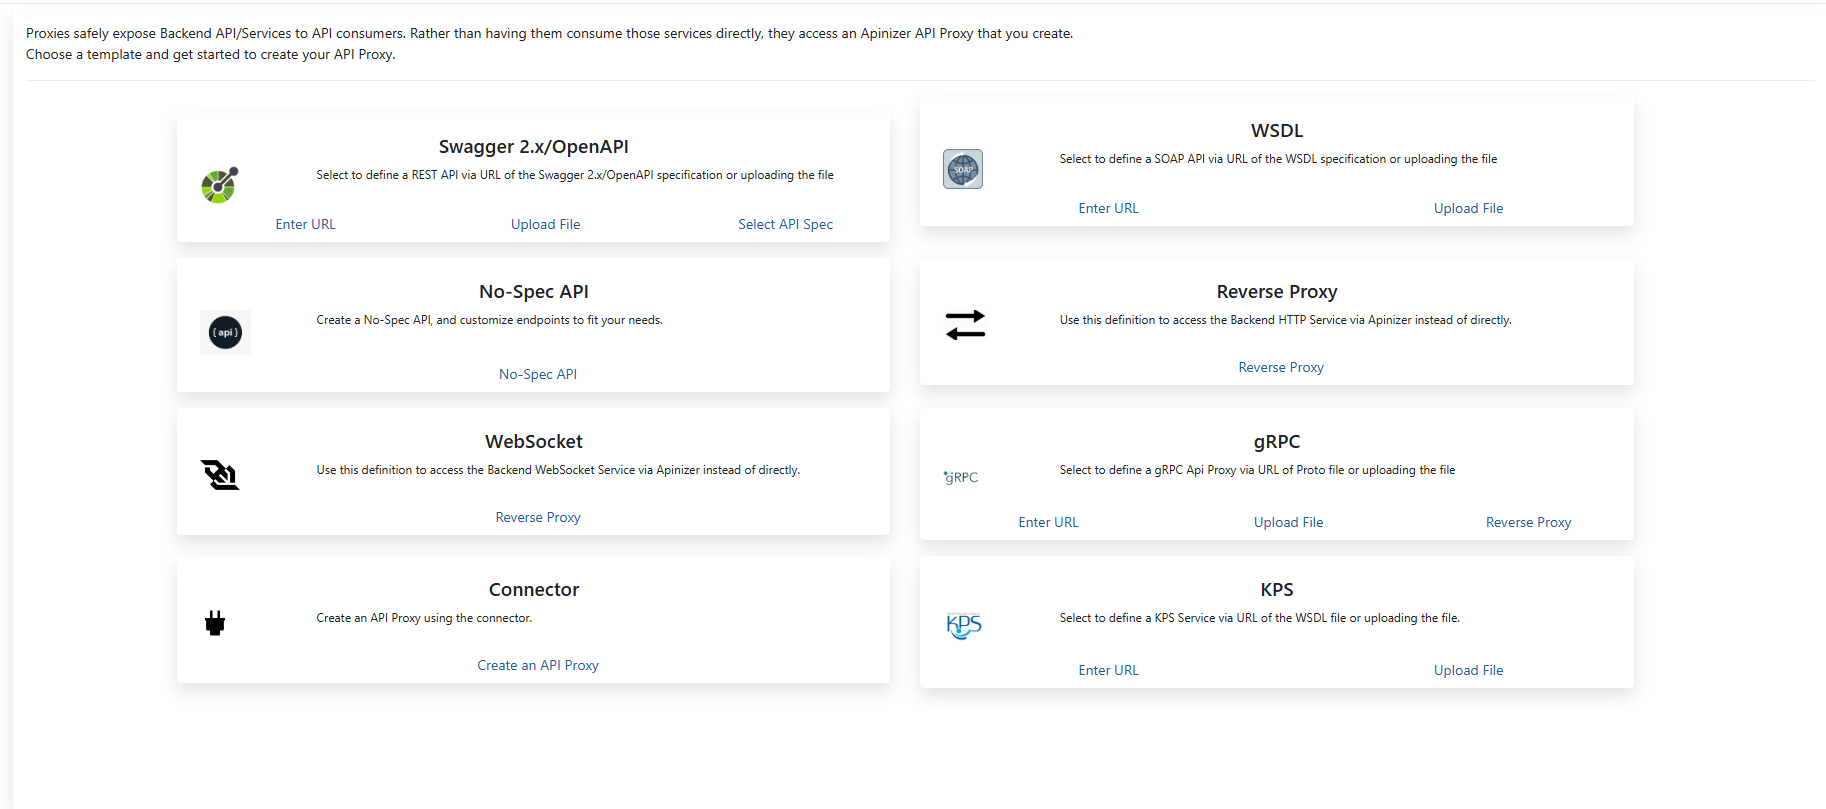
3- Options to create the API Proxy will be displayed.
| Type | Description |
|---|---|
| Swagger 2.x | Used to create REST API Proxy from Swagger 2.x definition. Click here for more information. |
| WSDL (SOAP) | Used to create SOAP API Proxy from WSDL definition.. Click here for more information. |
| OpenAPI/Swagger 3.0.x | Used to create REST API Proxy from OpenAPI/Swagger 3.0.x definition. Click here for more information. |
Reverse Proxy | Used to create HTTP Reverse Proxy that forwards incoming requests to a Backend API regardless of whether the method/endpoint exists, and returns the responses from the Backend API to the client. No definition file is required, and there's no need to define the Backend API's methods/endpoints individually. Providing the root context of the Backend API is sufficient. |
No-Spec API | Provides the ability to manually define methods/endpoints and create an API Proxy for an API that was previously developed using a code-first approach and has no definition file. Apinizer automatically generates API definition files in Swagger or OpenAPI formats based on the definitions. |
gRPC | Used to create gRPC Proxy that forwards incoming gRPC requests to a Backend gRPC Server and returns the responses from the Backend gRPC Server to the client. No definition file is required, but a proto file can be used. |
WebSocket | Used to create WebSocket Proxy. |
Connector | Used to create API proxy from connectors. This feature transforms HTTP to protocol of API to related connector's protocol such as Kafka, RabbitMQ, ActiveMQ, Mail...etc. To learn more about connectors please visit this page. |
There are some additional options below the options.
| Field | Description |
|---|---|
| Enter URL | API Proxy can be created by specifying the URL where the API Definition Document of the API for which API Proxy is to be created is accessible. Examples: |
| Upload File | API Proxy can be created by uploading the API Definition Document of the API for which API Proxy is to be created is accessible. |
| Select API Spec | API Proxy can be created by an API Spec that was previously created with the API Spec Creator. |
Click the Enter URL link for Swagger 2.x from the options in the New API Proxy creation interface.
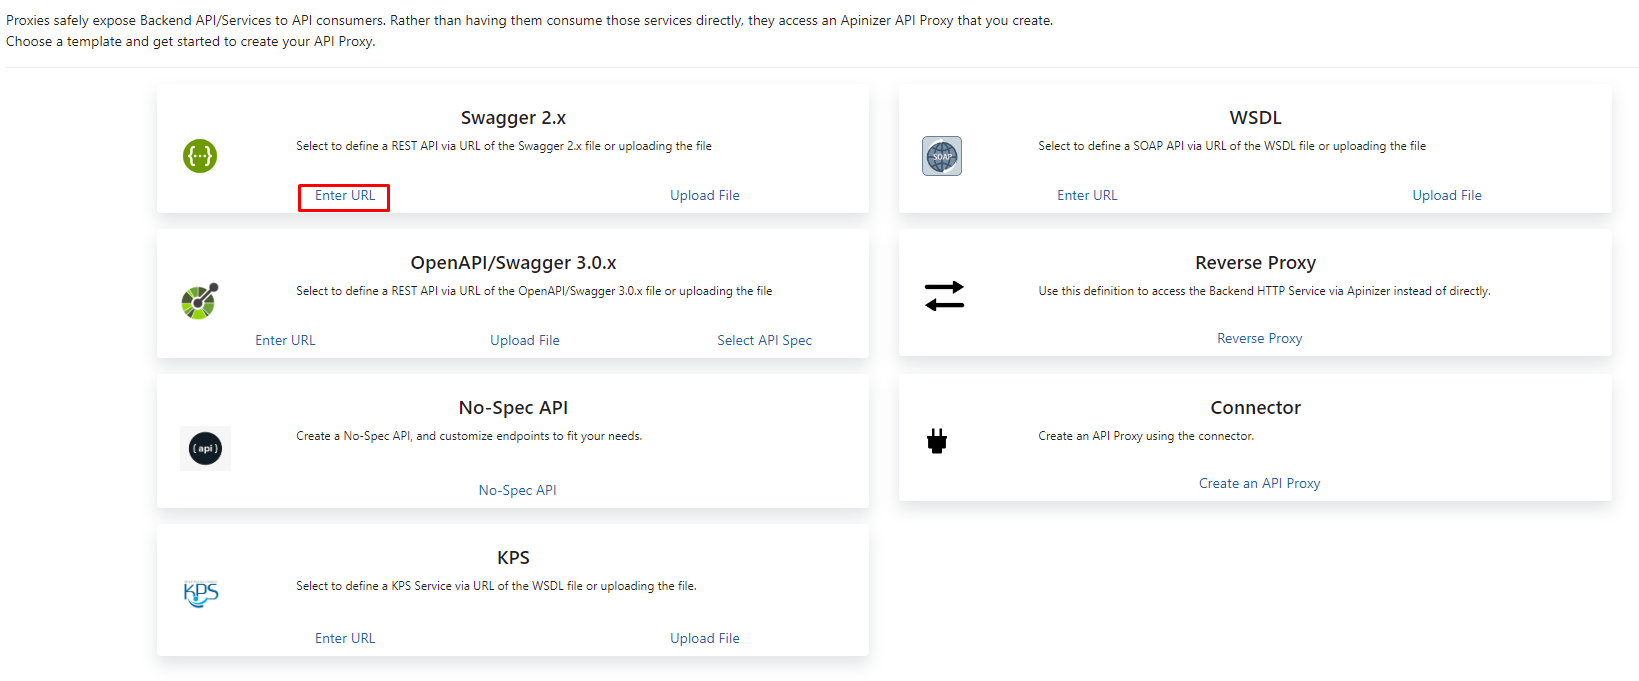
4- Following data fields appear on the interface.
| Field | Description |
|---|---|
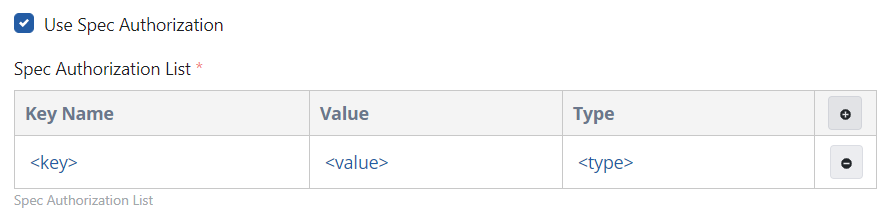
Use Spec Authorization | Some definition files check that the client is authorized so that their content can be viewed. For this, authorization data must be sent within the HTTP request. If the definition file in the URL to be accessed is such a file, this box is checked and the credentials are entered. |
| URL | The URL of the API Definition Document. |
If the Use Spec Authorization option is checked, the table below appears and the keys required for authorization are added.
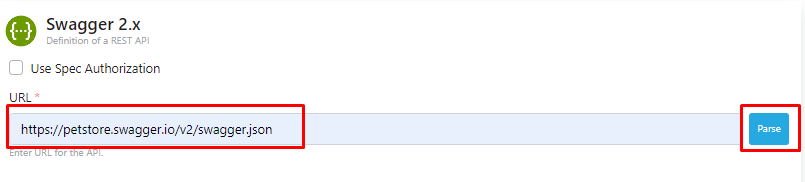
The Use Spec Authorization option is not needed for this example. Type the address https://petstore.swagger.io/v2/swagger.json in the URL field and click the Parse button on the right.
5- The information of the API is displayed by parsing the Swagger file at the address given in the URL field.

The fields in the incoming interface are explained in the table below.
| Field | Description |
|---|---|
| Name | The name assigned to the API Proxy by the user. This name is displayed in the UI. |
| Description | The definition/description information of the API Proxy. |
| Routing Addresses | Access addresses of the Backend API. Can be activated/deactivated via the status checkbox. Multiple addresses can be added for load balancing. |
| Client Route | The routing method used by clients to access the API Proxy (Path-based, Method-based, or Header-based). For detailed information, please see API Proxy Client Route User Guide |
| Relative Paths | A part of the API Proxy's accessible address. Used to route incoming requests to the appropriate API Proxy. Example: • Apinizer address: https://demo.apinizer.com• Relative Path: /petstoreProxy• Environment address: /apigateway• Endpoint: /findByStatus• Full access address: https://demo.apinizer.com/apigateway/petstoreProxy/findByStatusImportant Notes: • Must be unique per application • Cannot be the beginning of another path • If "Enable Relative Path" is active in project settings, the project path is automatically added to the beginning |
| (For gRPC API Proxy Type) | If the API Proxy type is gRPC, this value must match the format /packagename.servicename in the proto documentation.Example: proto<br>syntax = "proto3";<br>package hello;<br>service HelloService { }<br>Relative path value should be: /hello.HelloService |
| (For WebSocket API Proxy Type) | For WebSocket API Proxy types, refer to the relevant documentation page for how the relative path should be defined. |
| Methods | Supported HTTP methods of the API Proxy (GET, POST, PUT, DELETE, PATCH, etc.). |
| Hosts | Host addresses of backend services. New addresses can be added using “Add a host”. |
| Headers | HTTP headers to be added at the API Proxy level. New headers can be added using “Add a header”. For more details, refer to: API Proxy Client Route Usage Guide |
| Backend API Version | The Backend API version defined in the API Proxy. |
| Category List | Categories may be created to facilitate management of API Proxies. The category list is used to specify which categories the API Proxy belongs to. |
| Usage | Defines the origin of the Backend API. Possible values: • Publisher: Backend API is provided by the organization itself. • Consumer: Backend API belongs to another organization and the API Proxy is created to access it. • Publisher & Consumer: The API Proxy is created for a third-party Backend API and is also provided to third parties. |
| Sharing Type | Defines how the Backend API is shared. Possible values: • External • Internal • External and Internal |