Portal Organizations
Contents
Overview
Apinizer API Management Platform has been developed to enable enterprise-level modeling of identity and access management. The primary goal is to separate and manage API access permissions, users, and identity information on an organizational basis (organizational context).
This structure allows each organization to manage its own identity domain, access rules, and user set in an isolated manner in multi-organization or multi-project scenarios. Thus, when an API Developer Portal user has a question about an API Product, they know who to contact.
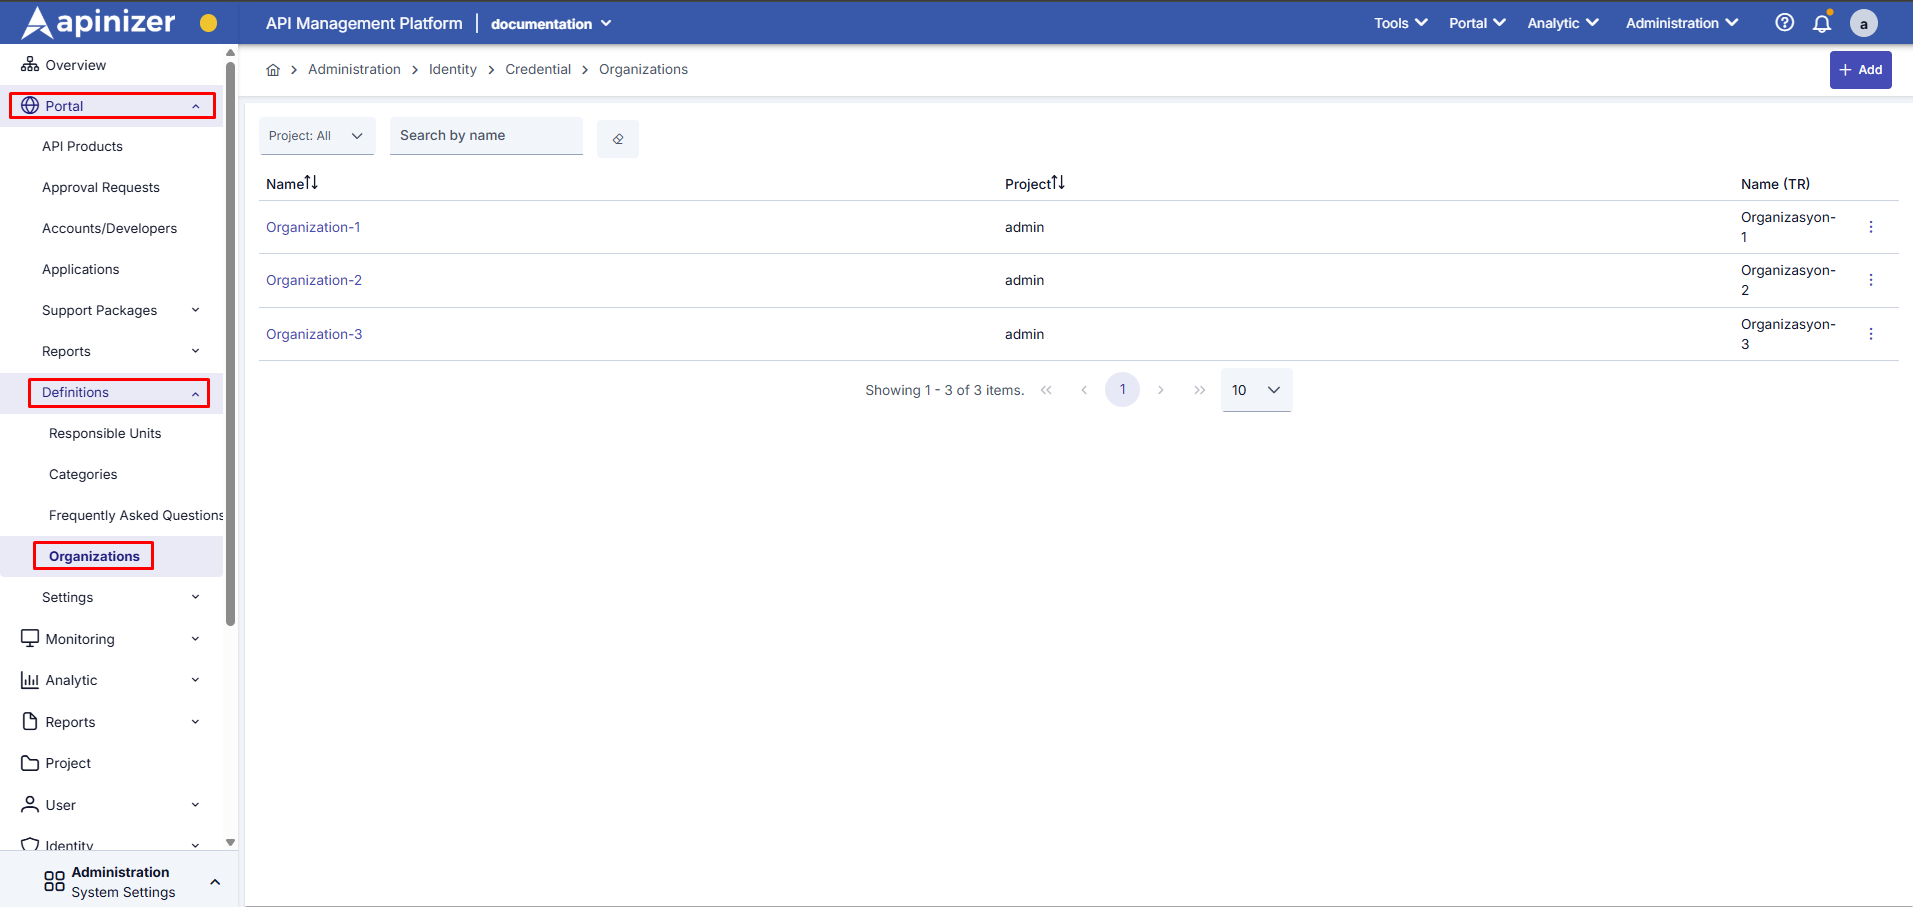
The image below shows the Responsible Units screen details:
To define an organization in the Portal, create a new organization by clicking +Add in the Apinizer API Manager > Administration > Portal > Definitions > Organizations menu.
Field | Description |
|---|---|
Code | This is the organization's unique short code. It is used for internal system references or integrations. |
Name | This is the organization's name. This name is displayed when the language selection is “EN” on the API Manager and Portal. |
Parent Organization | If the defined organization has a parent organization, it is selected from this field. The parent-child relationship enables the creation of a hierarchical structure. |
Name(TR) | Visible when multilingual support is active. This is the organization's name in Turkish. This name is displayed when the API Portal is operating in Turkish. |
When both the Turkish Language Option and the English Language Option are enabled in the Portal Settings, the system automatically switches to Multilanguage mode.
If the Multilanguage feature is enabled in the Portal Settings, form fields are displayed in both English and Turkish, and separate data entry can be made in each language.
The responsible unit information created is used for organization selection during the Portal user account creation process. For detailed information, please review the Accounts/Developers page.
Creating a New Responsible Unit
The organization registration is completed by filling out the form fields in the Create/Edit a Credential Organization window that opens. After completing the required fields, click the Save and Deploy button to complete the process.
The image below shows the screen for creating a responsible unit:
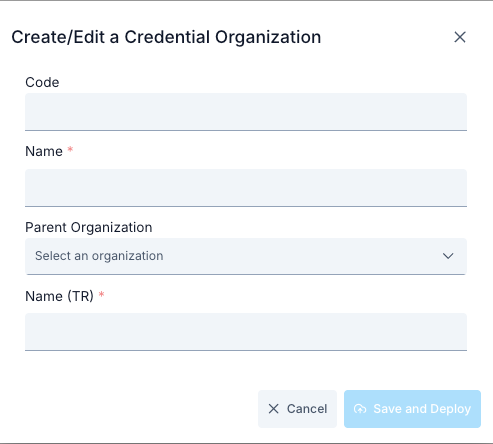
The fields used for responsible unit creation configuration are shown in the table below.
Adım | Function /Description |
|---|---|
| Step 1: Open the List Screen | Left Open the Credential Management heading from the menu. Click the Organizations tab. |
| Step 2: Open the Creation Dialog | Click the New Organization button in the upper right corner. The credential-organization-update-dialog component opens as a modal form. |
| Step 3: Enter Basic Information | Enter the organization name in the Name field (example: Acme Banking). Add the organization's scope or communication notes in the Description field. If there are optional fields such as Tenant ID or External Reference, enter the reference codes used in corporate systems. |
| Step 4: Assign Credentials | Find the Credentials multi-select field in the form. Select the credentials you want to associate with the organization. The selected credentials are associated with the organization and displayed in the list. |
| Step 5: Save | Ensure that the required fields (at least Name) are filled in.Click the Save button; the request is sent to the POST /api/credential-organizations endpoint. |
To grant organization-based permissions to the created API Product, you can review the Visibility section on the API product page.