Applying Plain-Text Authentication Policy to REST API via LDAP Provider
In this scenario, the application of the Plain-Text Authentication policy to a API created with REST architecture named Swagger PetStore will be tested.
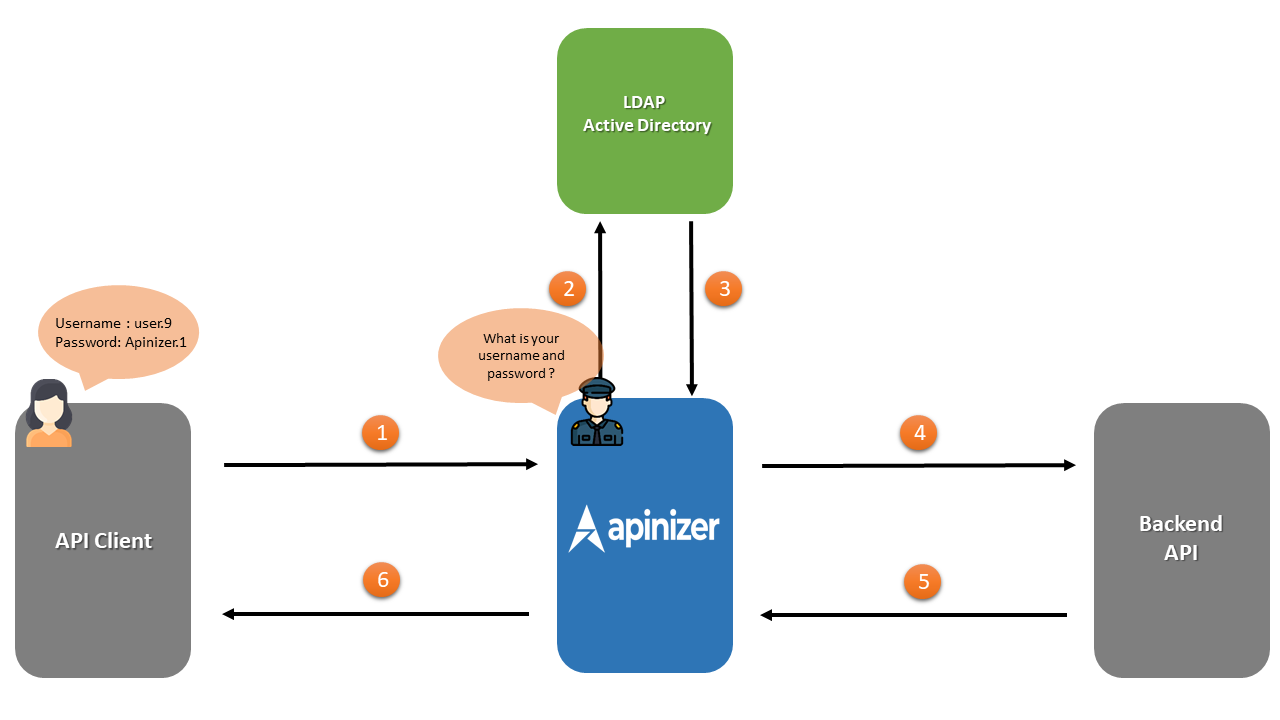
The numbering in the chart below belongs to the order of the transactions.
- The Security Manager included in Apinizer requests Plain-Text type authentication information from API Client.
- Authentication information is sent to be checked over LDAP.
- Response regarding authentication information by LDAP returns to Apinizer. If this authentication is correct, field number four is entered.
- Apinizer makes requests to the Backend API.
- Backend API responds to Apinizer.
- Apinizer responds to API Client.
Creating the API Proxy
REST API named Swagger Petstore can be accessed at https://petstore.swagger.io/.
First of all, this address must be defined as API Proxy.
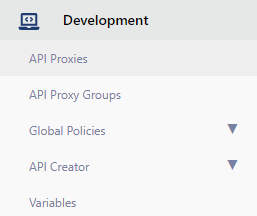
For this, click on the API Proxies option under the Development menu.
The page that opens contains the text No records found!, since no proxy has been defined before.
Here, the Create button in the upper right corner is clicked and a new proxy is started to be created.

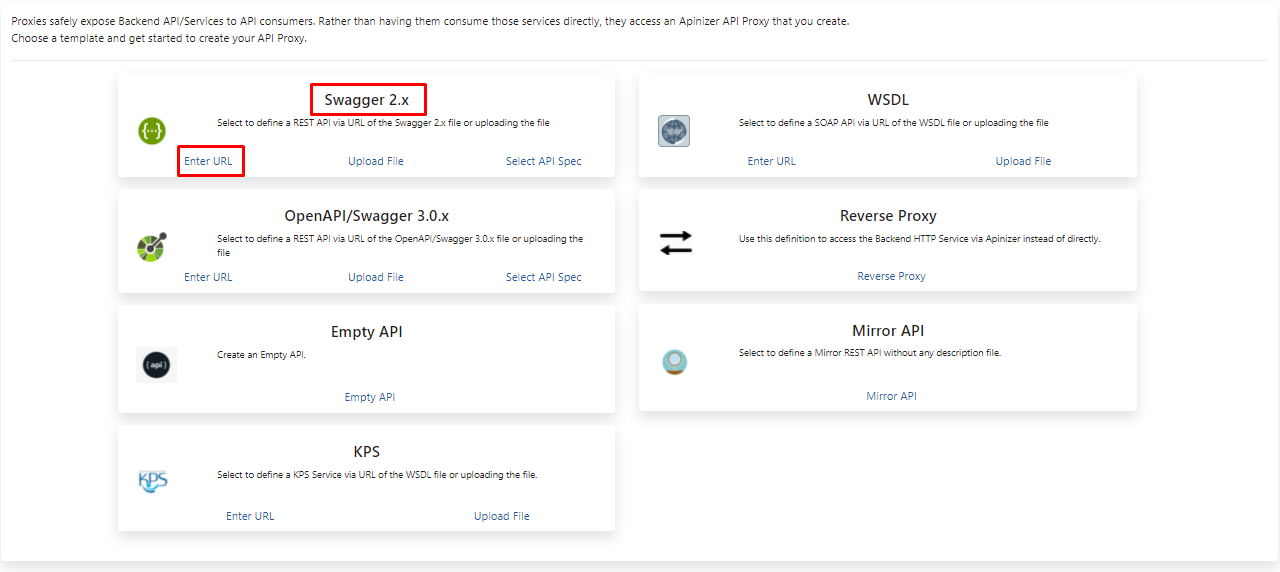
In this section, it is necessary to choose the type of the API Proxy that will be created.
Since the type of API to be used in this scenario will be Swagger 2.X, this type is chosen.
Clicking on the Enter URL expression will switch to the screen where the address of the API to be used will be entered.
As seen in the image below, the address to access the URL section is entered and the Parse button is clicked.

After the parse process is done, the screen in the image below appears.
Settings for API Proxy can be made on this screen.
- It is specified who will use the API Proxy created with the Usage field. Here, there are options such as publisher, consumer, publisher and consumer.
- The sharing type of the API Proxy created with the Sharing Type field is specified. Here, there are options such as external, internal, external and internal.
- One or both of the two API addresses under the Addresses tab can be selected, if both addresses are selected, Apinizer will perform the Load Balance process itself.
- The Relative Path is the address of the API Proxy that will be accessed.
- The Category List field also allows the created API Proxy to be categorized.
- After these settings are made, the API Proxy is registered.

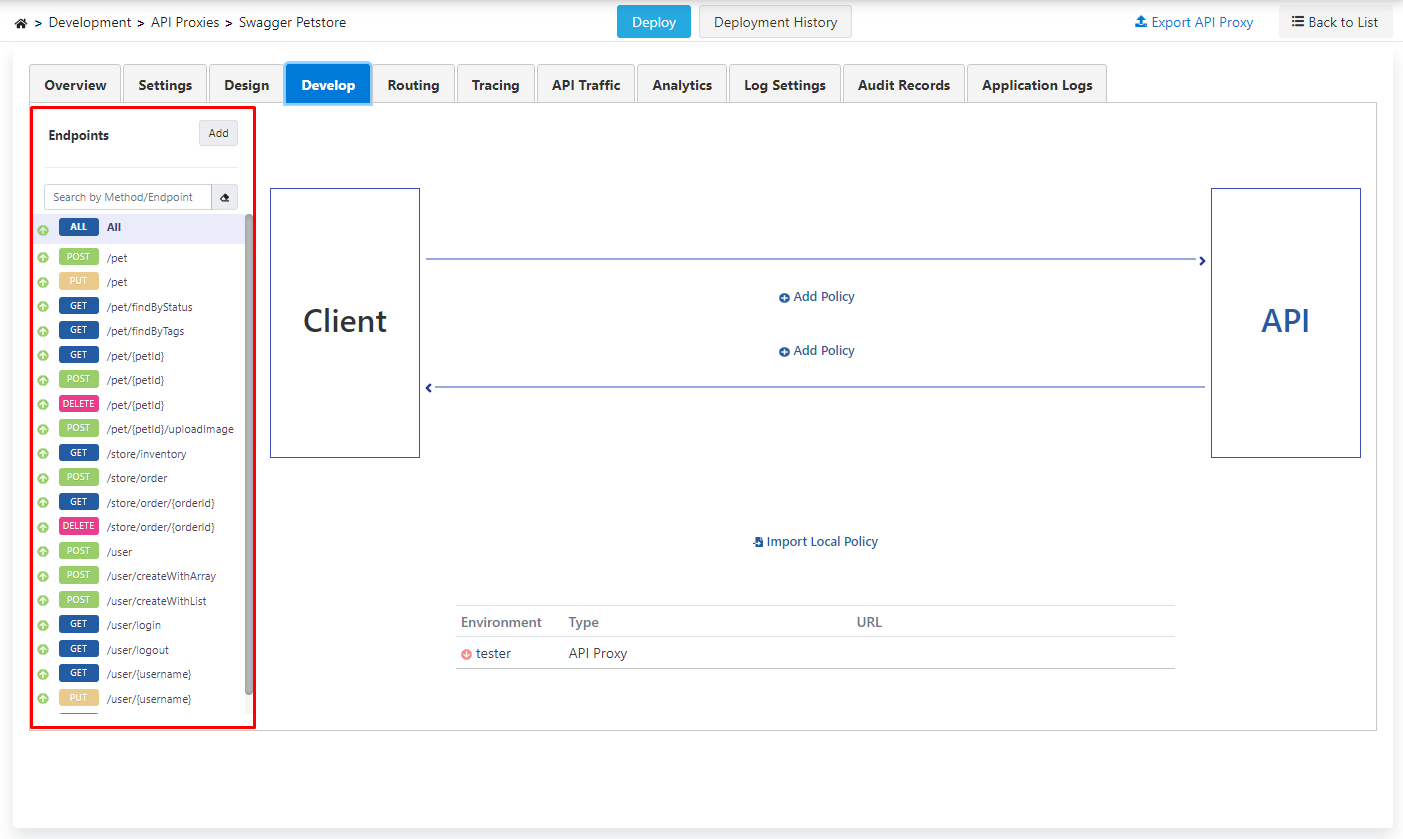
After saving, click on the Develop tab on the page that opens.
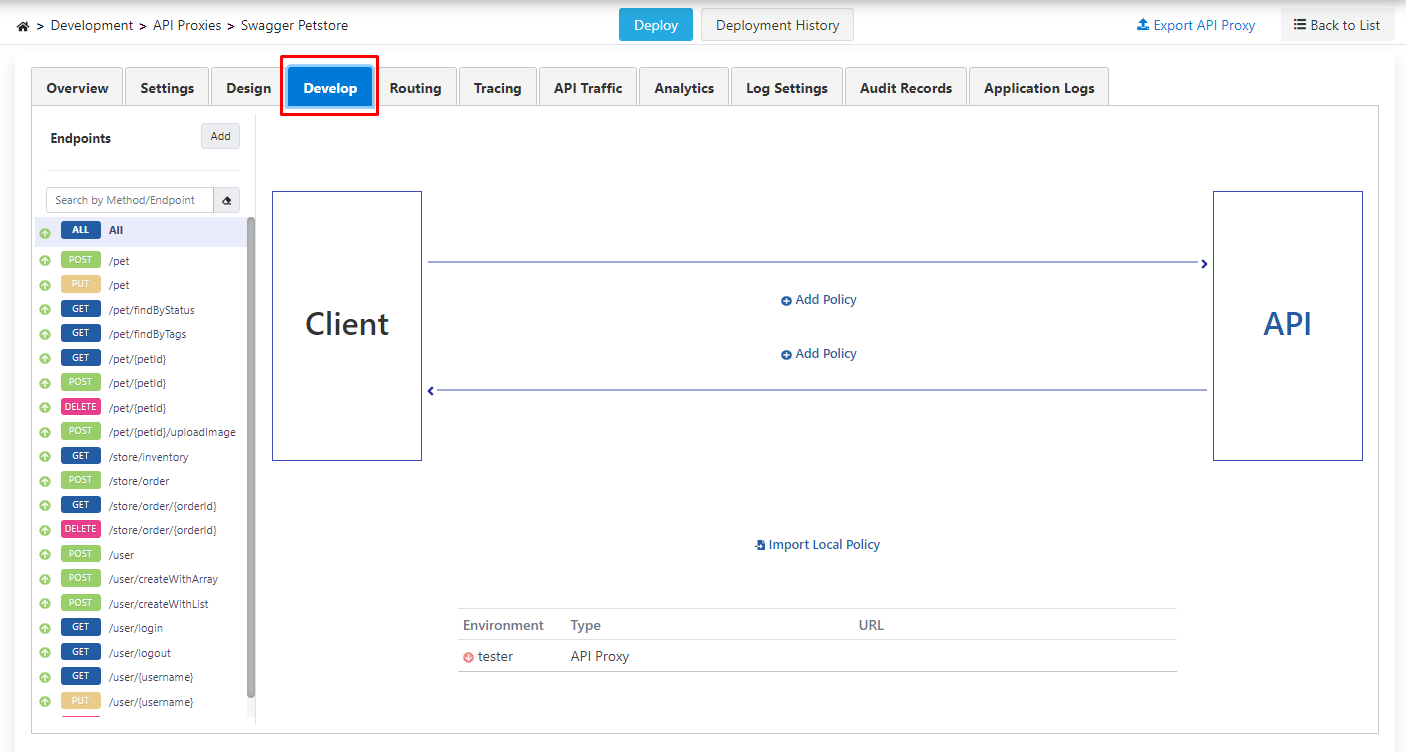
Here, the endpoints of the REST API are listed.
- The policies to be added with the phrase All above these endpoints can be applied to all endpoints.
- The created API Proxy is deployed. For this, click on the Deploy button in the middle above.
- Next is the step of setting up the LDAP/Active Directory structure, which should be used in this process due to the scenario.
- Information such as username and password included in the Plain-Text Authentication structure to be added as a policy can be obtained from the LDAP/Active Directory server.
- First, the LDAP/Active Directory structure is setup.
Making LDAP/Active Directory Connection
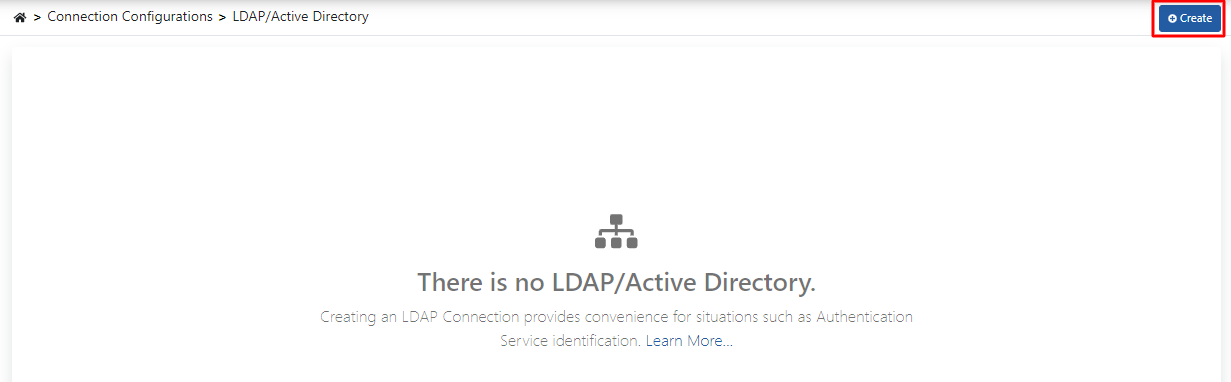
- Click on the LDAP/Active Directory menu under the Connection Management menu.
- Since no LDAP/Active Directory definition has been made before, there is no LDAP/Active Directory text on this page.
- To create the LDAP/Active Directory connection, click the Create button in the upper right corner.
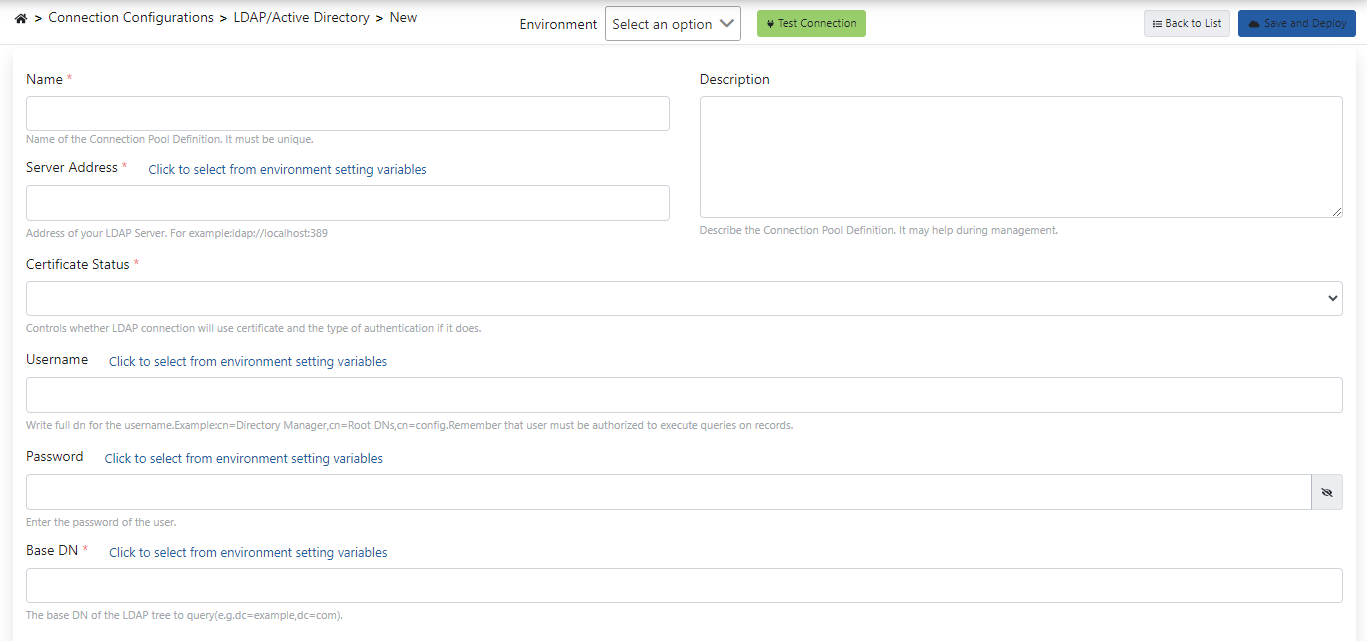
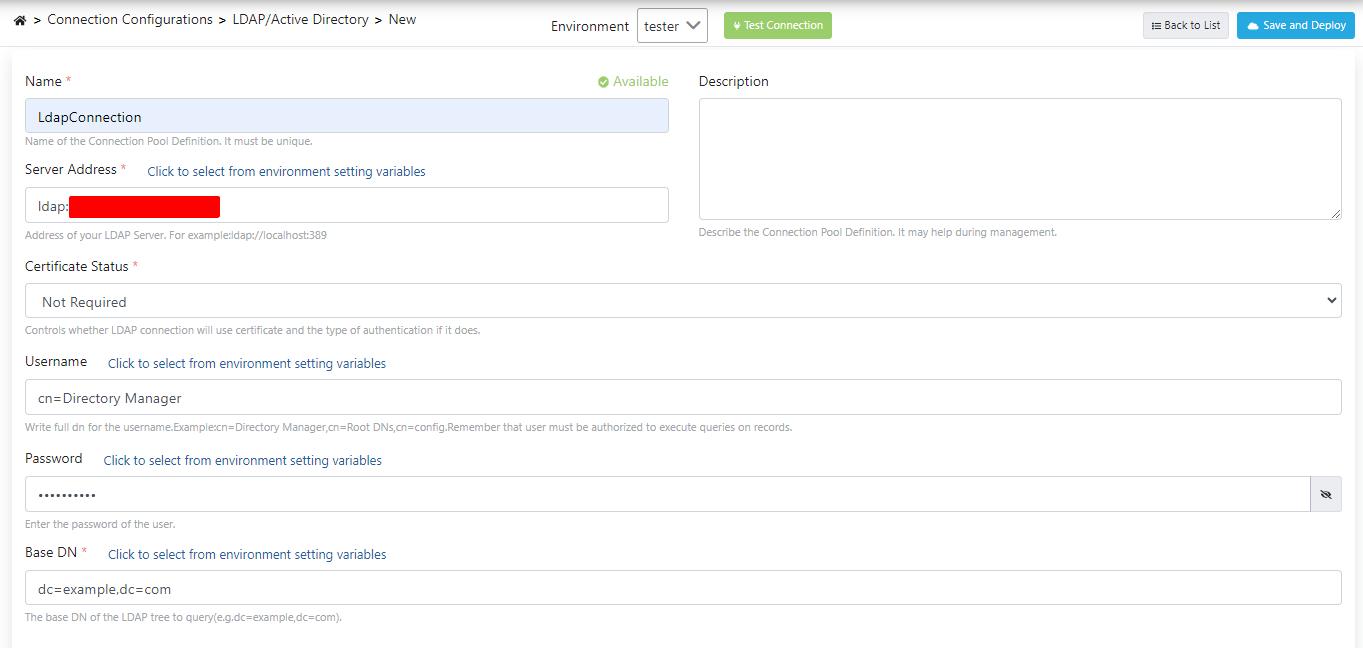
If the expressions on this screen are examined one by one,
- The name of the connection created with the Name field is expressed.
- In the Server Address field, the address of the LDAP/Active Directory server to be connected is written.
- A description can be added to the link created with the Description statement.
- With the Certificate Status field, the certificate required for the LDAP connection is selected or a new certificate is created.
- Username information to be used during the connection with the Username field, and the password to be used during the connection with the Password field.
- The base DN address of the LDAP to be connected is also specified with the Base DN field.
- With the Test Connection button, it is checked whether the LDAP/Active Directory connection is working.
The above-mentioned fields are filled in as they will be used in the scenario.
The test process is performed by clicking the Test Connection button, and the transactions are saved by clicking the Save and Deploy button.
After the registration process is completed, the link created as in the image below is displayed.

Adding Authentication Policy
Go to the page where API Proxies are listed and the proxy named Swagger Petstore is selected.
Then come to the Develop tab, click the Add Policy button.
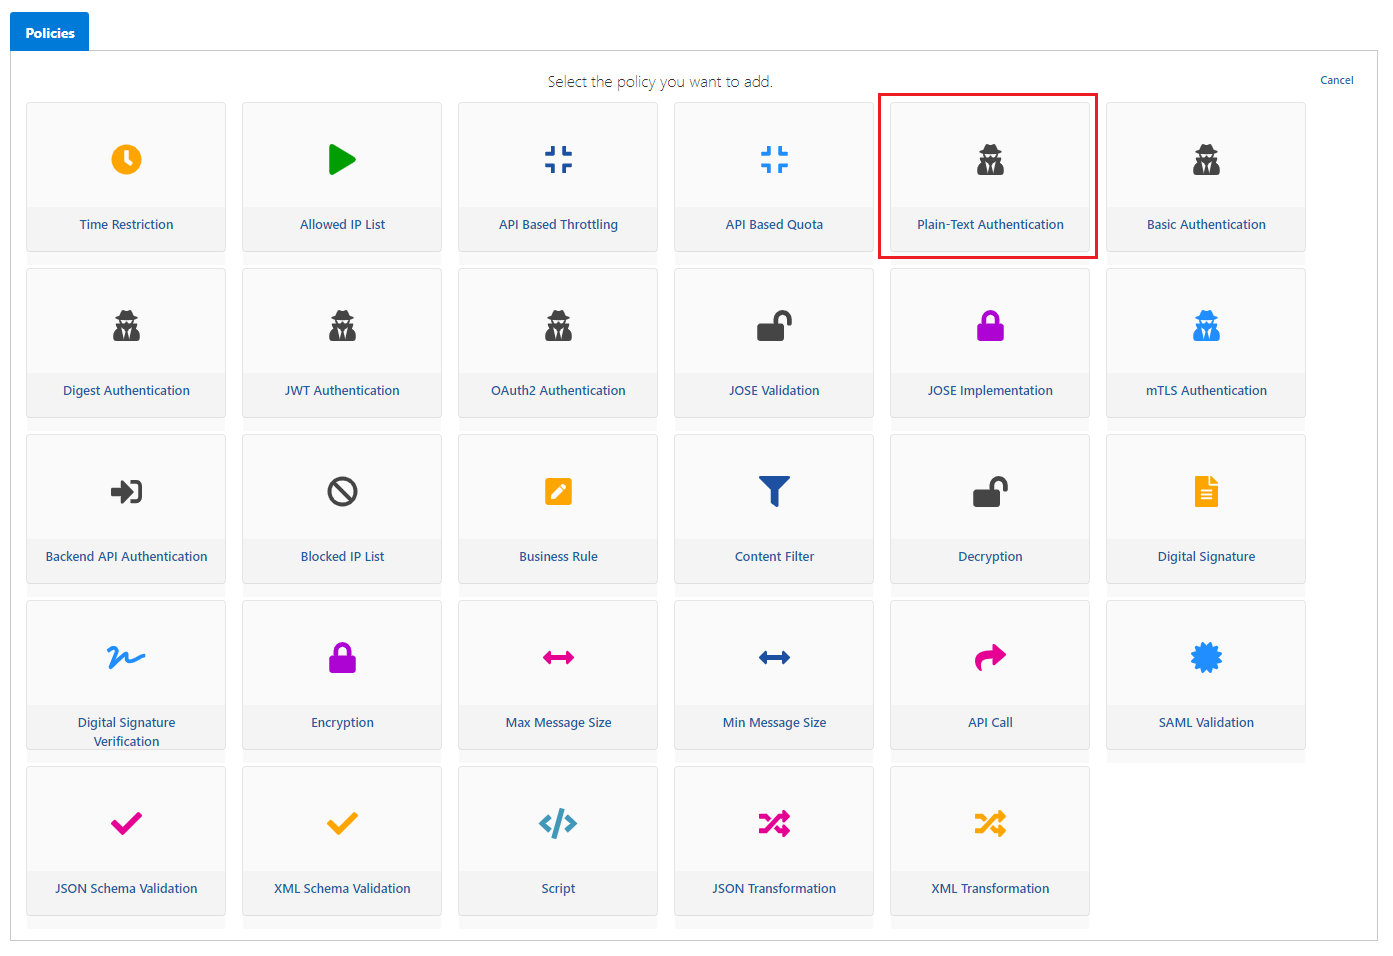
On the page that opens, Plain-Text Authentication policy is selected.
If the expressions on this screen are examined one by one,
- The value to be selected in the Identity/Role/Group Service field is the LDAP value. Because authentication control will be performed by the structure in LDAP/Active Directory.
- When the LDAP value is selected, the previously created LDAP connection should be selected.
- With the expressions variable for username and variable for password, the variable with which the user name and password information will be obtained is selected. In this scenario, these values will be taken from the header.
- If the Clear Authentication Information option is selected, the authentication information is deleted in the incoming message.
- The Add Client Info To Header option specifies whether the client information will be included in the Header that will go to the backend API.
- If this option becomes active, another parameter named Authenticated User Header Name appears.
- The X-Authenticated-UserId expression here specifies the header name of the client information that will go to the backend API.
- Changes made are saved by clicking the Save button in the upper right corner.

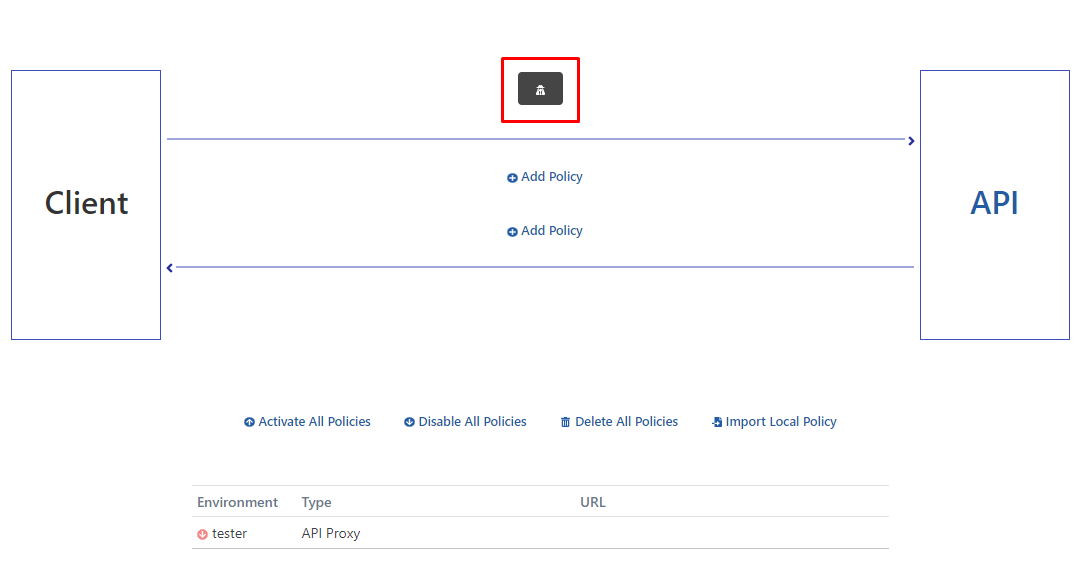
When the policy is registered, the icon enclosed in a red rectangle is seen.
The proxy must be Redeploy for the operation to be valid.
Now the testing of the methods inside the proxy can be performed.
Testing API Proxy
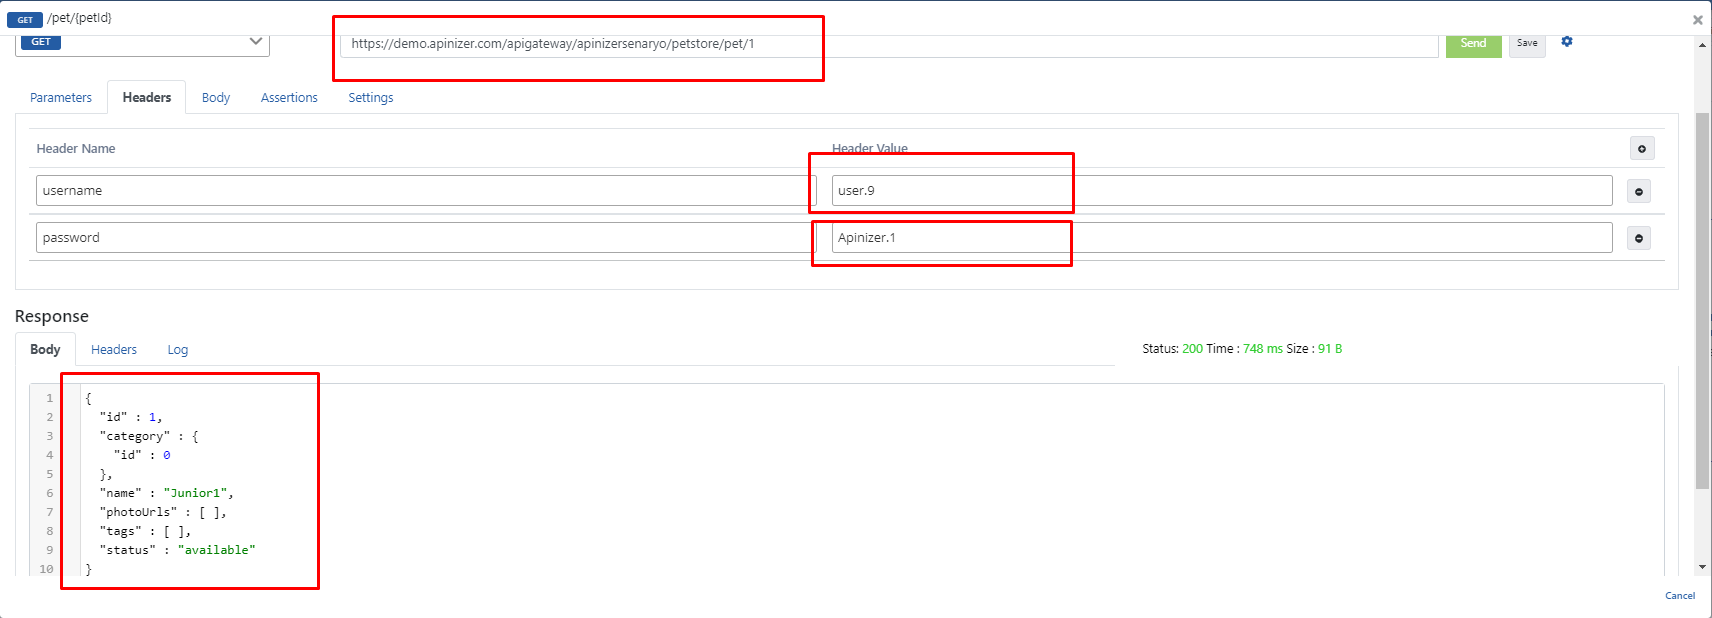
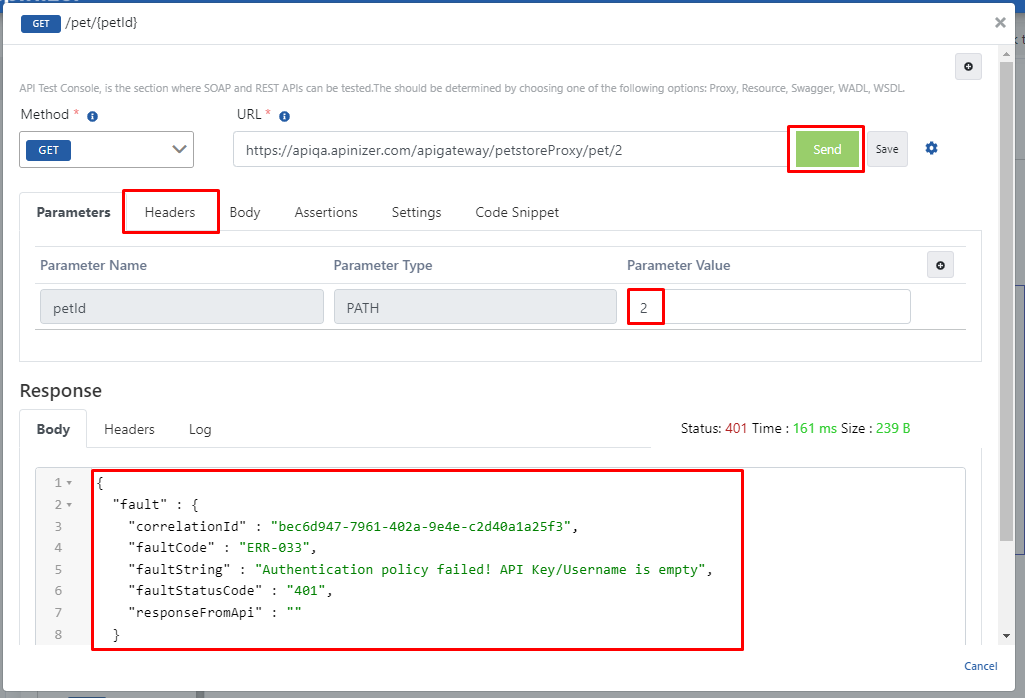
After selecting the /pet/{petId} endpoint, the Test Endpoint button is clicked.
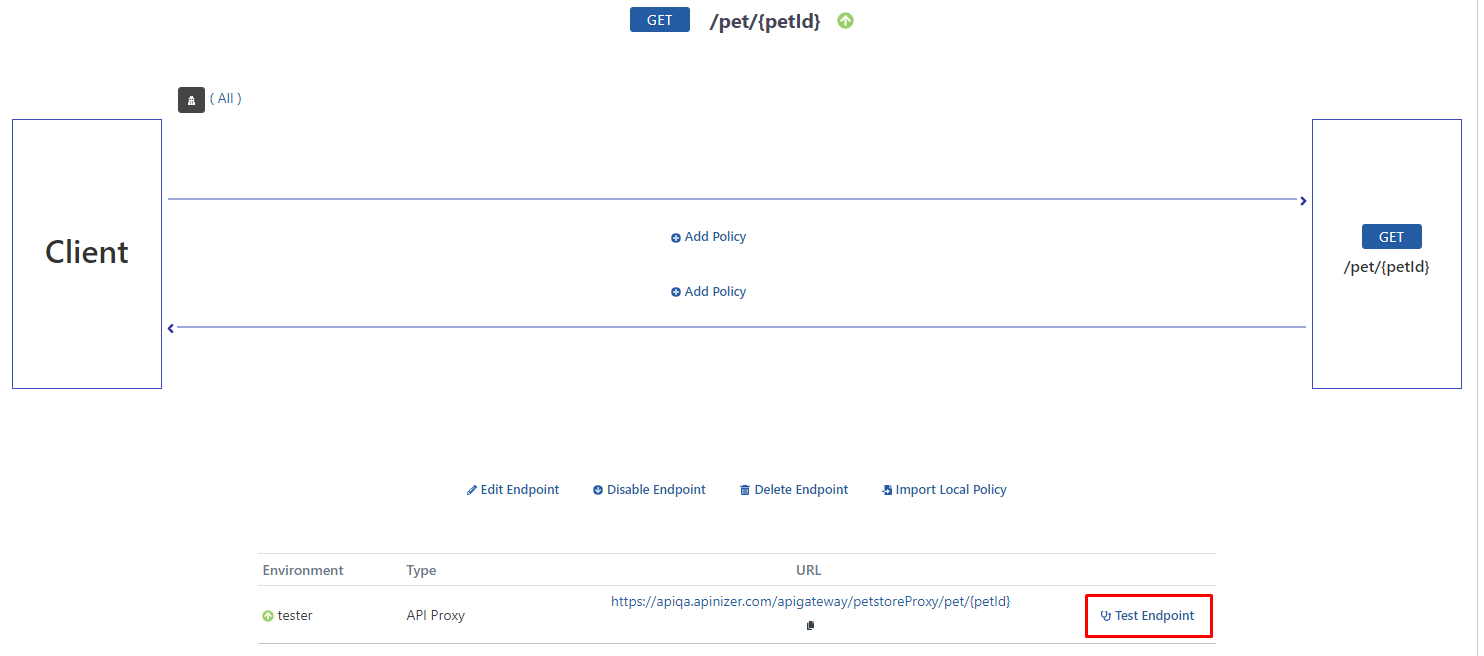
The desired petId value in the URL is entered as 1, it is seen that the response returned when the Send button is pressed is an error message and this error is related to the applied Plain-Text Authentication.
Because no authentication information is placed in the header.
This time, username and password are entered in the header and the test is performed again.
In the headers that will be sent to the Backend API, username = user.9, password = 123123aA are entered.
The response received when clicking the Send button is the expression in the rectangle below on the image.