API Portal Usage with AI Tools via Web Browser MCP Connection
This method requires running third-party applications, extensions, or scripts. The mentioned third-party software is not developed, verified, or supported by APINIZER. Therefore:
- Installation and use of third-party software is at the user's own initiative, and all risks, damages, and legal responsibilities arising therefrom belong to the user.
- APINIZER cannot be held responsible for data loss, security breach, incompatibility, access restriction, or any direct/indirect damage that may arise as a result of running such applications or scripts.
- Before installation and during use, the entire source, reliability, and content of the application or code to be executed should be carefully reviewed and approved by the user.
Important: To avoid any security risks or incompatibilities, it is strongly recommended that you only use extensions and codes whose source and reliability you have fully verified.
MCP (Model Context Protocol) enables AI tools to securely and controllably communicate with external systems. To use Apinizer API Portal with an AI tool that does not have MCP support, a third-party extension can be installed through Chrome browser and MCP connection can be managed through this extension.
1. Install Required Extension
Go to Extensions menu in Chrome browser
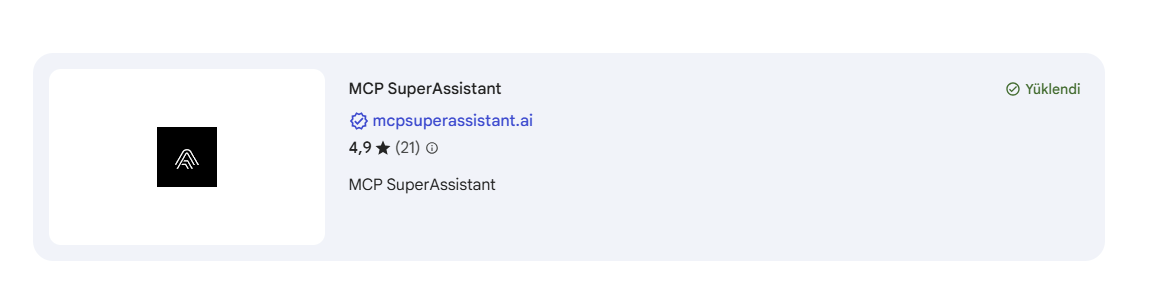
Install the "MCP SuperAssistant" extension. This extension will serve as a bridge between the browser and MCP server.
2. Create MCP Server Definition File
The extension or client will read how to connect to Apinizer API Portal from this file.
Creating HTTP Proxy File
Create a javascript file in the following format at an appropriate location on your computer (example C:\mcp\http_proxy.js):
const connection = require('https');
const readline = require('readline');

// Get token from environment variable
const APINIZER_TOKEN = process.env.APINIZER_TOKEN;
const APINIZER_HOST = process.env.APINIZER_HOST;
const APINIZER_PORT = process.env.APINIZER_PORT;
const timeout = 10000; // 10 seconds

async function sendHttpRequest(data) {
    return new Promise((resolve, reject) => {
        const postData = JSON.stringify(data);
        const options = {
            hostname: APINIZER_HOST,
            port: APINIZER_PORT,
            path: '/apiportal/management/mcp/api',
            method: 'POST',
            headers: {
                'Content-Type': 'application/json',
                'Accept': 'application/json',
                'APINIZER-TOKEN': APINIZER_TOKEN
            }
        };

        const req = connection.request(options, (res) => {
            let responseData = '';
            res.on('data', (chunk) => {
                responseData += chunk;
            });
            res.on('end', () => {
                console.error(`Status: ${res.statusCode}`);
                console.error(`Raw Response: ${responseData}`);

                // 401 Unauthorized check
                if (res.statusCode === 401) {
                    reject(new Error('Unauthorized: Invalid MCP token'));
                    return;
                }

                // 403 Forbidden check
                if (res.statusCode === 403) {
                    reject(new Error('Forbidden: Access denied'));
                    return;
                }

                try {
                    const response = JSON.parse(responseData);

                    // Ultra secure cleanup for Claude Desktop
                    const cleanResponse = {
                        jsonrpc: response.jsonrpc || "2.0"
                    };

                    // ID check - null, undefined, or notification status
                    if (response.id !== null && response.id !== undefined) {
                        cleanResponse.id = response.id;
                    } else if (data.method && data.method.startsWith('notifications/')) {
                        console.error('Notification detected - skipping ID');
                    } else {
                        cleanResponse.id = data.id || "unknown";
                    }

                    // Add if result exists
                    if (response.result !== null && response.result !== undefined) {
                        cleanResponse.result = response.result;
                    }

                    // Add if error exists
                    if (response.error !== null && response.error !== undefined) {
                        cleanResponse.error = response.error;
                    }

                    // Special handling for notifications
                    if (data.method && data.method.startsWith('notifications/')) {
                        console.error('Notification acknowledged - no response sent');
                        return;
                    }

                    console.error(`Cleaned Response: ${JSON.stringify(cleanResponse)}`);
                    resolve(cleanResponse);
                } catch (error) {
                    console.error(`Parse Error: ${error.message}`);
                    reject(new Error(`Invalid JSON: ${responseData.substring(0, 100)}`));
                }
            });
        });

        req.setTimeout(timeout, () => {
            console.error(`Request timeout after ${timeout}ms`);
            req.destroy();
            reject(new Error(`Request timeout after ${timeout}ms`));
        });

        req.on('error', (error) => {
            console.error(`Request Error: ${error.message}`);
            reject(error);
        });

        req.write(postData);
        req.end();
    });
}

const rl = readline.createInterface({
    input: process.stdin,
    output: process.stdout,
    terminal: false
});

rl.on('line', async (line) => {
    try {
        console.error(`Input: ${line}`);
        const request = JSON.parse(line);

        // Special handling for notifications
        if (request.method && request.method.startsWith('notifications/')) {
            console.error('Processing notification...');
            await sendHttpRequest(request);
            return;
        }

        const response = await sendHttpRequest(request);
        if (response) {
            console.log(JSON.stringify(response));
        }
    } catch (error) {
        console.error('Error:', error.message);
        const errorResponse = {
            jsonrpc: "2.0",
            id: "error",
            error: {
                code: -32603,
                message: error.message
            }
        };
        console.log(JSON.stringify(errorResponse));
    }
});

console.error(`Secure MCP HTTP/HTTPS proxy started with token: ${APINIZER_TOKEN.substring(0, 8)}...`);
Creating MCP Configuration File
Create a JSON file in the following format at an appropriate location on your computer (example C:\mcp\mcp_config.json):
- {
  "mcpServers": {
    "apinizer-portal-mcp-http": {
      "command": "node",
      "args": [
        "C:\\mcp\\http_proxy.js"
      ],
      "env": {
        "APINIZER_TOKEN": "mcp_xxx",
        "APINIZER_HOST": "apiportal.apinizer.com",
        "APINIZER_PORT": "443"
      }
    }
  }
}
Command to run MCP server (Node.js is used here)
File path of MCP proxy script
Environment variables required for connection:
APINIZER_TOKEN: Your Apinizer MCP access tokenAPINIZER_HOST: Apinizer API Portal main host addressAPINIZER_PORT: HTTPS port (default: 443)
3. Node.js Installation
Since MCP servers run on Node.js, Node.js must be installed on your system as well as the system you will access.
Download Link: https://nodejs.org/en/download
After installation, you can check the version with the following command in terminal/command prompt:
- node --version
npm --version
4. Setting Up MCP Connection
Open the web interface of the AI tool you are using and create a new chat
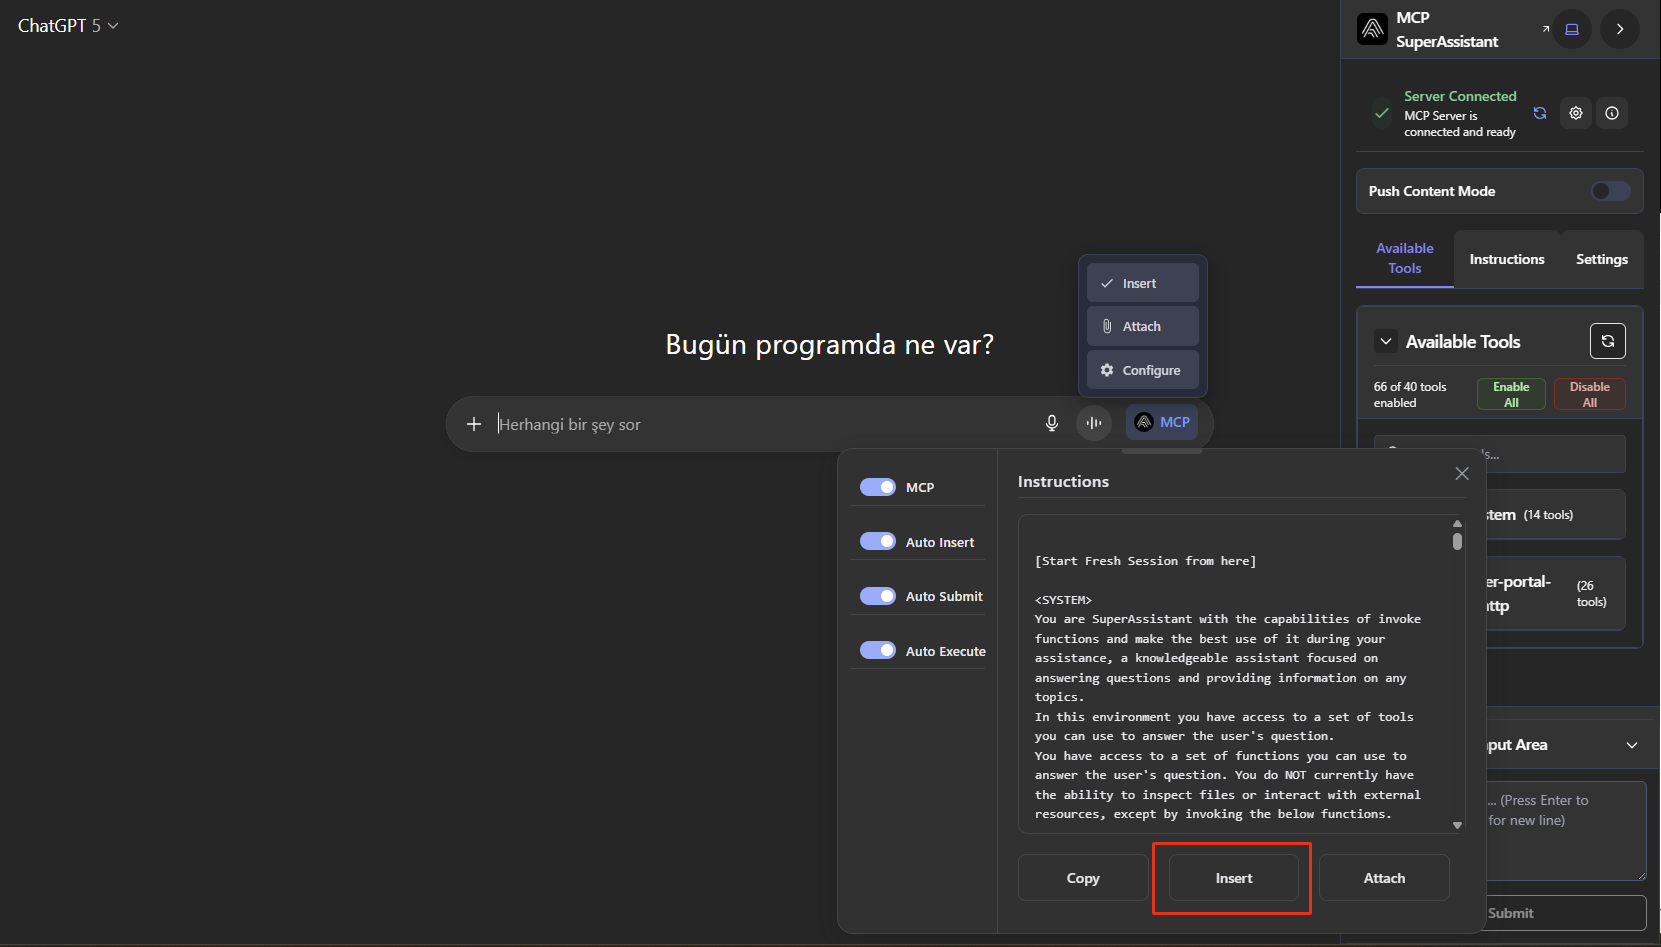
Click on the "MCP" expression added at the end of the box where you enter instructions and press the "Configure" button, activate the MCP field and the fields below in the opened area

Open command line on Windows (Win+R → cmd → enter) and run the following expression by correcting the address at the end according to yourself:
- npx @srbhptl39/mcp-superassistant-proxy@latest --config C:\\mcp\\mcp_config.json
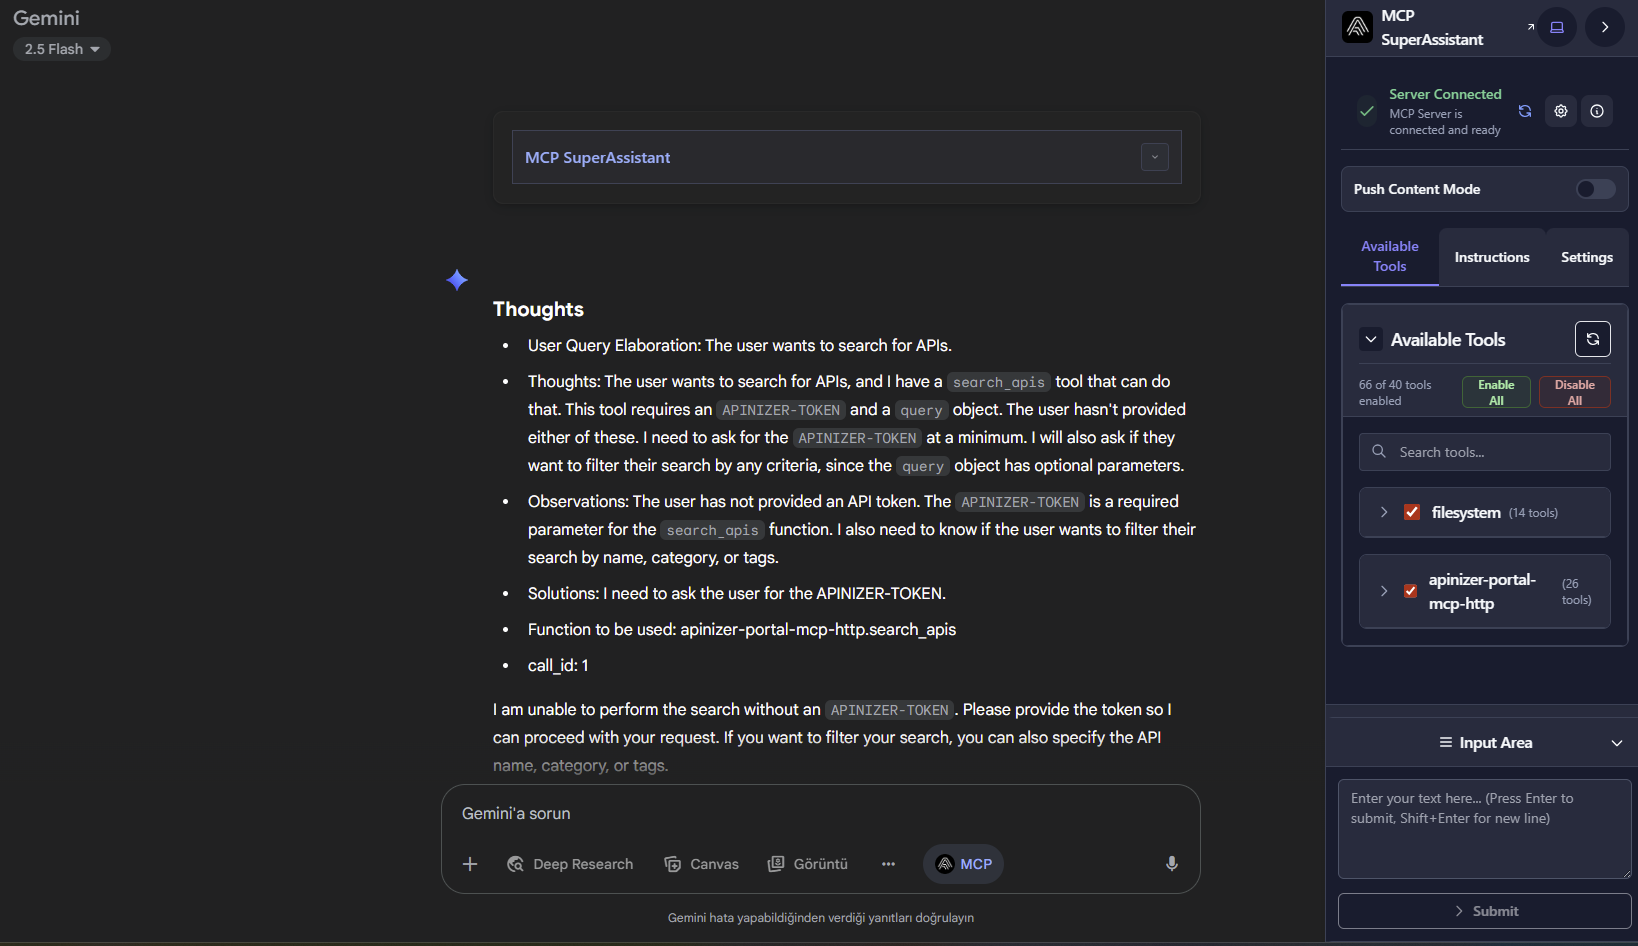
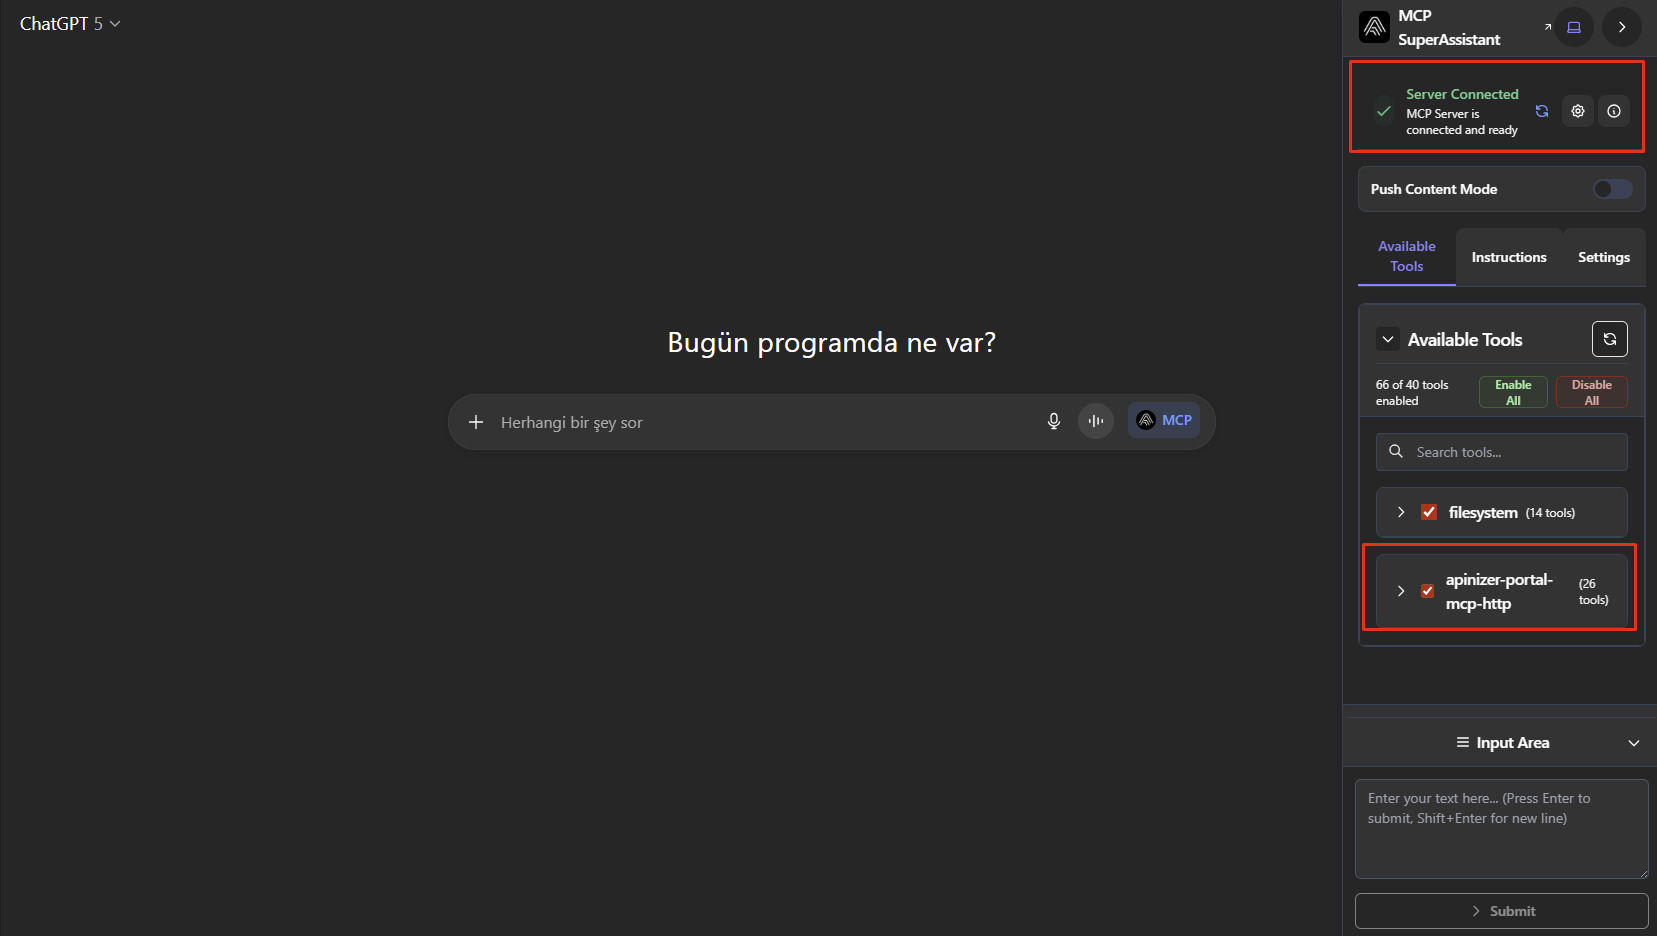
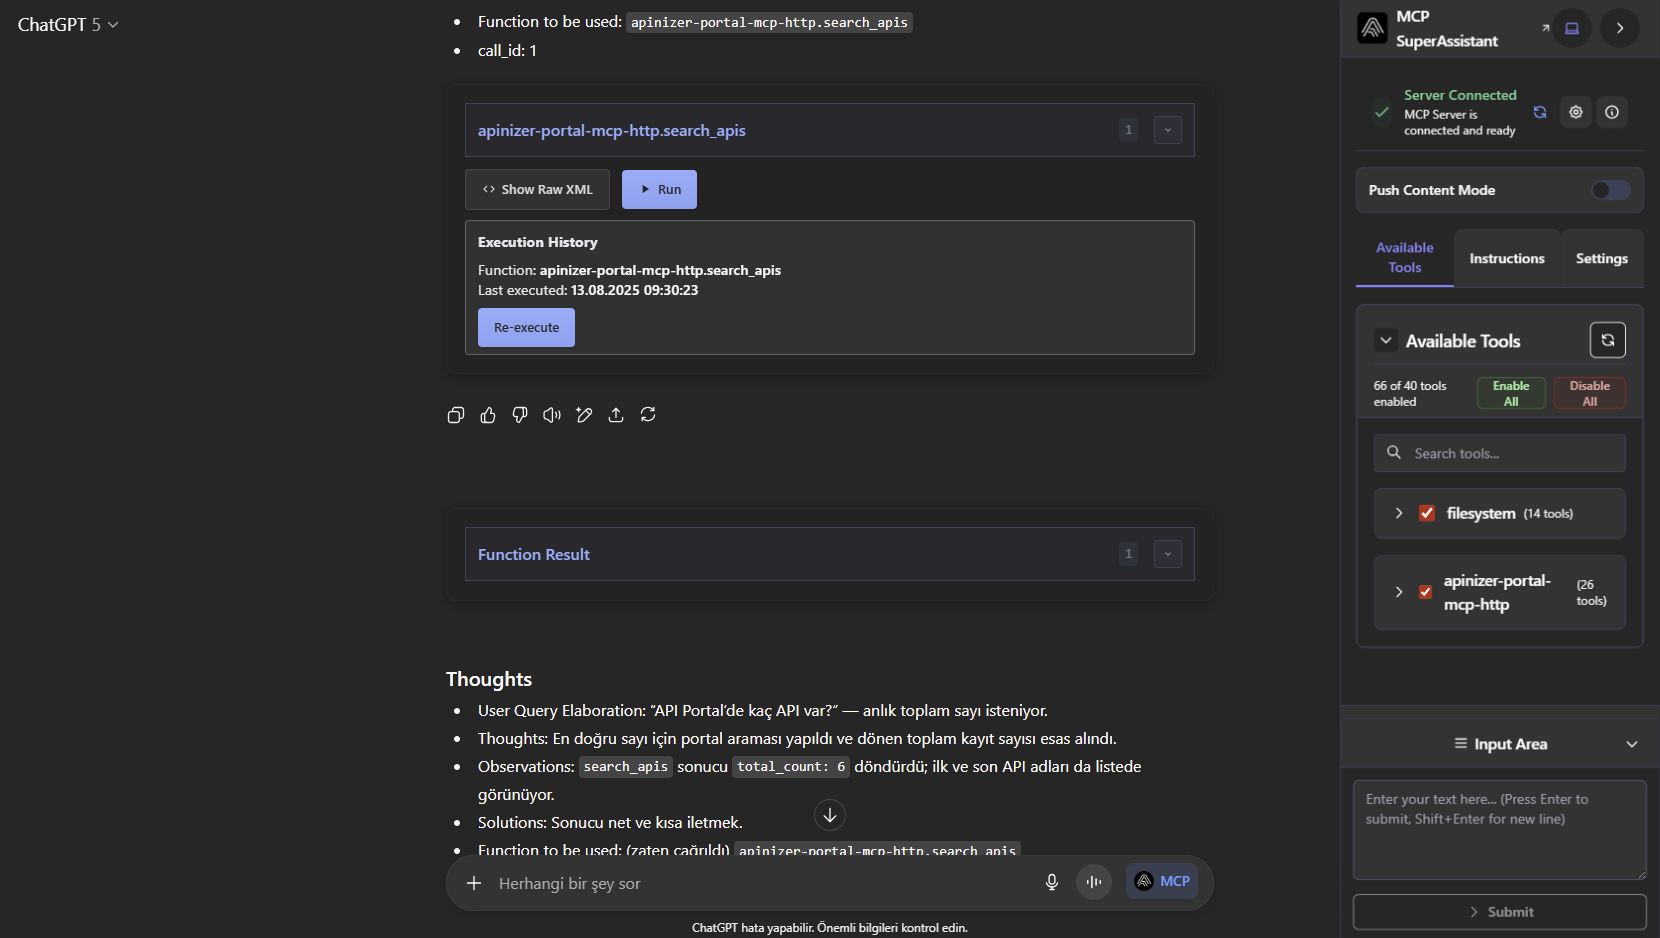
At the end of this operation, you should see the "Server Connected" expression in the new screen that opens on the side in the browser and your relevant connection definition in the "Available Tools" tab
Press the "MCP" expression at the end of the box where you enter instructions and press insert to enter the "Instructions" it outputs as instructions. Send the instructions
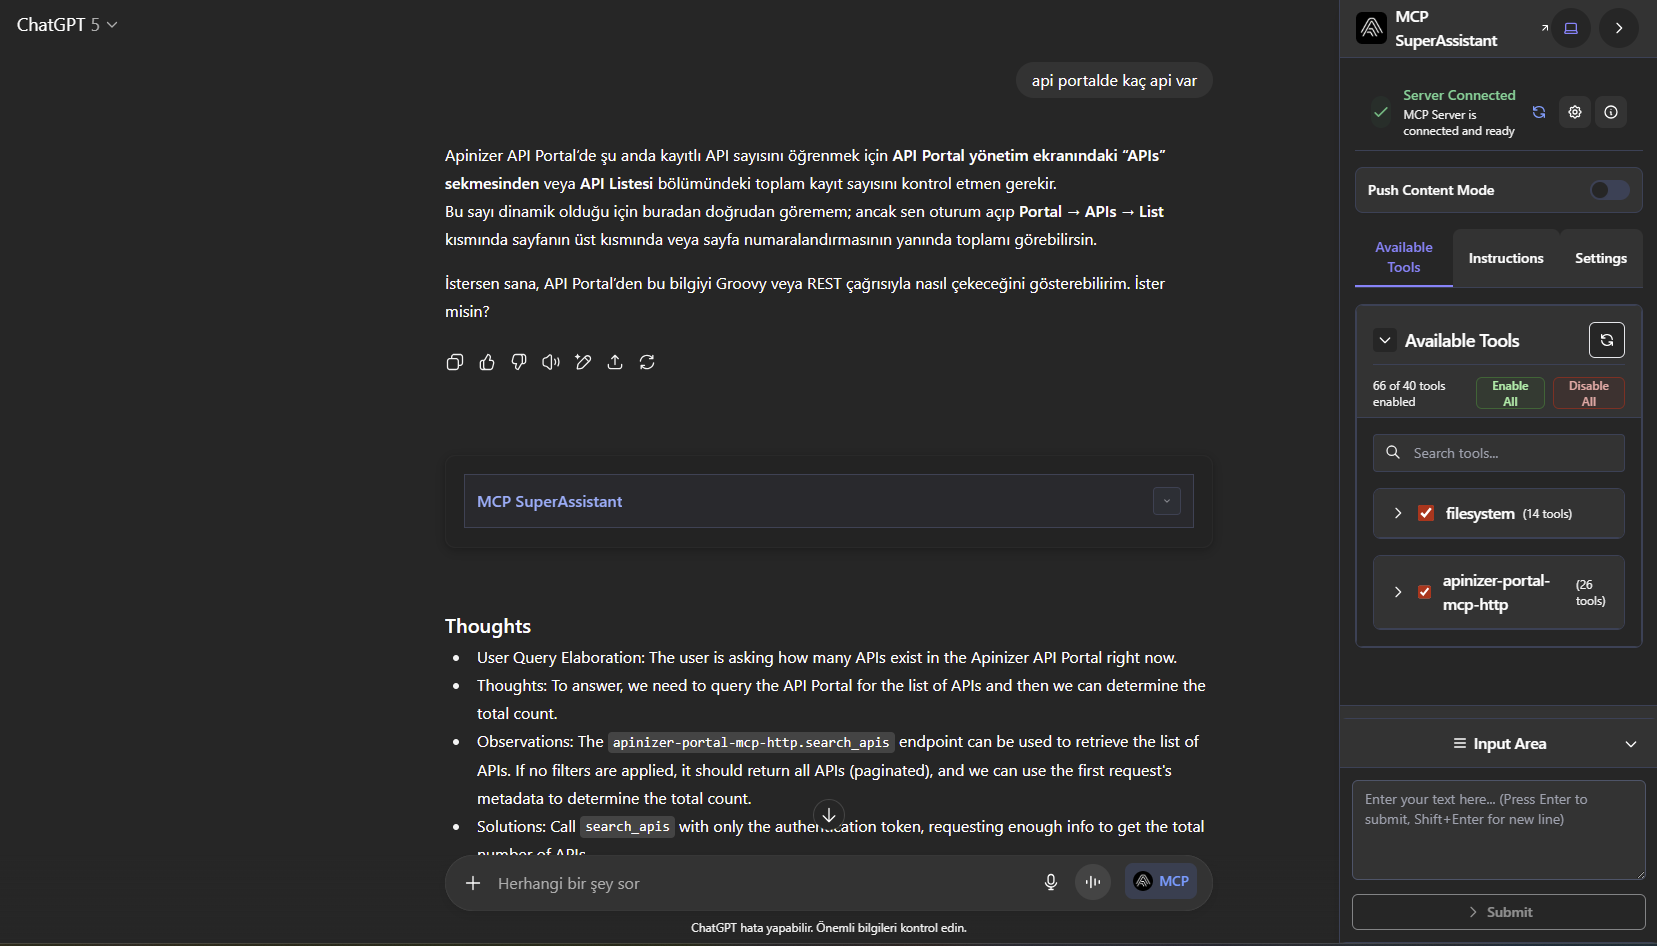
From this point on, you can connect to Apinizer API Portal with MCP and use the tools offered to you.
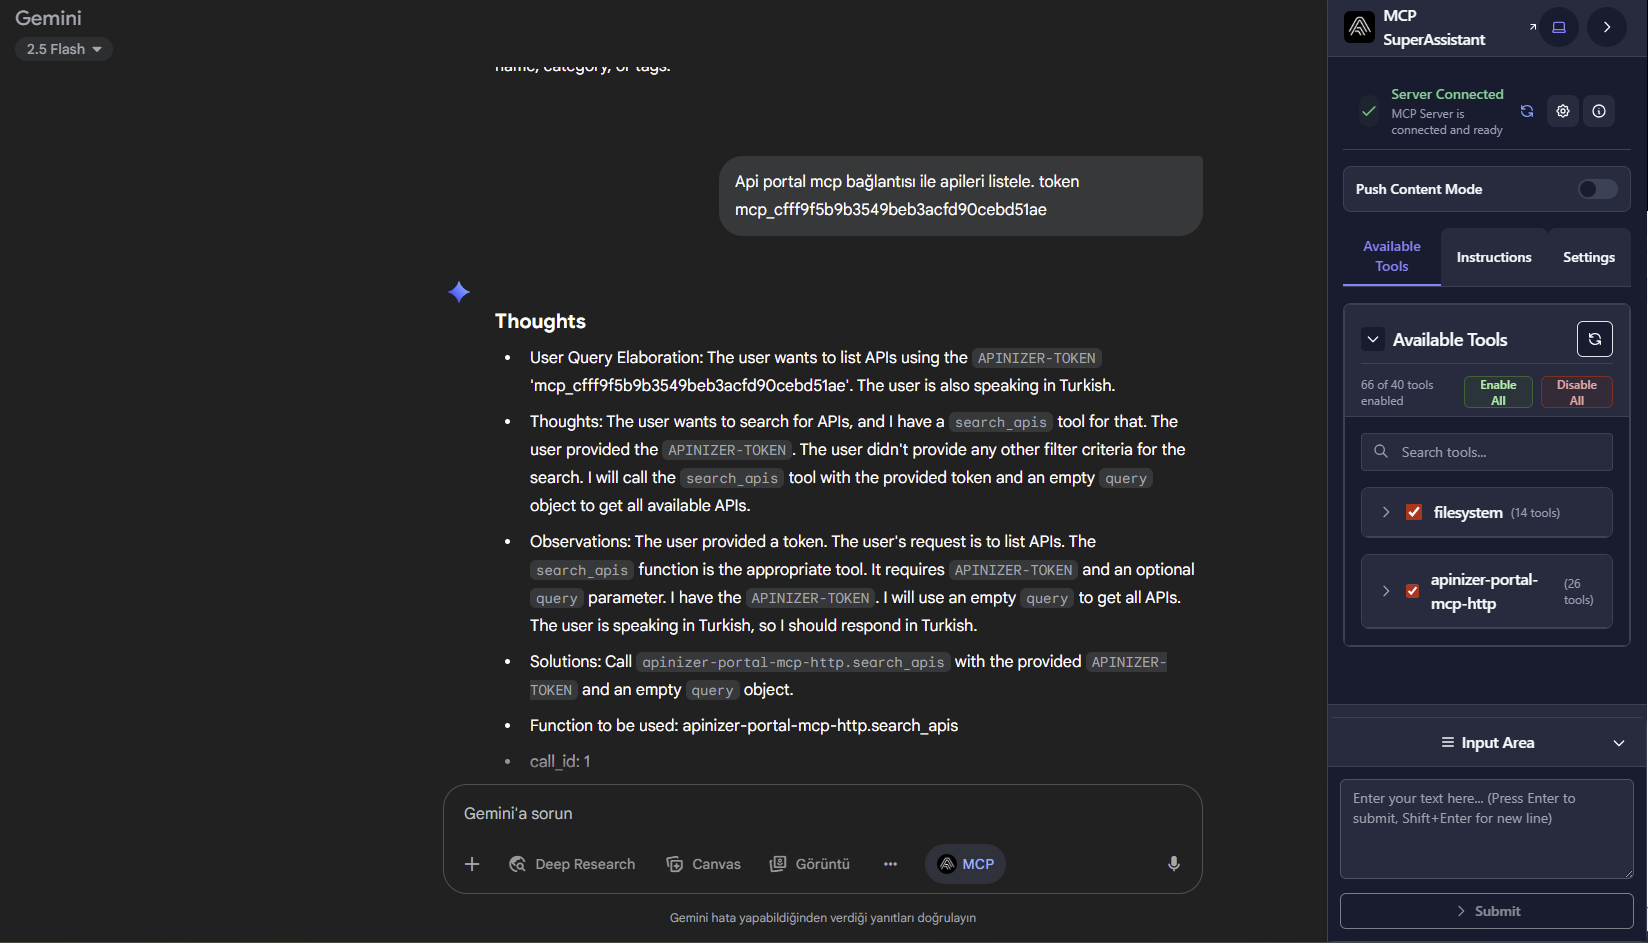
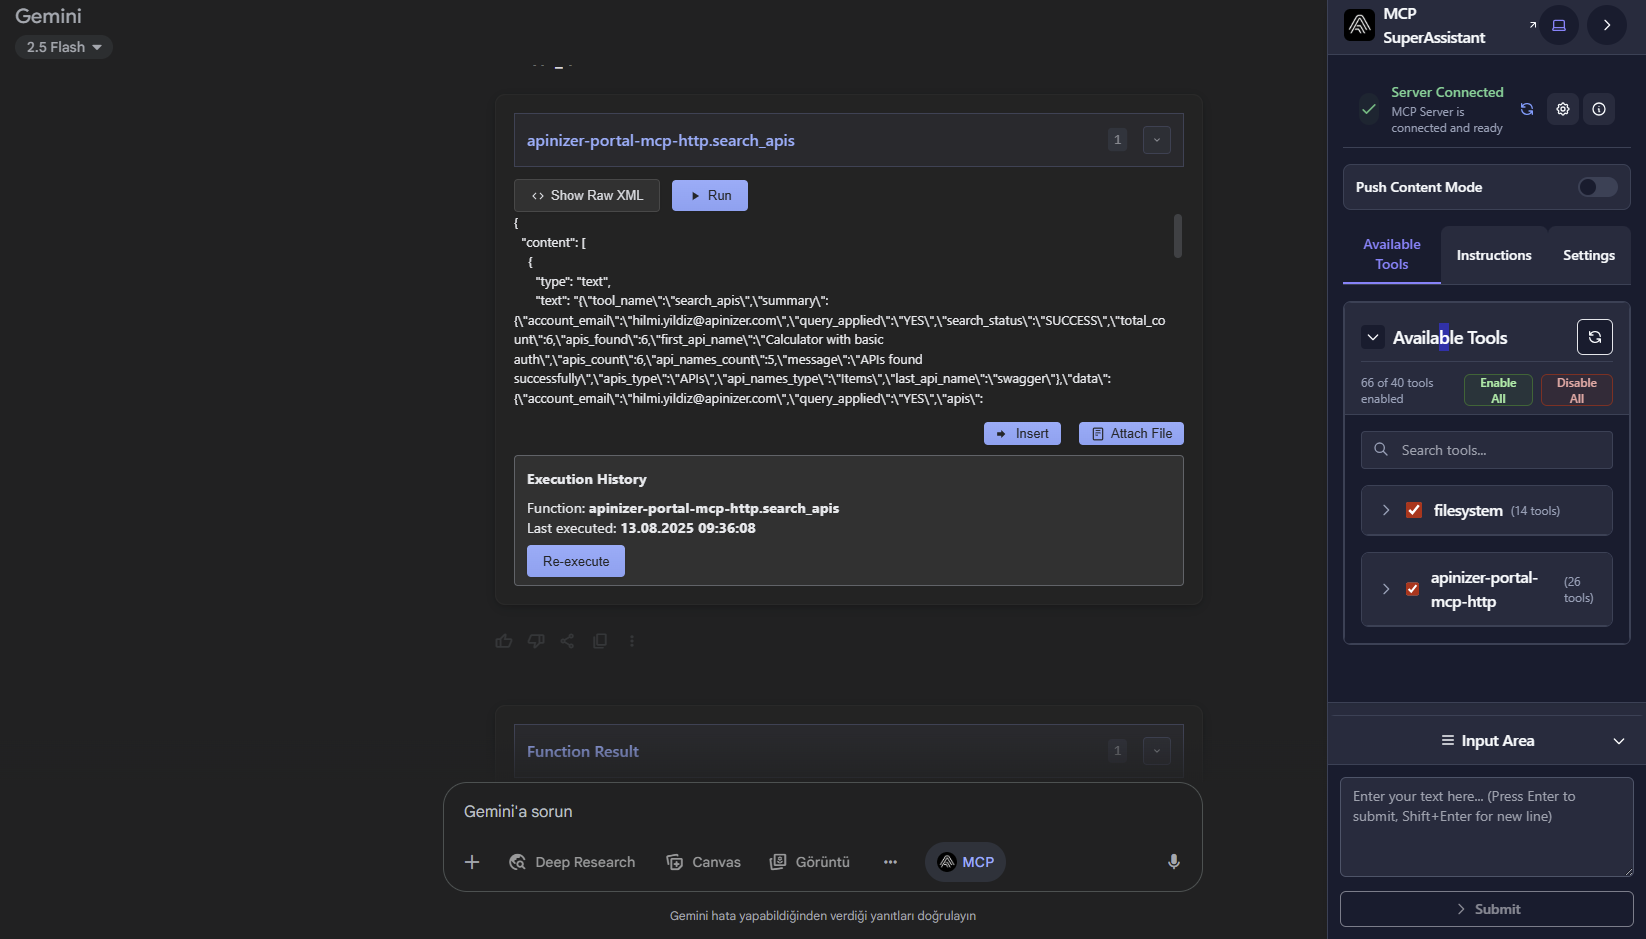
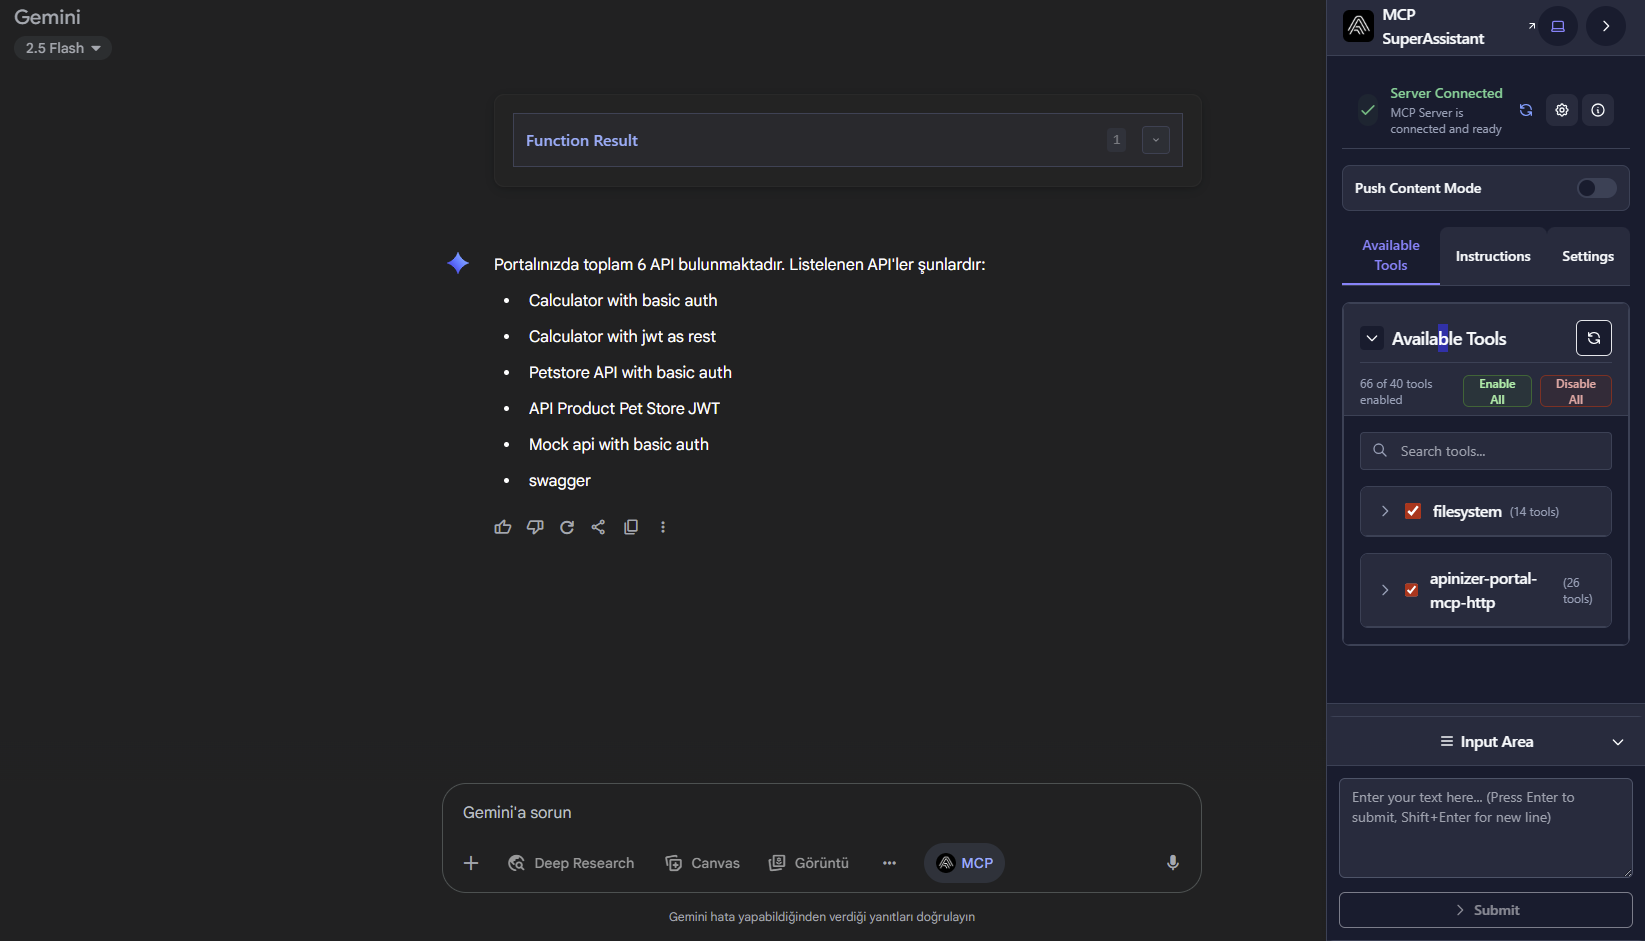
5. Examples
Usage examples with different AI tools can be added in this section.
ChatGPT screenshots:

Gemini screenshots