API Manager Operations on API Portal
This document explains step by step how to access the API Portal menu and how to define API Proxy and API Proxy Group items as an API Product for the API Portal.
Field and tab reference: API Product. Packaging inventory: API Catalog. Support / Prod Promote settings: API Portal Settings.
Accessing the Portal Menu and API Product Definition Screen
With Apinizer API Portal you can turn APIs/Web Services into a central storefront for API consumers and manage consumption with quota or throttling policies per plan.
To publish an API Proxy through the API Portal you must define an API Product.
The Portal menu is available only from admin menus with suitable permissions.
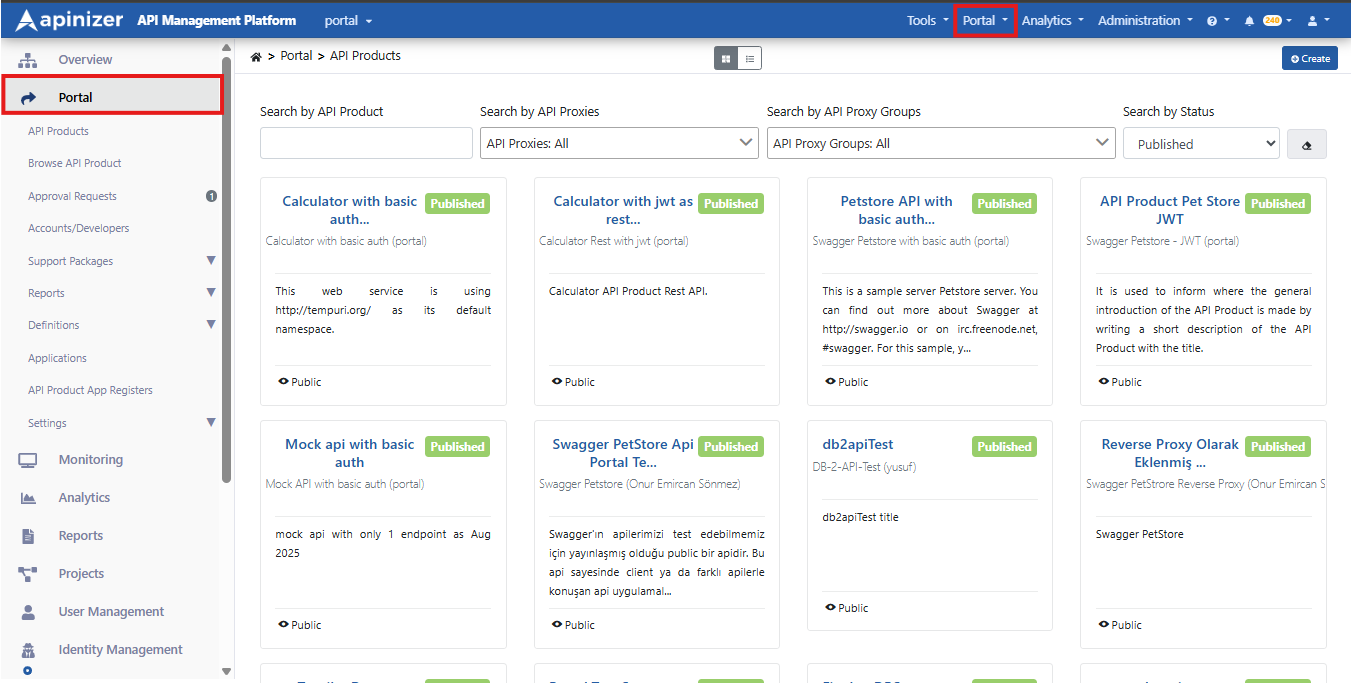
Open Portal → API Products, then click Create in the top right to enter the information required for a new API Product.
We recommend protecting the selected API Proxy / API Proxy Group with a security policy. Do not expose unprotected proxies to the Portal for security reasons.
We recommend not publishing your live production API Proxy / API Proxy Group directly. Prefer publishing a replica in a separate project for the Portal so traffic to the product stays isolated and more controlled.
Before defining an API Product, define Category and Responsible Unit entries that make product management easier:
Defining Responsible Unit / Category
Under Portal → Definitions, use Responsible Units and Categories to create, view, and edit units and categories.
Defining Responsible Unit
Responsible Unit represents the unit responsible for API Products. On Portal → Definitions → Responsible Units you can view, update, or add units.
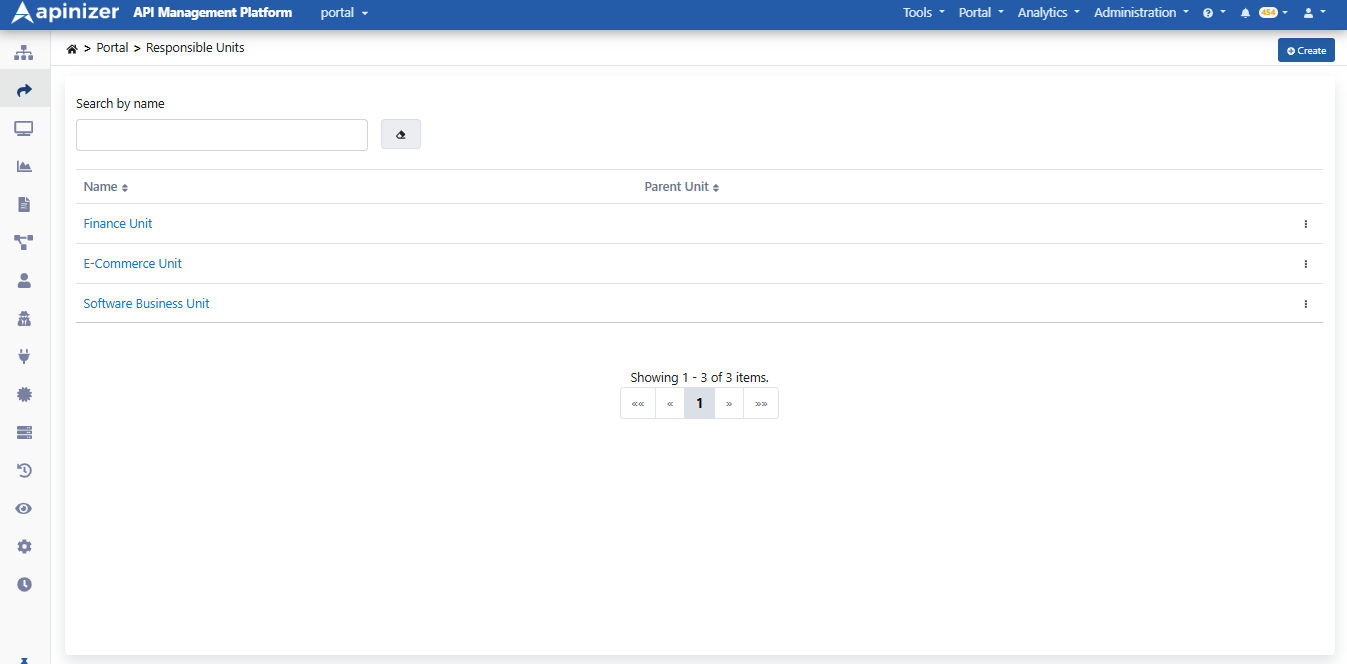
Click Create to open the form; fill the fields and save with Save and Deploy.
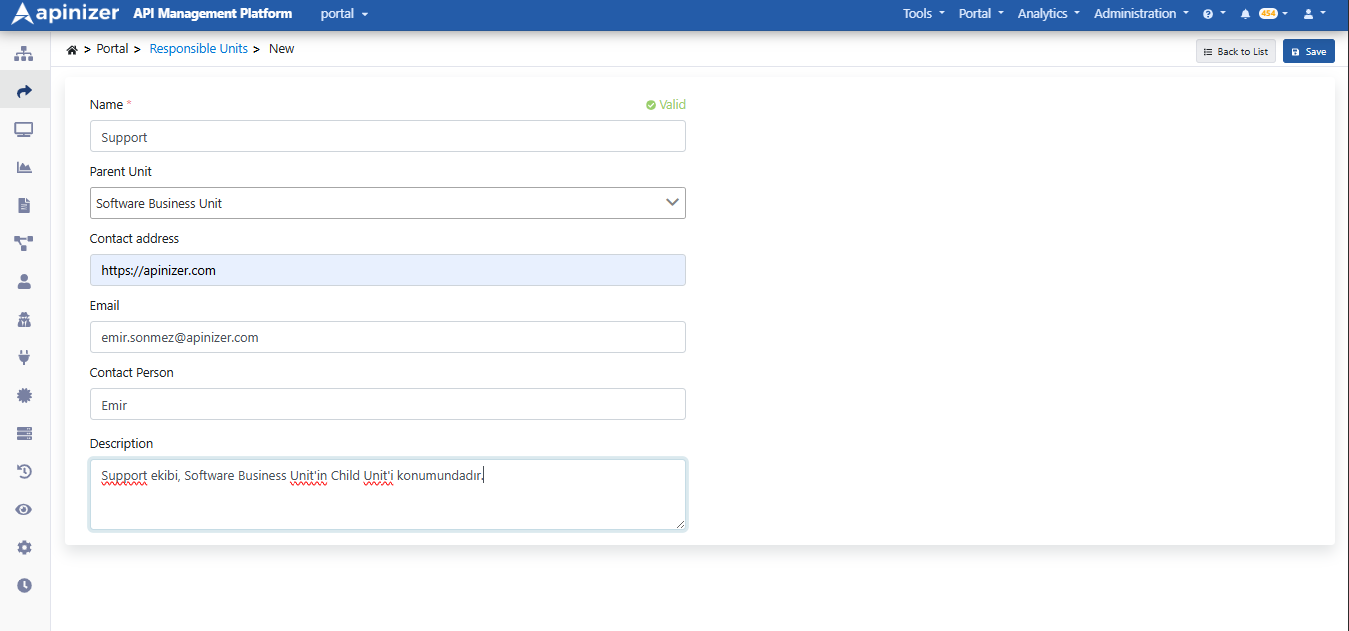
Parent Unit references the parent of the Responsible Unit. Modeling parent–child relationships makes hierarchy easier to manage in the list.
Defining Category
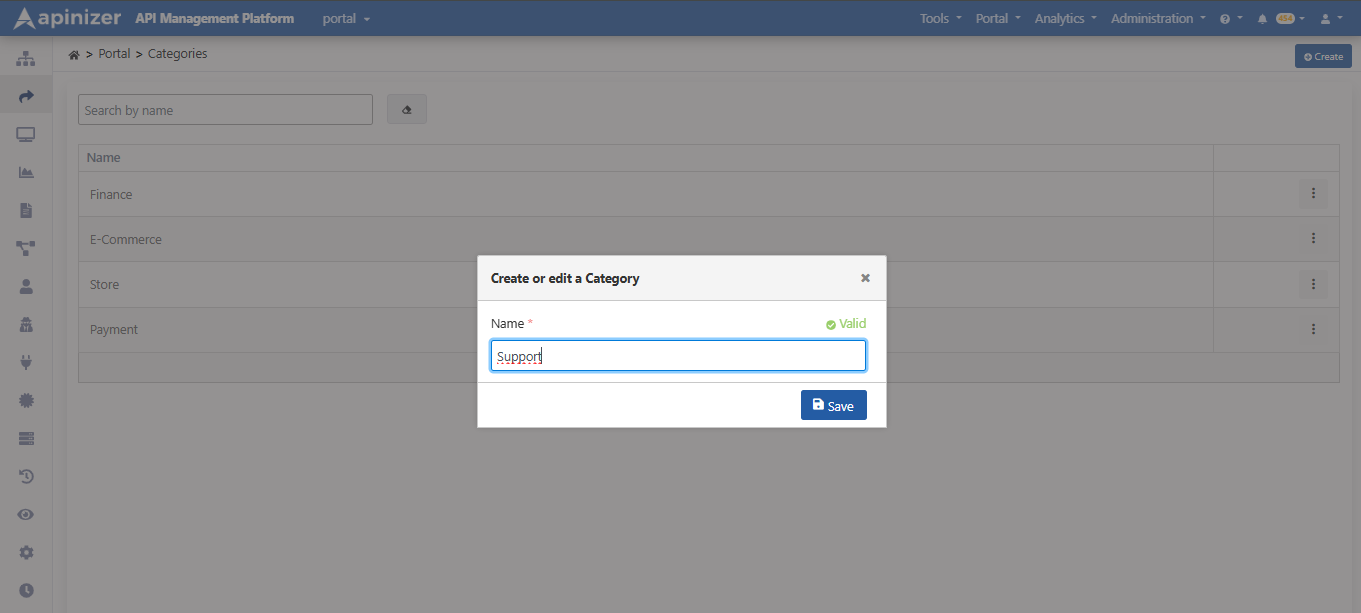
Category groups API Products so consumers can filter by category on the Developer Portal. Manage them on Portal → Definitions → Categories.
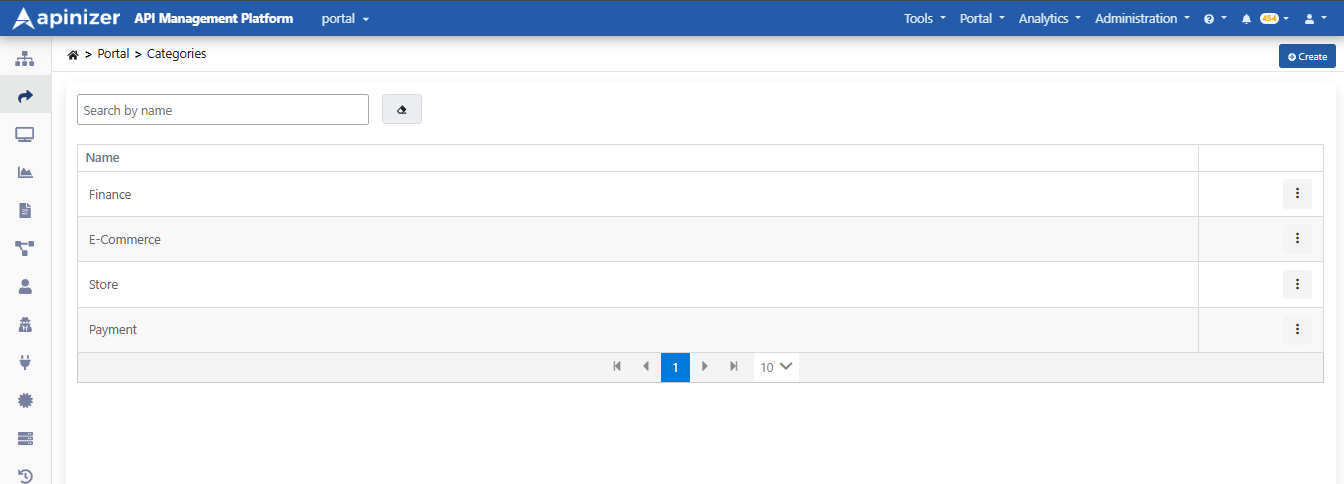
Click Create, enter the category name, and save.
Defining an API Product and Publishing It on the API Portal
Open Portal → API Products → Create to start the New API Product wizard. Steps:
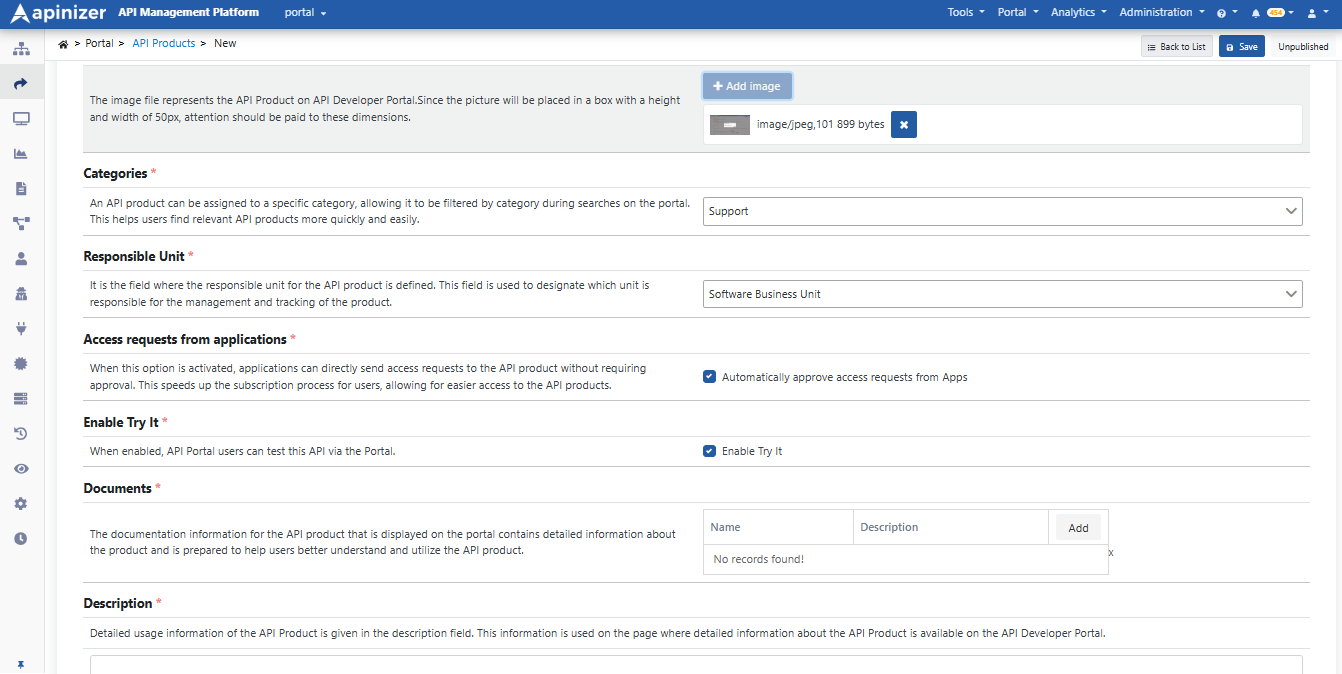
- General — name, description, category, Responsible Unit
- APIs — select proxies / proxy groups from the Catalog
- API Spec — upload the product OpenAPI (JSON/YAML)
- Plans — quota, rate limit, approval, pricing
- Environment — gateway environment
- Summary — review and Complete
Field and tab detail: API Product. Packaging inventory: API Catalog.
1) General
Fill name (tr/en), description, category, and Responsible Unit. Save and continue stays disabled until required fields are set.
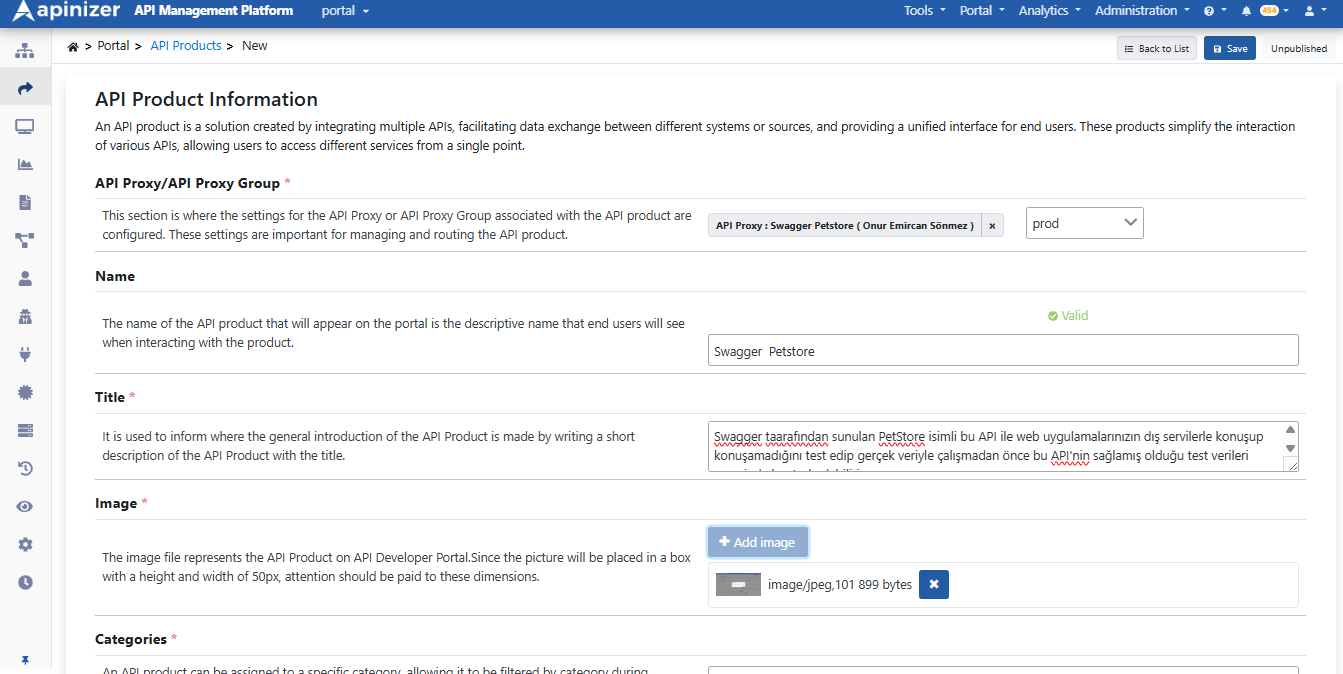
2) APIs
Select at least one proxy or proxy group from the Catalog. The same proxy can belong to multiple products.
3) API Spec
A product can include multiple proxies, so reference docs are not derived from a single proxy swagger — upload a product-owned OpenAPI file.
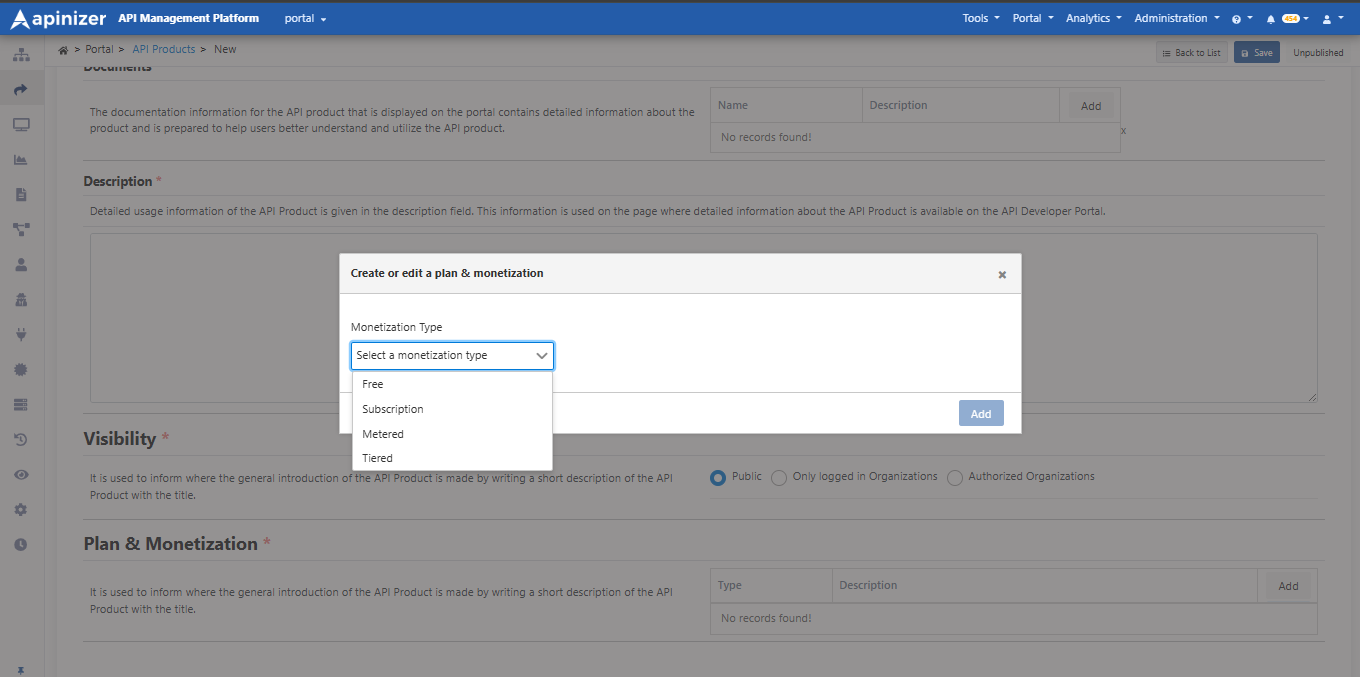
4) Plans
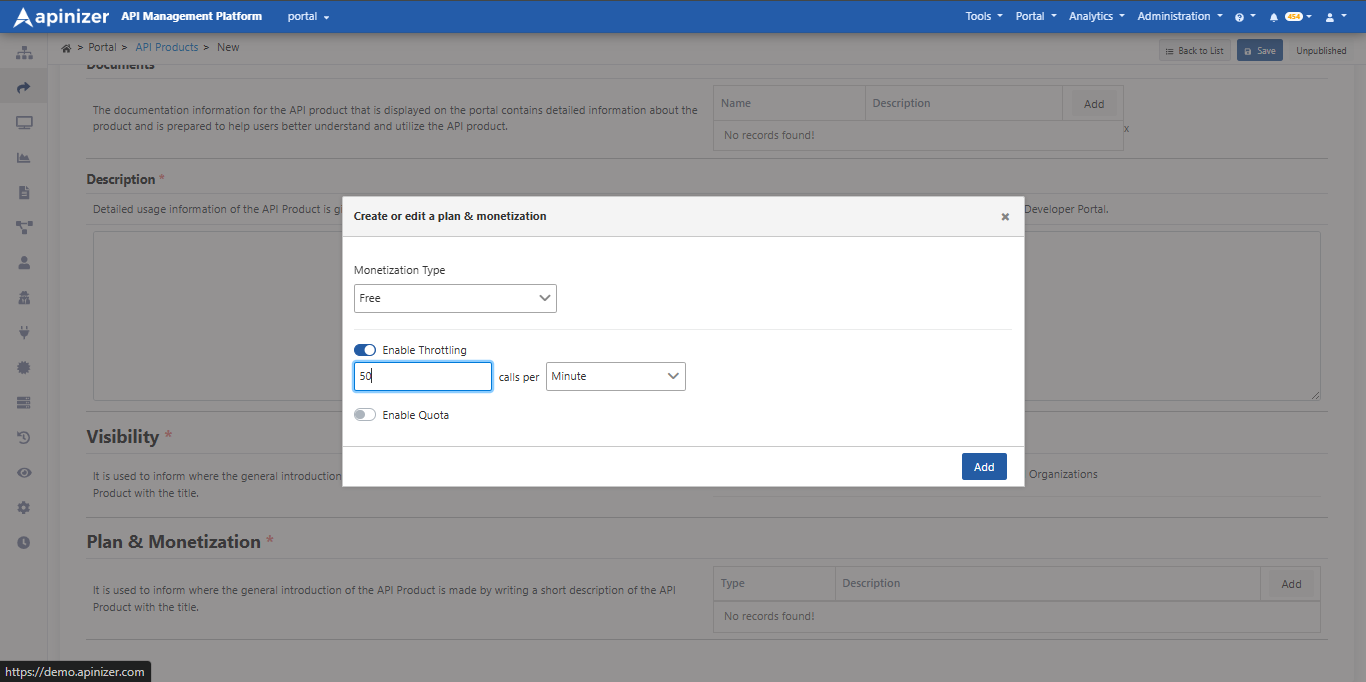
Consumers pick exactly one plan per subscription. At least one plan is required. Use + Add plan to add plans.

Pricing types:
- Free — free
- Flat rate — fixed fee
- Metered — usage-based
- Tiered — tiered
Approval is plan-level (Automatic or approval required). Throttling and quota belong to the plan; on exceed you can Block (429) or continue.

5) Environment
Select the gateway environment used for the portal access URL, Try It, and subscription limits.
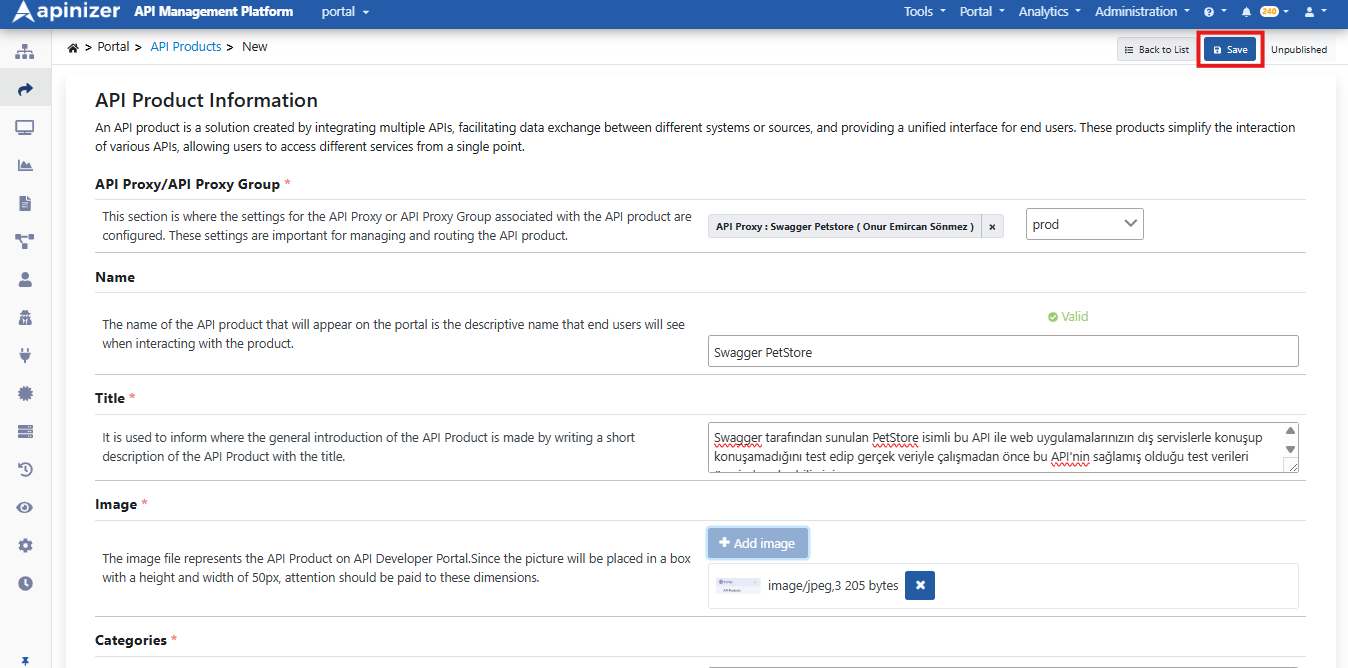
6) Summary and Complete
Review the summary and click Complete. The product is created as Unpublished.
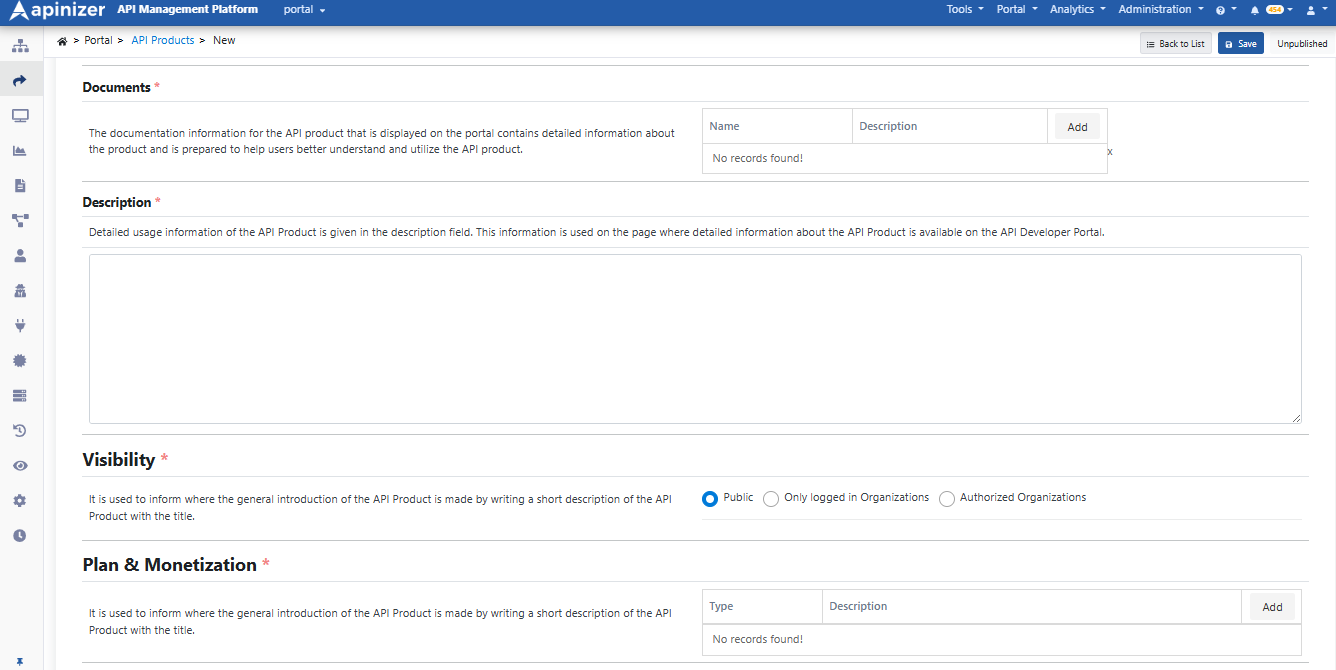
Visibility (Public / Only logged in Organizations / Authorized Organizations) is set on the product Visibility tab after create. It controls discoverability; subscription approval stays on plans. Details: API Product.
To publish, use the Unpublished control on the product detail and confirm in the dialog.
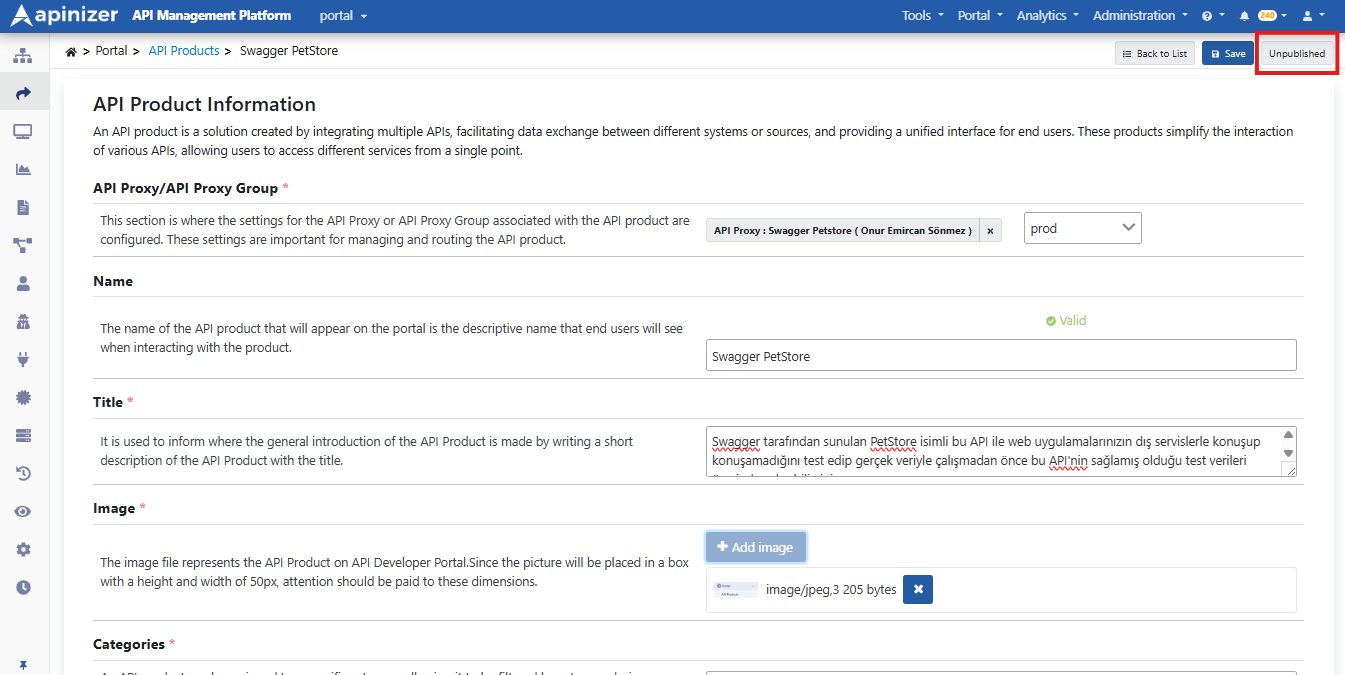
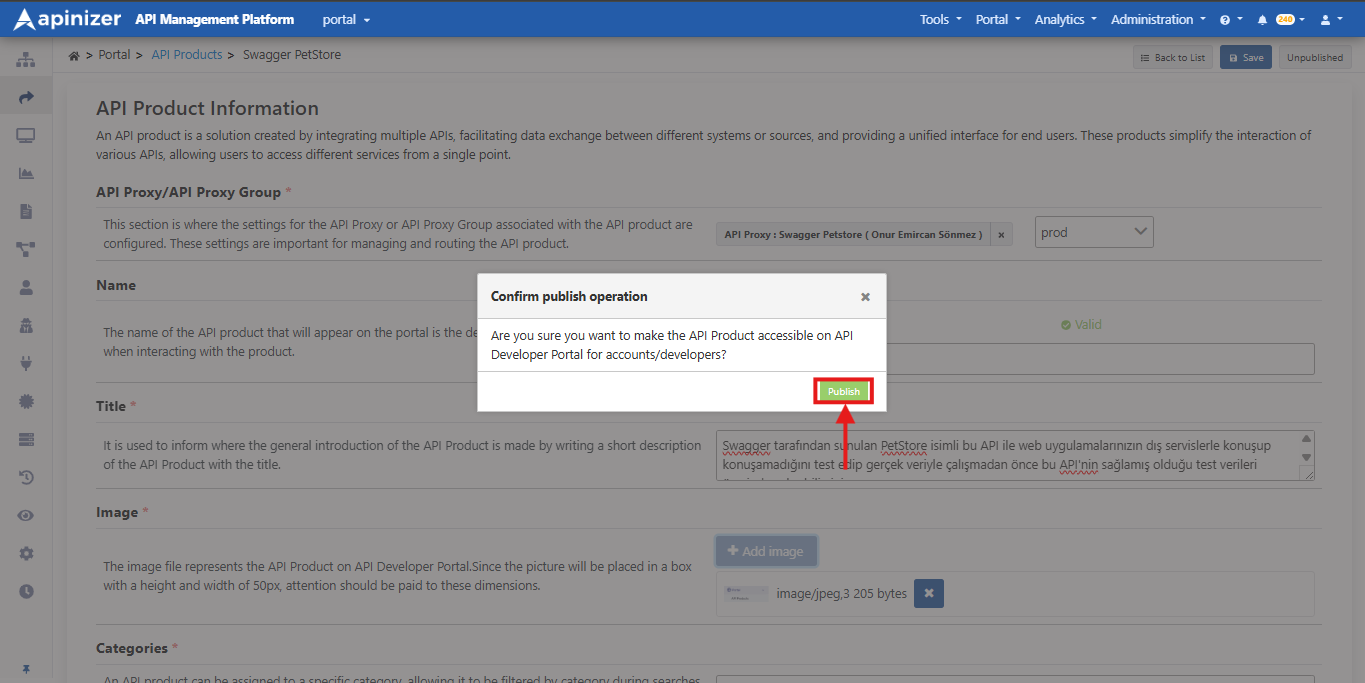
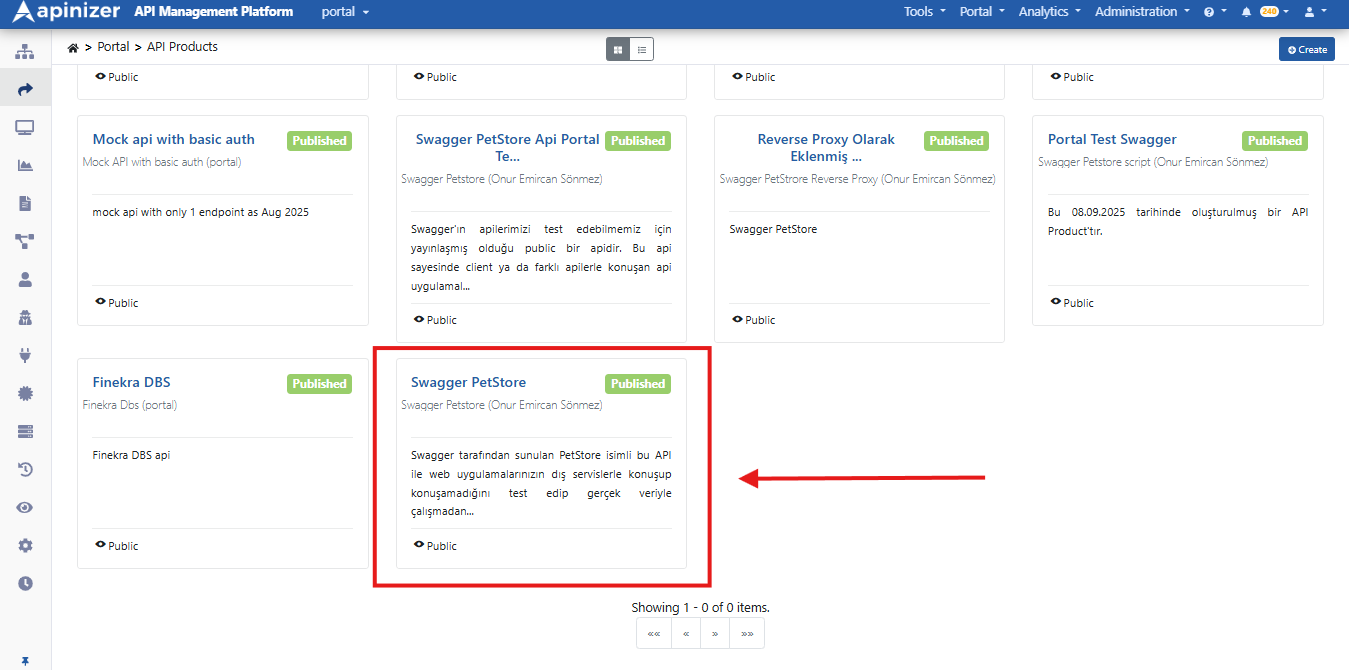
After these steps the product appears as published on the API Products list.
Next steps
- Subscription approvals: Approval Requests / API Product App Registers
- Live usage: Traffic & Usage
- Enable Support / Promote: API Portal Settings (Support, Prod Promote)