JiraOps (Opsgenie)
Connection Parameters
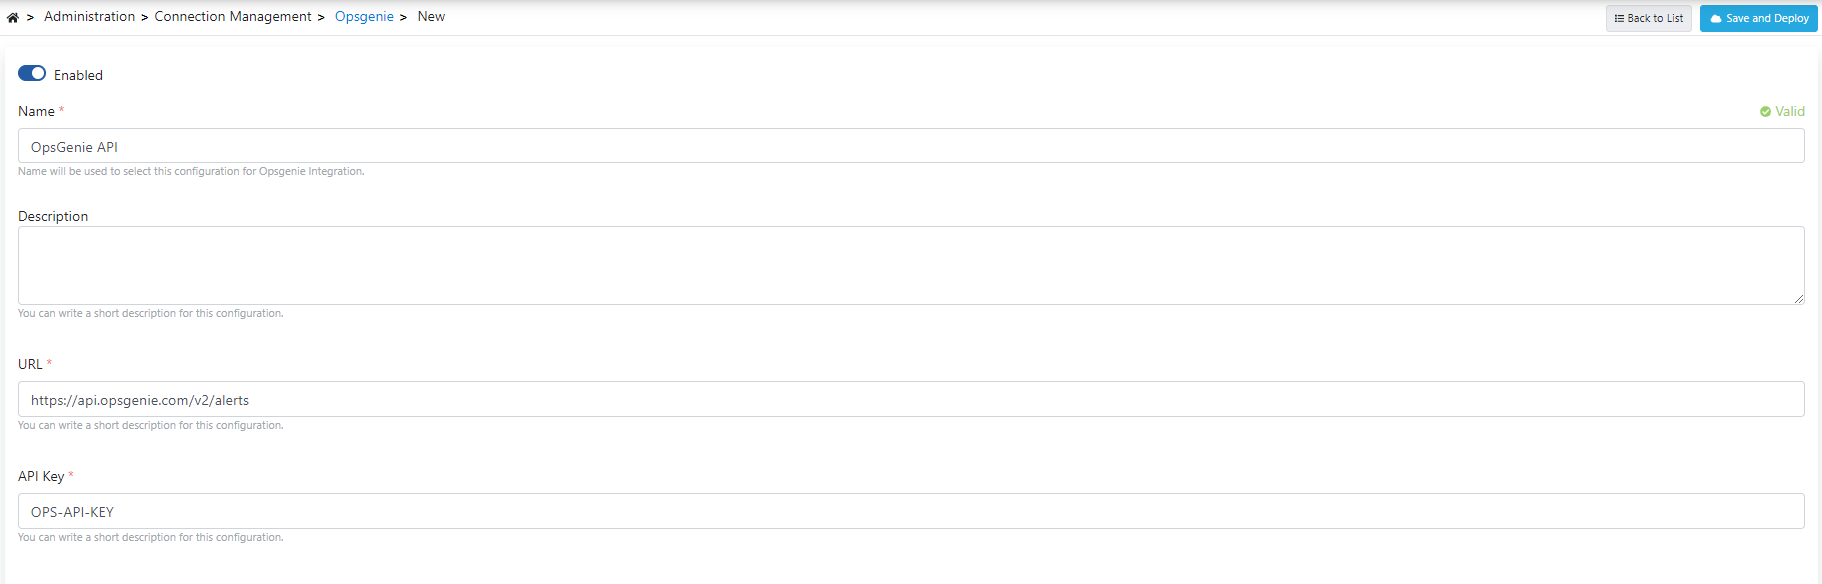
Connection active status
Name information of the created connection
Description can be written to facilitate management related to the created configuration
Jira Ops API Url
API Key required to be a client to Jira Ops API
Connection Configuration
Creating a New jiraOps Connection
- Go to Connection → JiraOps from the left menu.
- Click the [+ New] button in the top right.
Enabled (Active):
- You can make the connection active/passive with toggle.
Name (Name):
- Enter a unique name for the connection.
- Example:
OpsGenie_API
Description (Description):
- Describe the connection's purpose.
- Example: "Opsgenie alert integration"
URL:
- Enter the Jira Ops API endpoint.
API Key:
- Enter the API key you obtained from the Jira Ops platform.
- This information is stored encrypted.
- After entering all information, click the [Save and Deploy] button.
- Connection becomes available for use in Integration Flow and Connector steps.
Usage Areas
Sending alerts to Opsgenie from Apinizer
Incident management and automation
On-call rotation integration
Alert escalation and notification management
Best Practices
Never store API keys in code. Use secret manager
Do not use Production API key in test environment. Create separate keys
Track API call limits and set up alerts for rate limit warnings
Frequently Asked Questions
Where is the API Key obtained?
You can create an API key from Settings → Integrations section in Jira Ops/Opsgenie platform
Is there a rate limit?
Yes, Opsgenie API has rate limits. See Opsgenie API documentation for details
Which API version is supported?
v2 API endpoints are supported